Recycled Jar Lantern Crochet

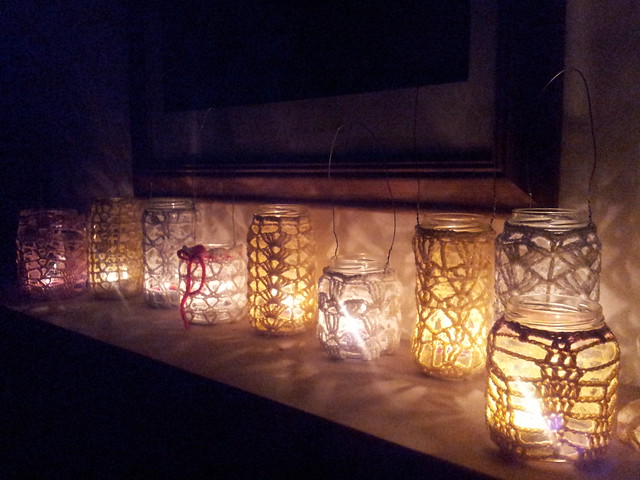
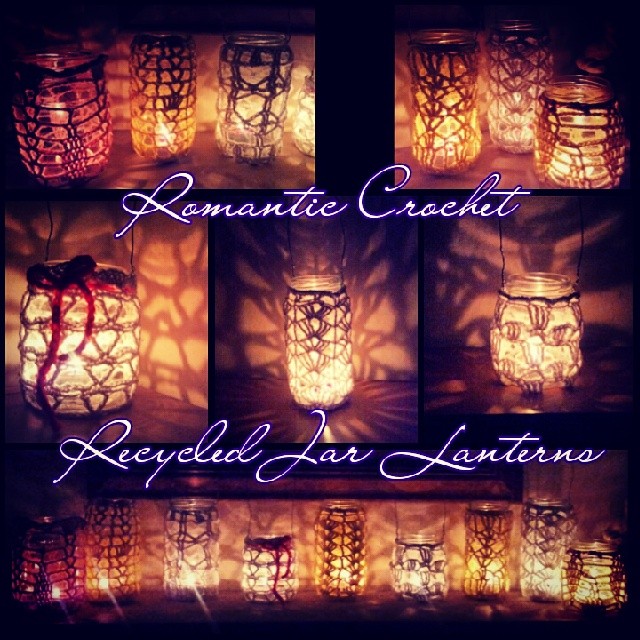
Romantic Recycled jar lanterns. Add a citronella candle and hang from trees, summer umbrellas, or place on a table for a simple elegant barbeque or wedding centerpiece. Check my etsy store! https://www.etsy.com/shop/PhoenixRoseDesign   #PhoenixRoseDesign

Welcome to Summer! Recently, I saw a great picture of a bunch of lanterns hanging in the trees around the back garden, with intricate Moroccan style beadwork and crochet. I decided to emulate this with my own patterns and designs – using recycled jars of all shapes and sizes.

Jar lanterns

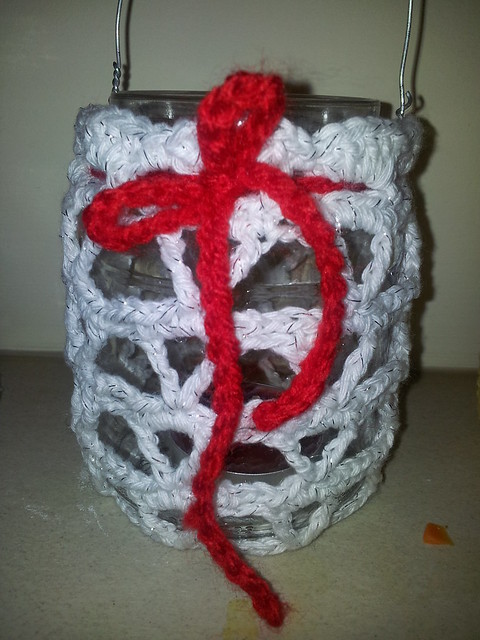
Starting with cotton crochet thread that had tiny little silver sparkles in it, I made my first jar. I think it turned out adorable – especially after adding the wire loop to hang it from the tree.

Jar lanterns

Once I hung it, I realized that the patterns I made in crochet were cast on the wall almost in a kaleidoscope type pattern. It’s pure awesomeness, and I had to make some for my etsy store!

Not only are they good for the environment, they are great for sprucing up your backyard barbecue parties, weddings, and even for adding an awesome touch to your glamping! Add a citronella candle and hang from trees, summer umbrellas, or place on a table for a simple elegant barbecue or wedding centrepiece which will be talked about for years.

Recycled jars crochet lanterns

These come in 3 sizes – with the jar included.

If you don’t wish for the jar included, I can sell the crochet cover separately -just message me.

Small – about 4 inches in height

Medium – about 6 inches in height

Large – about 7-8 inches in height

Recycled jars crochet lanterns

For more pictures of what I have available, or if you’d like to buy some for yourself, check my etsy store at: https://www.etsy.com/shop/PhoenixRoseDesign

Share

Doodle Magnets – How to & advice

At the dollar store, they had art kits for 1.49. It came with 1 inch square tiles, paint, a brush, and magnets. Rather than use the paints, I colored /doodled on them with sharpie marker and baked at 400F for 20 minutes...add a magnet... instant customise

Sometimes, being a Jill of all Trades (or crafts in my case) makes for a bit of fun when shopping. I was at the Euro store near where I live recently buying the standard toothpaste, shampoo, conditioner, batteries and the like when I happened to head down the crafts aisle. Generally speaking, the crafts in the row are geared toward children, and sometimes you’ll get yarn or a bit of something that is for card making or can be used for something else. It’s usually inexpensive, and an almost never-ending supply of inspiration for me. Near Christmas, I saw a set of do it yourself magnets in a packet which got my wheels turning.

Untitled

The craft set contained 5 unfinished ceramic tiles, a few acrylic pots of paint, self adhesive magnets, and a paintbrush – for 1.50 Euro. I went a bit mad and bought several packages, because I thought that I wouldn’t paint them – I would do permanent marker doodle crafts instead.

Untitled

What are permanent marker doodle crafts you ask? Well, basically, you get sharpie brand markers (or other permanent markers) that you can draw with. You’ll need some ceramics (eg. A Mug, Tiles, ceramic box, etc.) and you doodle on them with the markers.

Untitled

Then, you bake them in the oven at 350 F for 15-30 minutes to set the marker so it can’t be washed off. I’d seen some interesting ideas for this on Pintrest, and had been keeping my eyes peeled for something suitable to try this on. For me, I thought the magnetic tiles were going to be perfect as they were inexpensive and small enough I could try all the different colors / designs I had in mind.

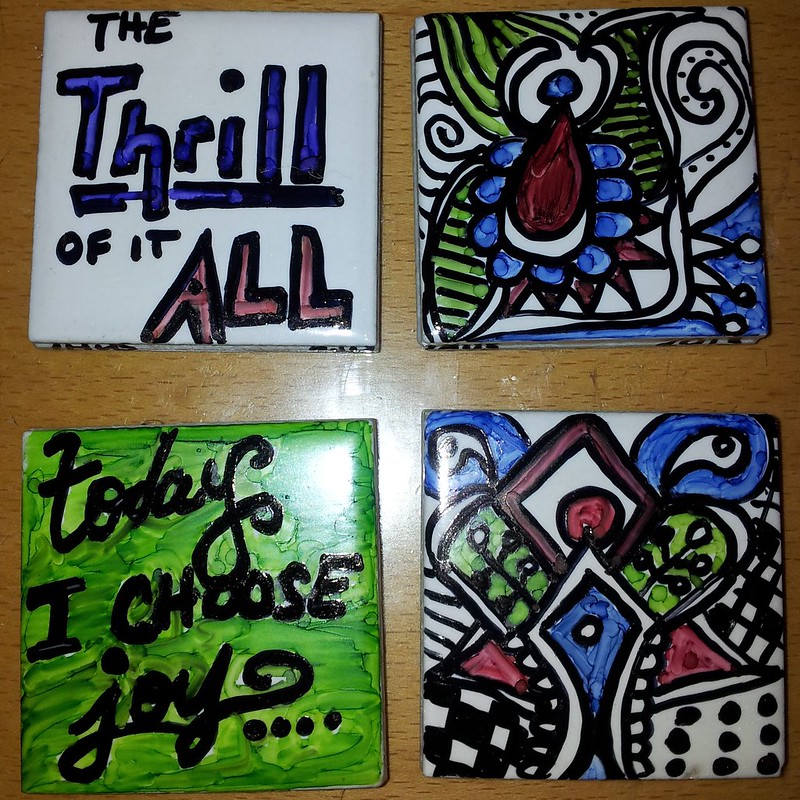
Once I got home, I started out with my off brand permanent markers (again 1.50 Euro at the Euro store) and set to work. A few of my designs:
Untitled

Untitled

Untitled

Untitled

I really liked how bright and colorful they were, and was rather encouraged as I put them in the oven. I checked them at 15 minutes, and they weren’t even warm yet, so I put them on for 15 minutes more. Mistake.

You see, once the ceramic starts getting hot, the marker sets very quickly. And little did I know – the colors also change with the addition of heat. The black stays the same, but the Red turns pink or brown; the Bright Green turned yellow, the Violet went pale blue, and yellow? Well it turned orange. And they weren’t bright anymore. So, while I liked how they turned out – I ended up going back and re-coloring where I could and re-heating them a second time.

I realize now two things that would have made it easier –

a) You have to watch the heating process very closely – once they start to discolor they need to come out of the oven – immediately.
b) Rather than worrying about watching like a hawk – it may be best to use only black and the plain ceramic color to make the designs. I liked the addition of color in mine – but in the end, they would have been just as striking had they only been black / white.

After heating and befpre a bit of recolor/second baking you can really see the discoloration on the middle two:

Untitled

What did they look like when they were done? Not bad – just not what I expected. And they still made great Christmas gifts for my homemade holidays. 2 per person – so out of 4 yellow packages; I got 10 unique Christmas gifts. It ended up being 0.75 Euro per gift – including the cost of the markers (which I still have plenty of use out of). Handmade AND inexpensive. Who can argue with that ?!?

Share

Tea Towel Aprons

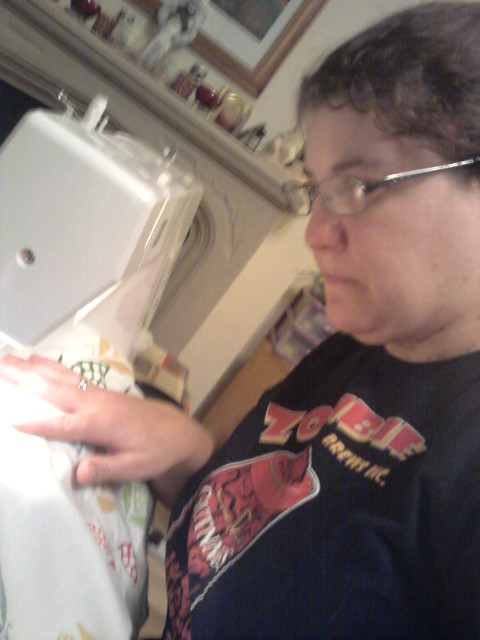
Not so long ago, I took a class for sewing. I did enjoy the class, and after checking a few of the local advertising websites, I found someone who no longer needed their machine and I bought one for 50 Euros. Since then, I have been working hard to make “friends” with it.

I’ve hemmed up a couple pairs of trousers, and then I started looking online for some simple ideas for beginning users of sewing machines. One of these was to make tea towel aprons. The great thing about the idea is that I already had a few adorable “corn” themed tea towels (a set of 3) which I had gotten from Ikea earlier and had been saving as my “good” towels. Well, I thought, I hadn’t used them because I adored the fabric pattern – and I didn’t want to get them dirty or stained. This was the perfect chance to convert them into something that I would actually use, practice my sewing, and which would also end up in the corner of my kitchen – instead of hidden in the drawer.

For this project, you need 3 tea towels to make 2 aprons, some binding or ribbon for straps (I used 1 meter & 1/2 per apron or 3 meters total). (Since doing this, I have discovered there is an easier way – but this is how I made mine).

Step 1: Ironing the aprons. I had to iron the aprons to get them nice and neat. Once ironed, I folded them in half (short end to short end) and ironed a crease in the middle.
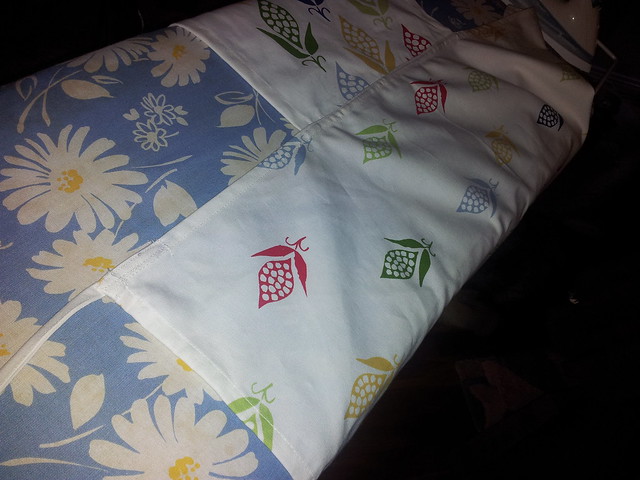
Step 2: Choose two aprons for the bottom “skirt”, and one that will be cut in half for the top. You’re going to make these into a “T shape, where the long part of the T intersects the short “half” of the other piece.
Step 3: Cut the tea towel in half. Hem cut end.

tea towel aprons

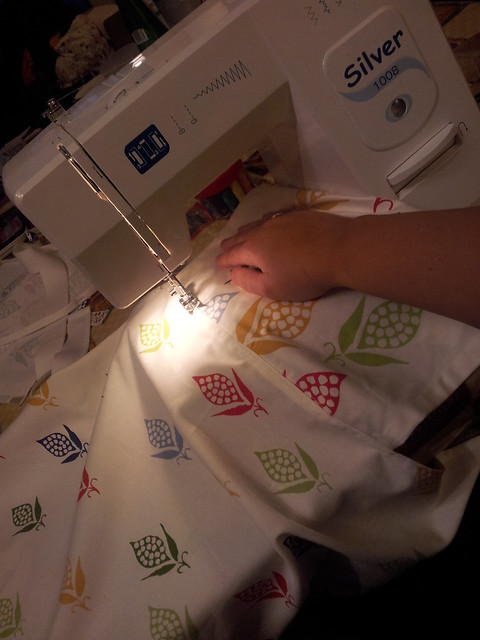
Step 4: Pin the 1/2 tea towel now hemmed to the full towel in the middle to form a T type shape. This will form the basic shape of the apron.
Step 5: Sew together

tea towel aprons

Step 6: Now that you have the “T” shape you have the basic apron. Cut 3 – 1/2 meter lengths of the binding or ribbon. Attach one piece to either of the ends of the apron skirt to tie around your waist.
Step 7: Cut the remaining 1/2 meter ribbon or binding in half (1/4 meter) and sew onto the corners of the top of the apron to tie around your neck. (You could also measure and make it a loop if you didn’t want to “tie” it together)
Step 8: Press.

tea towel aprons

Step 9: repeat with the other full towel / remaining piece of apron.

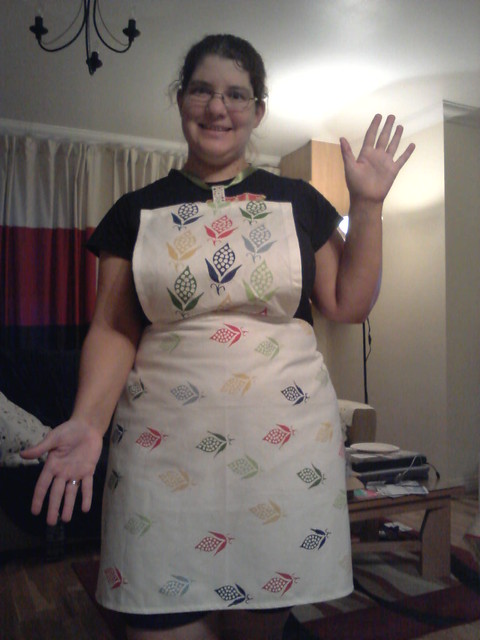
Step 10: model your creations!

tea towel aprons

tea towel aprons

Notes: Notice that I did the necklines two different ways. This is because the one apron had the “drawer” hang on it. I thought that rather than sewing the ribbon on, it might be easier to use that and loop the ribbon through. The second one, I decided that I prefer it – because of how the ribbon was sewn into the corners of the top. It just felt more secure. I may eventually go back and re-do the one (and not bother with the hang loop) but we’ll see.

I think I’m going to be making a few of these as Christmas Gifts, as part of my homemade holiday goals.

Share