Pottery Experience

Back when I was in high school, I did a 9 week segment in clay, pottery building, and sculpture. As part of this, we learned the basics of slab and coil construction as well as using a potter’s wheel. Earlier this year, when there was a Groupon deal for a “pottery experience” at Artworks Cafe in Portmarnock including tea, cake, 1 painted item and a basic lesson in making a pot on the wheel for two people (45 Euro) I couldn’t resist. This past weekend, I used my voucher and here are the pre-fired results.

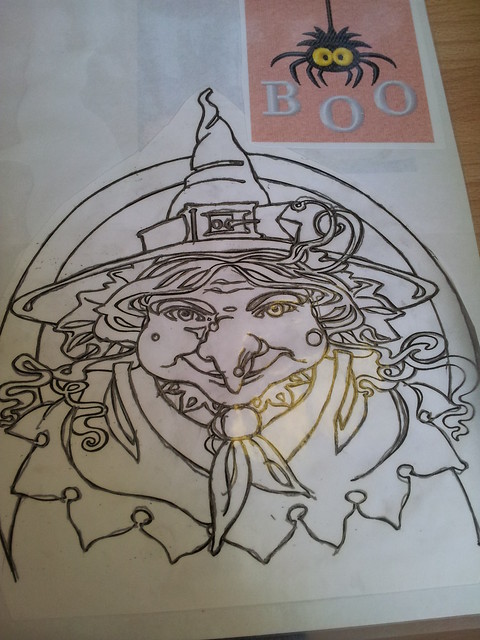
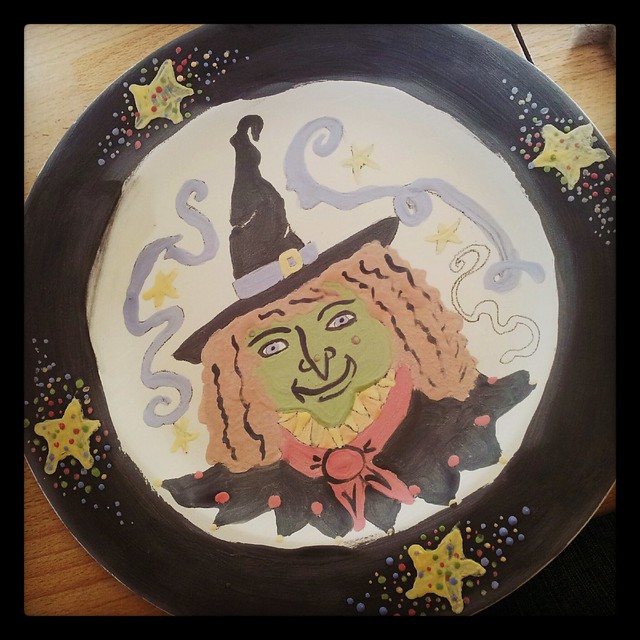
When I first arrived, we were seated at a bunch of tables and given a choice of a plate with rim, a plate with no rim, or a mug to paint and fire. I chose a plate. From there, they gave us the option to draw a design or use a bunch of books (or various internet sites) to search for our own design for the pottery. Halloween is near, and after flipping through several books, I found the inspiration for my design:
pottery experience

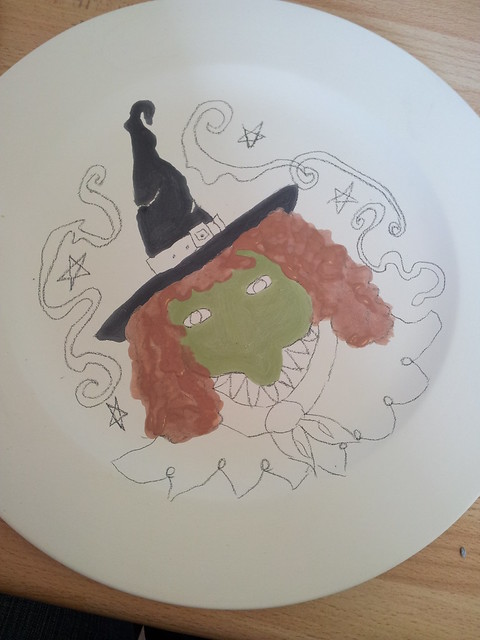
Because everyone else was busy with the tracing paper, I figured I could free hand draw it on the plate (the picture itself was way too big) and I added some of my own touches. Long before the others were started painting, I picked up the brush and started on with my design. First, I mixed up the green, and then I painted the black hat.
pottery experience

Meanwhile, A chose his mug and began drawing a simple design on his as well. Shortly afterward, we were invited over to the landing and shown the basics of potting on the wheel. I was the only person who had done it before – and went first after the teacher.
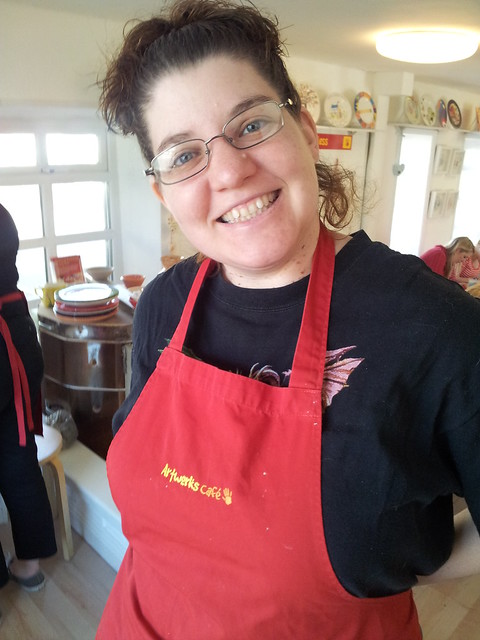
pottery experience

I managed to quickly center my little slab of clay and began shaping. I think I forgot how much strength this can take – and just how messy it is, but the basics from my art class still remained.
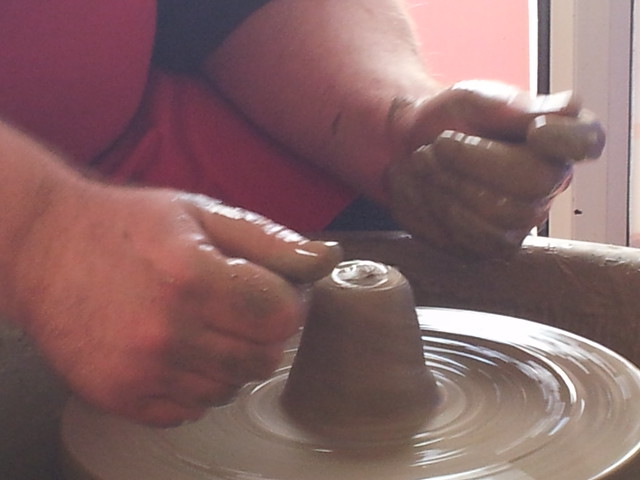
pottery experience

Adding water, I continued to work the clay into a rounded bowl shape.
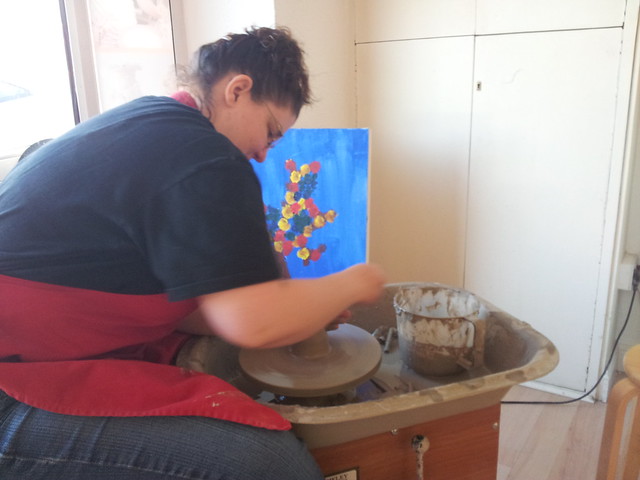
pottery experience

Eventually, I worked it up into a bowl, and added a lip. Sadly, though, when I turned to have a picture made – I nicked it – thus, you see the dent in the corner –
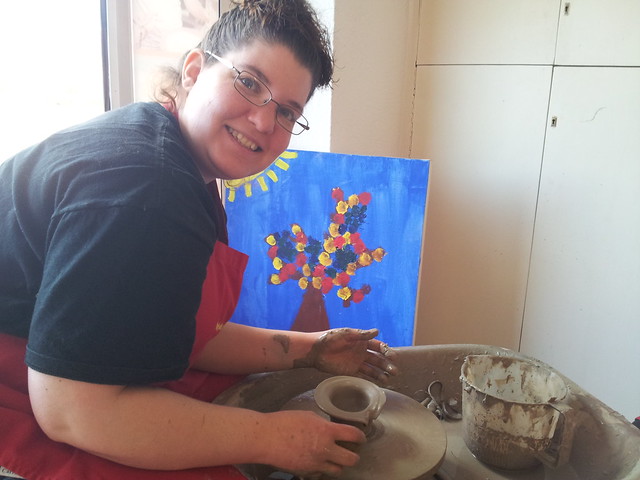
pottery experience

In the end, however, after a little more working, I decided to let the “nick” be a feature, added some stripes with one of the clay working tools and called it done. (It was easier than destroying the entire piece and starting over). It will take 3-4 days to dry, and then will be dipped into green before being fired and glazed.

Next up it was A’s turn. He’d never done this before, and it took him longer to get the clay centered. (I recall this took the longest time to learn for me as well). He did eventually get the piece centered and started out making the little bowl too.
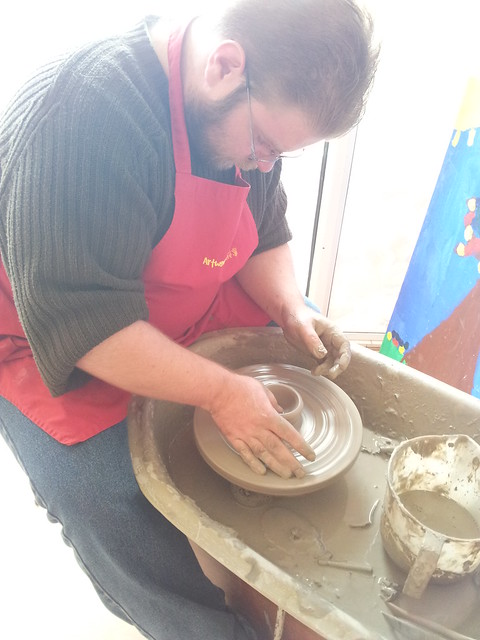
pottery experience

He raised the sides and, as is common when trying to make a pot on the wheel, found that the pressure has to be exactly even – or the pot goes wonky and off center.
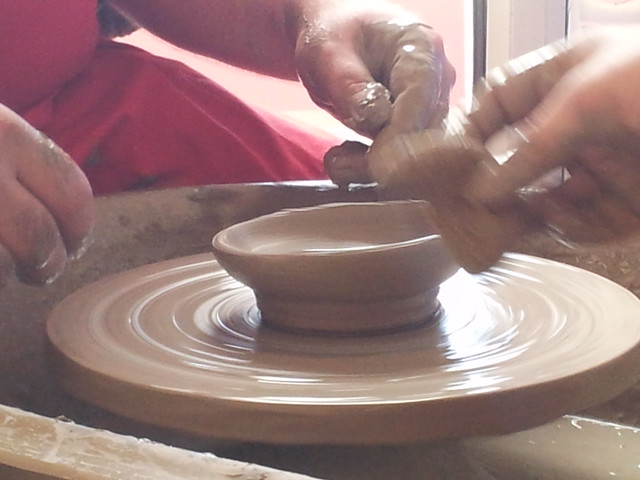
pottery experience

He kept working at it though, and while still off kilter, it did become a small bowl shaped piece, and one which as a first time attempt is quite good.
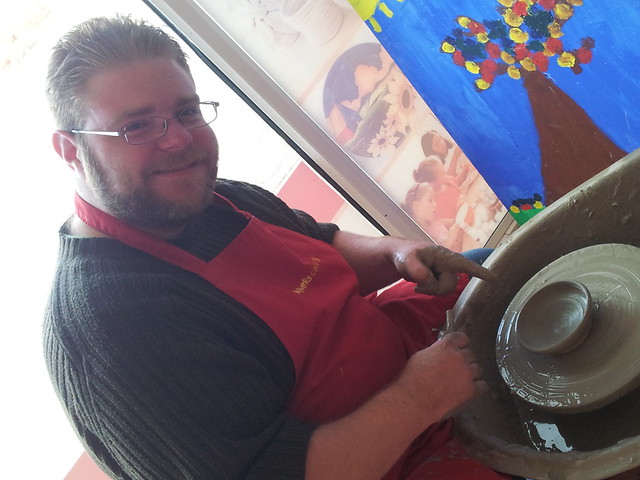
pottery experience

When we were both done, we went back to painting.
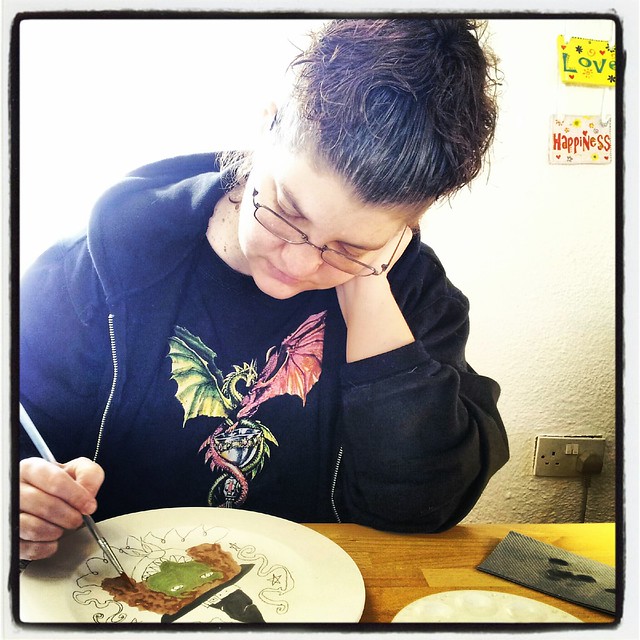
pottery experience

About an hour later, my “magic” plate was finished being painted
pottery experience

as was A’s mug:

pottery experience

We both had such a nice time, that we’re for sure going to have to go back and paint / play on the wheel more. At this point, we’re just waiting for the projects to be fired – This happens every couple weeks – and then for them to text and let us know that they’re ready. I’ll post the pictures when they are done. Otherwise, I would recommend taking the chance to do some pottery painting (I think even the kids will like it as it’s quite hands on) and/or get messy with the wheel. Also, if you’re in the area, I would recommend the Artworks Cafe, for sure.

Share

Love Lollys

Love Lollies

Happy Valentine’s Day!

For my colleagues today, I thought it would be fun to make a few Valentines. I wasn’t sure what to do this year, and then I saw a simple idea on one of the Martha Stewart pages here.

Love lollies 2

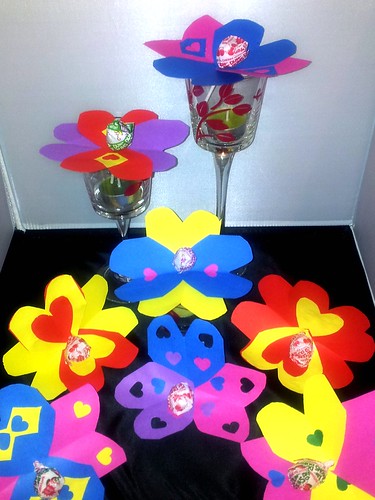
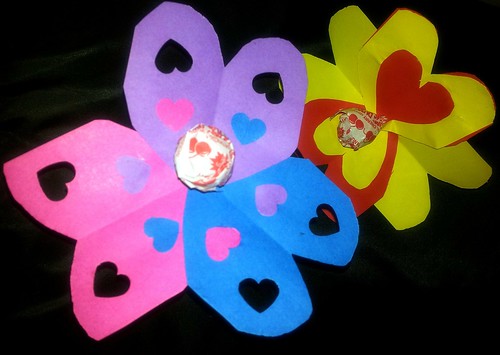
After gathering some lollypops and some colored paper, I thought it would be brilliant to cut some heart shapes out of the paper using both the scissors and a hole punch. I then glued all of the shapes together and hole punched the main larger hearts. Sliding the heart “petals” up the stem of the lollypop and securing on the reverse side with tape (being careful to NOT tape the paper on the lolly) I think they made some cute flowers.

Love Lollies 4

Next time, I think I’ll try making some with words on them (like fun Valentine’s Day slogans or something), or maybe adding some other features like ribbons. Otherwise, I would say this is a great craft for the kids too!

Share

How to Make a Voodoo Doll

IMGP0381-26

Earlier this month, I was talking to the Bar Manager over at Fibbers Rock bar on Ormond Quay about how I think there should be a Mardi Gras type celebration here in Dublin. Out of this idea, there result snowballed – and I offered to do the decorations for the New Orleans Style “Voodoo Mardi Gras” party for Charity. Jason got a band booked – T-bone (more on them later) and I started on the decorations, determined to make this an awesome event.

Being that this was to be a Voodoo Mardi Gras party at a Rock bar, naturally, we needed some Voodoo Dolls as decorations. After some looking about, and knowing that I can’t sew – I figured out a fairly fast way to make the dolls themselves – and get them put together using fabric glue and some bits and pieces of crafting stuff I had about. Here’s how I did it – and what you can do to make your own No Sew Voodoo Doll.

What you need:

  • Old Fabric – I used plain colors, but old t-shirts, sheets, or tea towels would do as well.
  • Scissors
  • Fabric Glue
  • Sewing Pins
  • Newspaper
  • Stuffing (I got some poly cotton stuffing – a small bag made ~4 dolls)
  • Fabric Markers
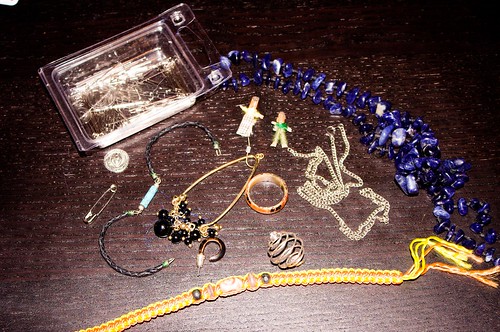
  • craft odds and ends – old buttons, old beads, broken necklaces/bracelets, craft foam, ribbons, yarn, craft flowers, feathers, glitter glue, the sky’s the limit.


    Step 1:
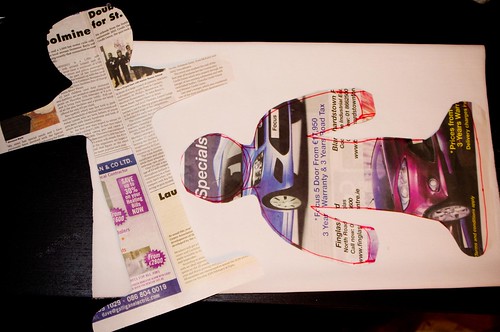
    Lay out your newspaper and draw the appropriate shape for the Voodoo Doll you want. I found it easier to do the legs together and the arms out, but I also made one pattern with the arms at the side. Make it about twice as big as you think it should be. Eg. The arms were about two finger widths wide to account for the glue and turning it inside out.

    Step 2: Cut out your shape.

    IMGP0294-1

    Step 3: Pin the shape to your fabric – I folded my fabric so that I cut 4 at the same time (2 doll fronts/backs)

    Step 4: Cut the shape out of the pinned fabric, and remove the pins.

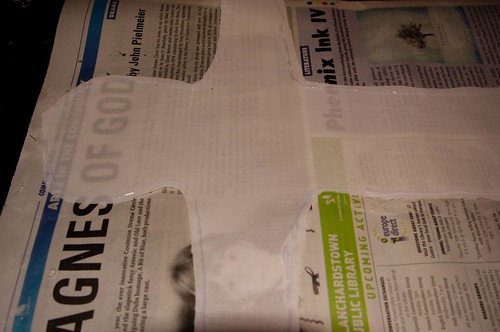
    Step 5: Lay down some newspaper to keep the fabric glue off your table. Place down the first bottom of the doll and apply the glue to the outer edges, leaving the area near the foot part with no glue so you can turn it inside out later.

    IMGP0309-11

    Step 5.5: (Optional: if you want the doll to have “hair” you should apply the glue, the ribbon/yarn/other pieces of fabric sticking toward the inside of the doll)

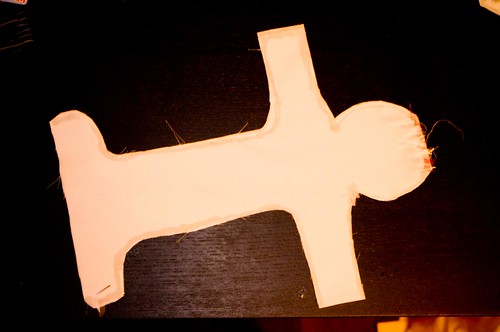
    Step 6: Carefully lay another piece of your fabric down on top of the first piece, carefully lining up the edges. Push down on the glued area with the back of a spoon to make sure it is well adhered.

    IMGP0299-2

    Step 7: Set it aside to dry for about an hour.

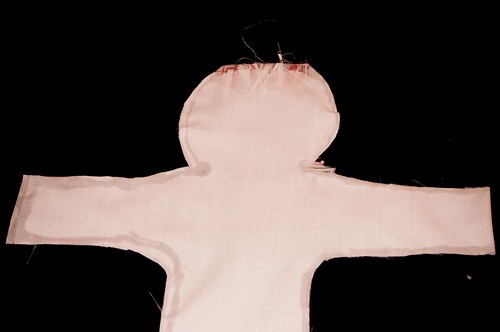
    Step 8: After the glue has dried, take your piece off the newspaper. The glue should have dried clear.

    IMGP0301-3

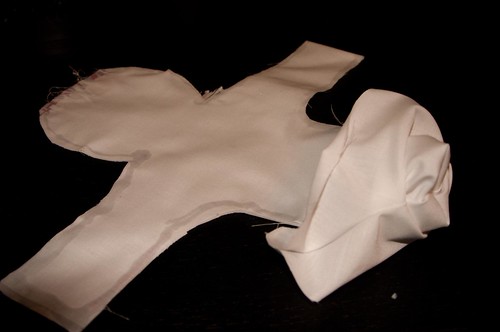
    Step 9: Turn the doll shape inside out.

    IMGP0303-5

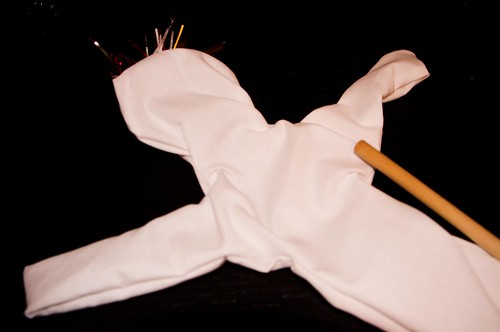
    Step 10: Use an unsharpened pencil to push out all the edges of the arms and into the edges of the legs or head.

    IMGP0305-7

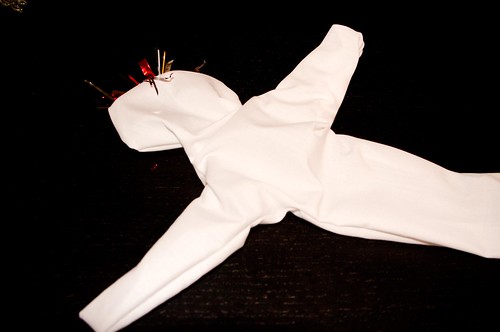
    Step 11: Your doll should now look something like this:

    IMGP0304-6

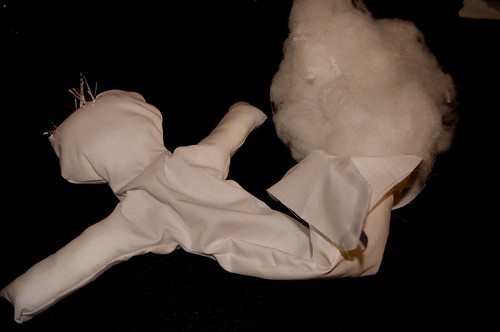
    Step 12: Let’s get stuffing! Carefully break up your stuffing and place it into the doll. I recommend filling the arms up first, then working from the head down. Use the pencil to push it into the arms and pack it tightly, being careful to not overfill and break the glue seam.

    IMGP0306-8

    Hint: As you fill your doll, you may discover that the arms curve, or that the head tilts. Personally, I think it gives them more personality.

    Step 13: Add or remove stuffing as needed, until you have filled it almost to the end, leaving space to turn in the base and glue closed.

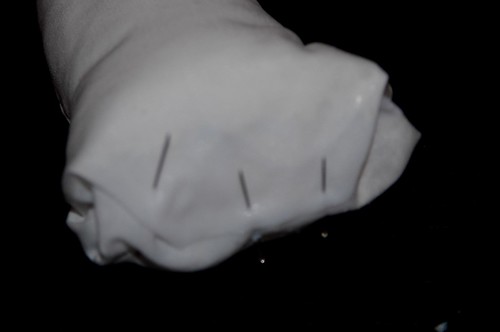
    Step 14: Fold in the ends, and apply fabric glue anywhere that the fabric will touch itself. Be generous, but try to be neat. Once applied, you may need to pin the end closed to hold it together while the glue dries.

    IMGP0308-10

    Step 15: Set aside and let the glue dry on the base. When dry, remove the pins.

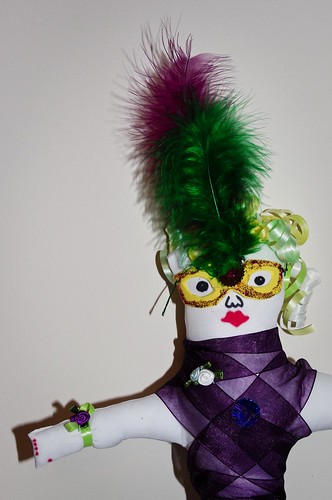
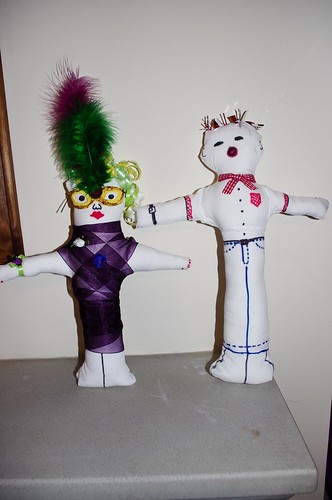
    Step 16: Let’s Decorate. I raided my craft odds and ends stash for all of the dolls that I made. I picked up fabric scraps for clothes, old buttons, broken bits of jewelry, old ribbons, old stuffed animal bits, some tiny paper dolls, feathers, etc etc and attached them by tying, glue, or few stitches. Don’t forget to draw on some faces.

    IMGP0302-4

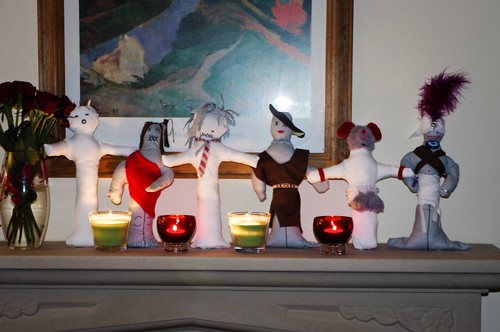
    Step 17: Your voodoo doll is complete. Light a few candles, stick them with pins or toothpicks, place on the mantle, and enjoy.

    IMGP0318-20

    A few thoughts – I was making several dolls at once, I turned it into a type of assembly line. I cut them all first, then glued 3 or 4 and set them aside. Then, I cooked dinner. After dinner, I turned them all inside out, glued the other 4 and set those 4 aside to dry. Returning to the first 4, I stuffed those and closed the ends off. By the time this was complete, The second “set of 4” was done, so I repeated the turn inside out, stuff, and glue ends. Setting those 4 aside, the first 4 were done, and I began to dress and decorate.

    IMGP0380-25


    Share