I’ve hemmed up a couple pairs of trousers, and then I started looking online for some simple ideas for beginning users of sewing machines. One of these was to make tea towel aprons. The great thing about the idea is that I already had a few adorable “corn” themed tea towels (a set of 3) which I had gotten from Ikea earlier and had been saving as my “good” towels. Well, I thought, I hadn’t used them because I adored the fabric pattern – and I didn’t want to get them dirty or stained. This was the perfect chance to convert them into something that I would actually use, practice my sewing, and which would also end up in the corner of my kitchen – instead of hidden in the drawer.
For this project, you need 3 tea towels to make 2 aprons, some binding or ribbon for straps (I used 1 meter & 1/2 per apron or 3 meters total). (Since doing this, I have discovered there is an easier way – but this is how I made mine).
Step 1: Ironing the aprons. I had to iron the aprons to get them nice and neat. Once ironed, I folded them in half (short end to short end) and ironed a crease in the middle.
Step 2: Choose two aprons for the bottom “skirt”, and one that will be cut in half for the top. You’re going to make these into a “T shape, where the long part of the T intersects the short “half” of the other piece.
Step 3: Cut the tea towel in half. Hem cut end.
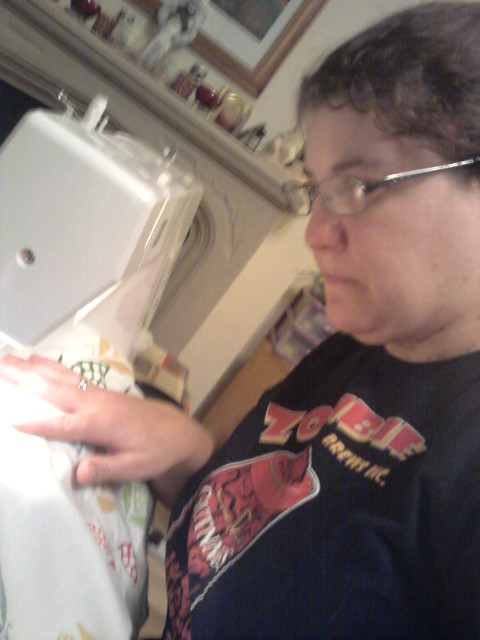
Step 4: Pin the 1/2 tea towel now hemmed to the full towel in the middle to form a T type shape. This will form the basic shape of the apron.
Step 5: Sew together
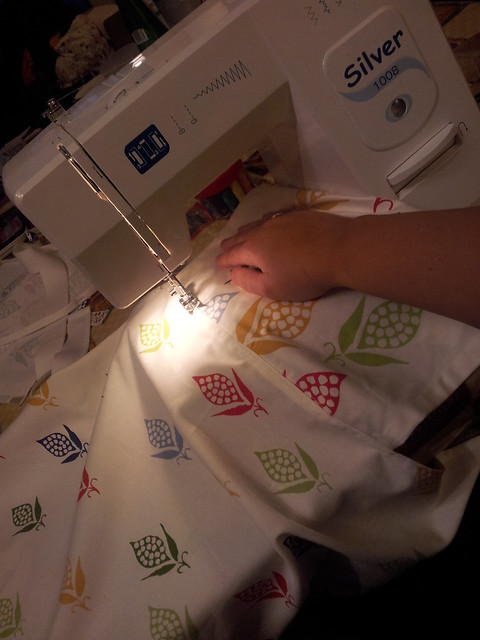
Step 6: Now that you have the “T” shape you have the basic apron. Cut 3 – 1/2 meter lengths of the binding or ribbon. Attach one piece to either of the ends of the apron skirt to tie around your waist.
Step 7: Cut the remaining 1/2 meter ribbon or binding in half (1/4 meter) and sew onto the corners of the top of the apron to tie around your neck. (You could also measure and make it a loop if you didn’t want to “tie” it together)
Step 8: Press.
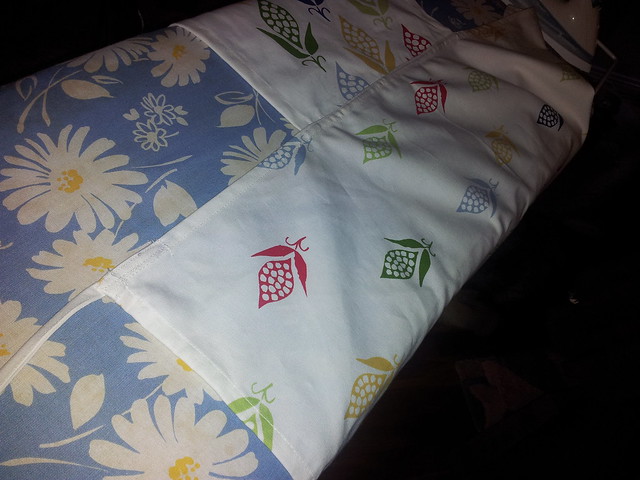
Step 9: repeat with the other full towel / remaining piece of apron.
Step 10: model your creations!
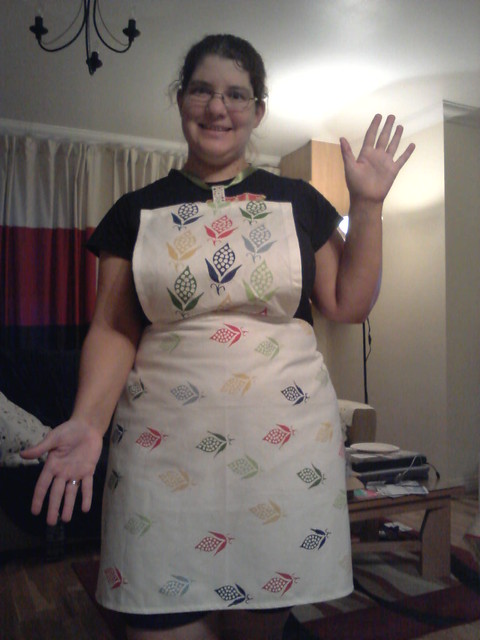

Notes: Notice that I did the necklines two different ways. This is because the one apron had the “drawer” hang on it. I thought that rather than sewing the ribbon on, it might be easier to use that and loop the ribbon through. The second one, I decided that I prefer it – because of how the ribbon was sewn into the corners of the top. It just felt more secure. I may eventually go back and re-do the one (and not bother with the hang loop) but we’ll see.
I think I’m going to be making a few of these as Christmas Gifts, as part of my homemade holiday goals.

