Making Bibs

Bibs for Orliath

Over the weekend, I dug out the sewing machine. The funny thing is that I often get asked about ‘fixing’ things using my sewing machine, and the only time that I ever do get out the machine is if someone else asks me to do something for them. I’m not the world’s best at sewing, nor am I very fast at it. To be honest, it is my least favorite “crafty” thing to do, but if I have to I can do it. The result is that when the machine is out (about once every 6-8 months) I go through and “binge sew” on it – to repair everything that needs reparing, make what needs making, and then call it good. I then pack up the machine and it doesn’t see the light of day for another 6-8 months.
Bibs for Orliath

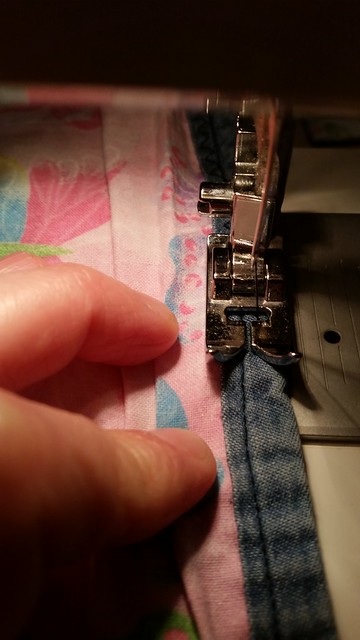
This time, I was asked to repair 4 bibs for Orliath, a gorgeous little girl who wears bibs daily. Sadly, she is confined to a wheelchair, and when I got the bibs, I ended up having to take them apart and remove the binding / ties and then re-sew and replace the binding. You see, the bibs that I was asked to repair are basically 2 pieces of poplin (cotton) fabric with a thin piece of plastic in between (they crinkle when they’re moved).
Bibs for Orliath

They were sewn with a single stitch on two fold binding tape around the outside edge. The end result was that they came apart after only a (relatively) few washings as the fabric shrank / stretched. It’s quite time consuming and challenging for me – with my limited patience and sewing experience.

Bibs for Orliath

After getting frustrated, I chatted to my mom, dad, and grandma (dad and grandma make quilts) and I posed the problem to them. They told me that it might be faster to make the bibs brand new – and sewn at least twice – once on the inside fabric pieces with a single stitch, and the other with zig zag stitch on the double sided bias tape to effectively give it 3 levels of stitching to “hold”. Once I had the concept – I decided that I could cut a bunch of fabric, and then properly put them together so that they’d need fewer repairs in the future. With the right fabric, I could also give something that’s waterproof and easy to clean – but also soft and not so noisy.
Bibs for Orliath

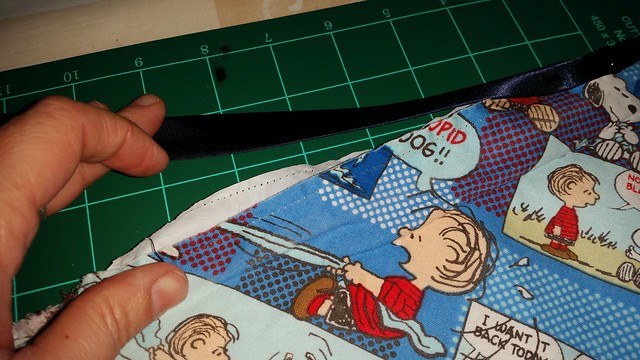
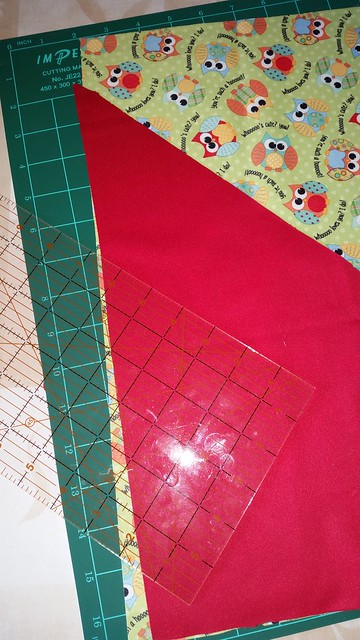
And so it began. I looked on eBay, and found something called PUL fabric – PUL stands for Polyurethane Laminate fabric – and the polyurethane is bound with soft t-shirt and microfiber (to eliminate the “crinkle noise) using an eco friendly adhesive. From here, I decided to try my hand at “creation” using the old bibs as an example. Using the old bibs as a “template” for size (you can see the red piece from one of the bibs I took apart), I started cutting out multiple triangles.
Bibs for Orliath

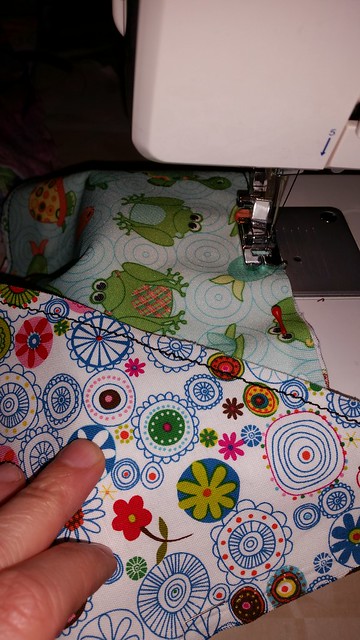
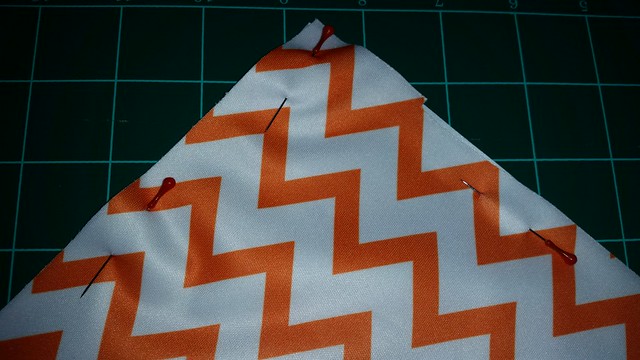
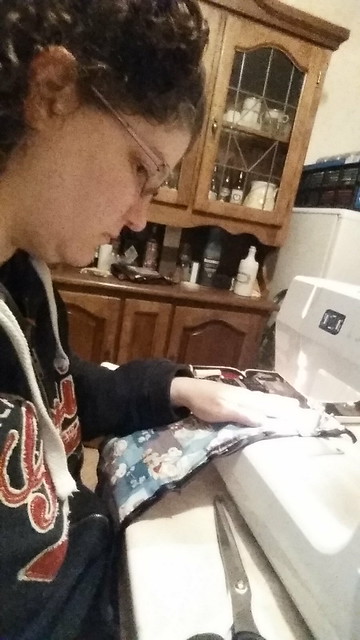
Then, I pinned and sewed the wrong sides together along the edges.
Bibs for Orliath

Bibs for Orliath

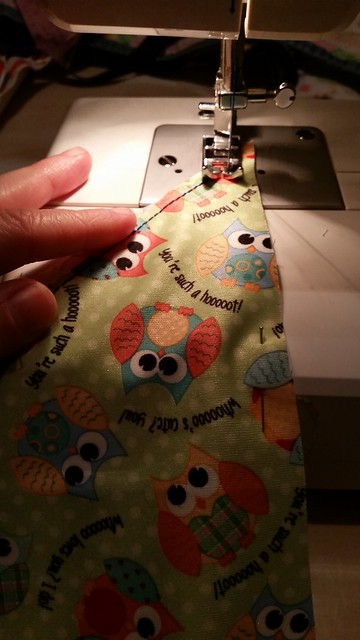
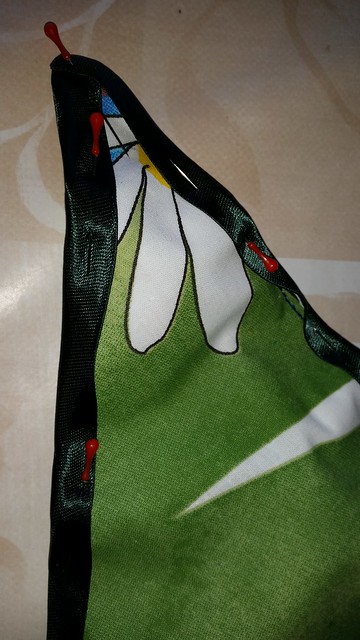
Trimming the excess fabric edges, I then pinned on the satin bias tape and made corners. Now, I went back and did the zig zag stitch over the edges.
Bibs for Orliath

Bibs for Orliath

The end result I think turned out pretty well in my opinion – Orliath ended out with 4 repaired bibs (top of the picture and 5 new bibs from scratch. They’re not perfect (I still have trouble sewing straight seams and keeping the bias tape even on both sides) but they will hold up to washing, chewing, and food – and that’s what counts.

Bibs for Orliath

Share

Hen Party Shirt crafts

As some of you know, my friend J. is getting married soon. We recently held a little hen party here for her in Dublin – nothing very big, but dinner and a bit of dancing. Then, we had the proper “big” party in York (more about that later).

In preparation for the batchelorette party weekend, I thought it would be fun to have t-shirts. After pricing several places on line for “standardized” hen party t shirts, I was shocked to see that they were all either black & pink or white & pink – and quite expensive at about 10 – 12 Euros each (about 150 euro). Thus, I decided to make my own for the 15 girls with some plain t-shirts (5 euros each) and some spray fabric paints in the 3 colors that Jacqui loves best – lime green, violet, and silver.

I got the fabric spray paints from a site called as a set of 6 colors for 34.00. I also got a couple of stencils. Add in my time over the course of two evenings – and I had a mini sweatshop going in my living room.

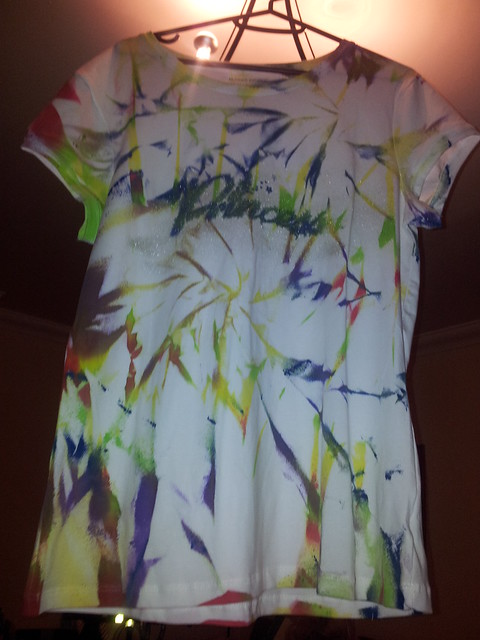
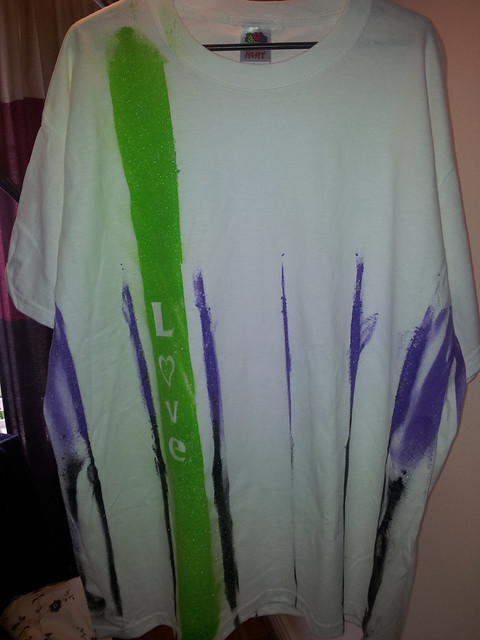
First, I read the instructions, and tried a few tie dye style shirts – with no stencils. This involved scrunching up a few of the shirts in various ways – and spraying colors across them. The results turned out quite cute:

t shirts for Jacqui's hen night


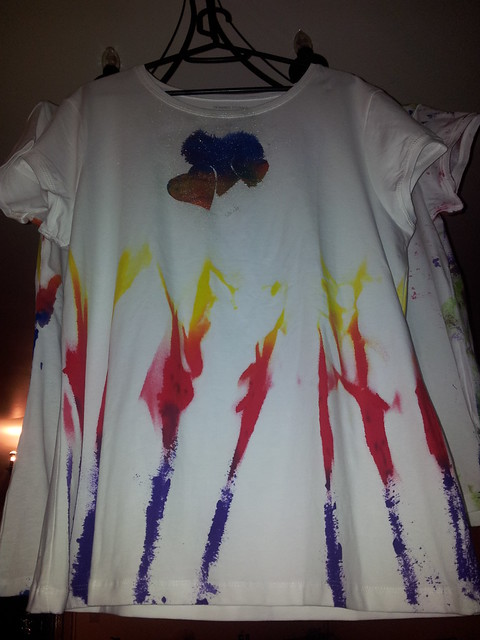
Then, I decided to try the tie dye look with a few sample stencils – like “princess”, “hearts”, and “angel”. This worked ok for some, but I found that if I was impatient removing the stencils, the paint ran. If I waited too long, the stencils stuck. The key was being spot on with removing them at just the right time – when the paint was tacky, but before it was too dry.

t shirts for Jacqui's hen night

t shirts for Jacqui's hen night

As time went on, I got the timing better – and figured out how to get the stencils to work even better – realizing that you had to put on the light colors and gradually add the dark ones so that they worked best.

t shirts for Jacqui's hen night

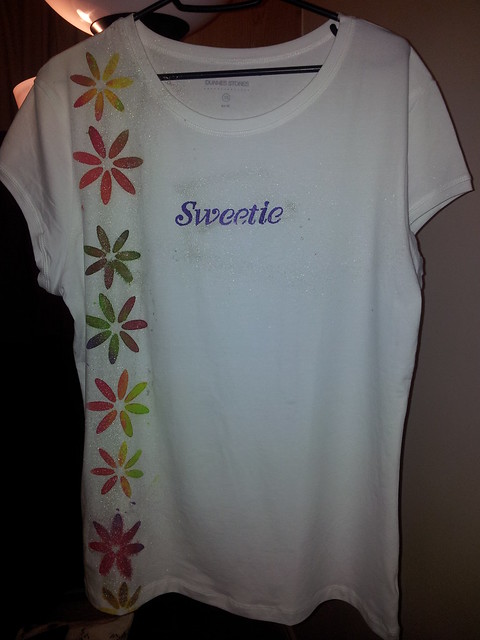
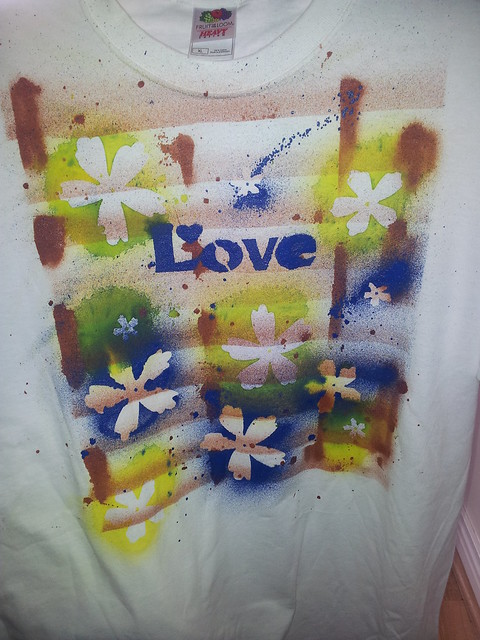
Finally, I felt comfortable enough that I could actually use some airbrush/spray paint techniques – and actually did a “brick” style layout using some old cardboard to make “stripes” and short lines. Then, waited for it to get to mostly dry. Next, I laid out a stencil for the lettering – and popped on a few flower shapes to spray around. This resulted in a couple interesting looks:

t shirts for Jacqui's hen night

t shirts for Jacqui's hen night

In the end, we didn’t use the shirts while site seeing before the main evening party as I had thought (we didn’t all arrive at the same time, and not all of us site-saw together) but I did give them to the girls as a momento of the weekend. They went over well – as the girls could choose which ones they wanted according to size. The best part was that they were all in similar colors, but they were all slightly different – which meant each person’s personality was reflected a little bit in each shirt.

A few notes – the total ended up being 120 for the shirts had I purchased them pre-made. For these, I spent 110 and my time. I do however have the stencils and spray paints left – only 2 cans having run out after having made a total of 18 shirts. I’m planning on using the fabric spray and stencils on some pillowcases, a couple pairs of jeans, and have some other ideas as well. I think for the cost the project was quite worth it – especially because of the leftover paints.

I actually think this could / would be quite a fun thing for an older child’s birthday party. They can make their own “spray paint” tie dye t shirts quickly and easily out in the back garden – and let them dry for 30 minutes while you sit down to have cake and gifts / play some party games. It’d be a fun addition to the goodie bags and a really neat keepsake if you have kids who love crafts.

Share

How to Make a Voodoo Doll

IMGP0381-26

Earlier this month, I was talking to the Bar Manager over at Fibbers Rock bar on Ormond Quay about how I think there should be a Mardi Gras type celebration here in Dublin. Out of this idea, there result snowballed – and I offered to do the decorations for the New Orleans Style “Voodoo Mardi Gras” party for Charity. Jason got a band booked – T-bone (more on them later) and I started on the decorations, determined to make this an awesome event.

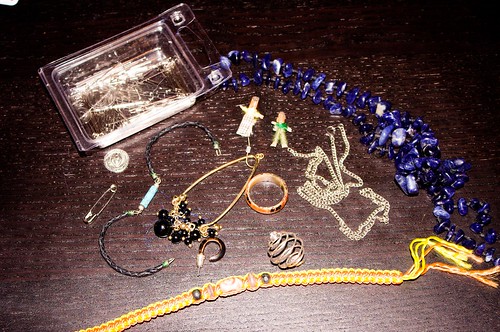
Being that this was to be a Voodoo Mardi Gras party at a Rock bar, naturally, we needed some Voodoo Dolls as decorations. After some looking about, and knowing that I can’t sew – I figured out a fairly fast way to make the dolls themselves – and get them put together using fabric glue and some bits and pieces of crafting stuff I had about. Here’s how I did it – and what you can do to make your own No Sew Voodoo Doll.

What you need:

  • Old Fabric – I used plain colors, but old t-shirts, sheets, or tea towels would do as well.
  • Scissors
  • Fabric Glue
  • Sewing Pins
  • Newspaper
  • Stuffing (I got some poly cotton stuffing – a small bag made ~4 dolls)
  • Fabric Markers
  • craft odds and ends – old buttons, old beads, broken necklaces/bracelets, craft foam, ribbons, yarn, craft flowers, feathers, glitter glue, the sky’s the limit.


    Step 1:
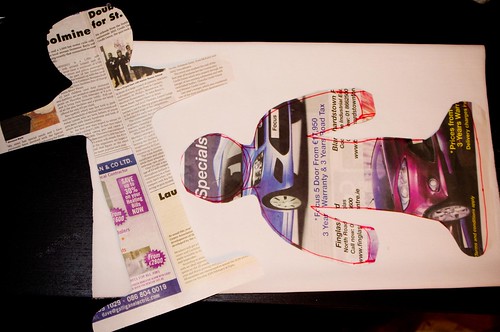
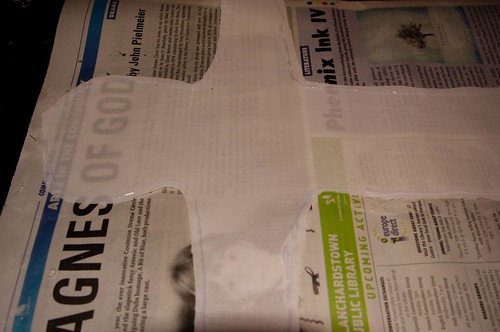
    Lay out your newspaper and draw the appropriate shape for the Voodoo Doll you want. I found it easier to do the legs together and the arms out, but I also made one pattern with the arms at the side. Make it about twice as big as you think it should be. Eg. The arms were about two finger widths wide to account for the glue and turning it inside out.

    Step 2: Cut out your shape.

    IMGP0294-1

    Step 3: Pin the shape to your fabric – I folded my fabric so that I cut 4 at the same time (2 doll fronts/backs)

    Step 4: Cut the shape out of the pinned fabric, and remove the pins.

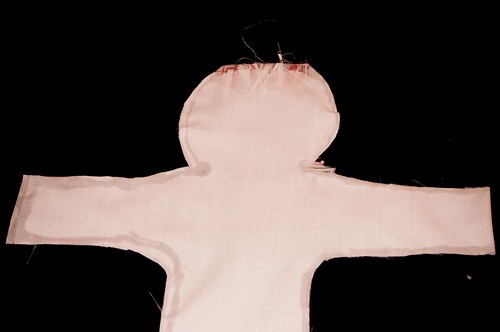
    Step 5: Lay down some newspaper to keep the fabric glue off your table. Place down the first bottom of the doll and apply the glue to the outer edges, leaving the area near the foot part with no glue so you can turn it inside out later.

    IMGP0309-11

    Step 5.5: (Optional: if you want the doll to have “hair” you should apply the glue, the ribbon/yarn/other pieces of fabric sticking toward the inside of the doll)

    Step 6: Carefully lay another piece of your fabric down on top of the first piece, carefully lining up the edges. Push down on the glued area with the back of a spoon to make sure it is well adhered.

    IMGP0299-2

    Step 7: Set it aside to dry for about an hour.

    Step 8: After the glue has dried, take your piece off the newspaper. The glue should have dried clear.

    IMGP0301-3

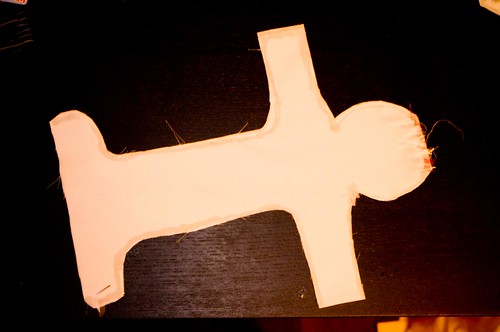
    Step 9: Turn the doll shape inside out.

    IMGP0303-5

    Step 10: Use an unsharpened pencil to push out all the edges of the arms and into the edges of the legs or head.

    IMGP0305-7

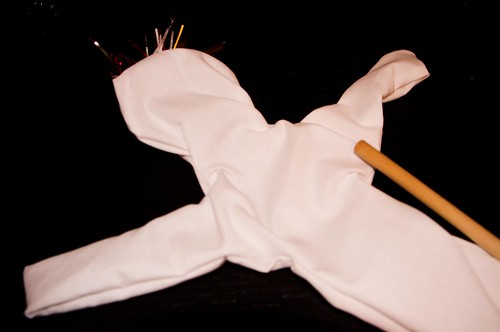
    Step 11: Your doll should now look something like this:

    IMGP0304-6

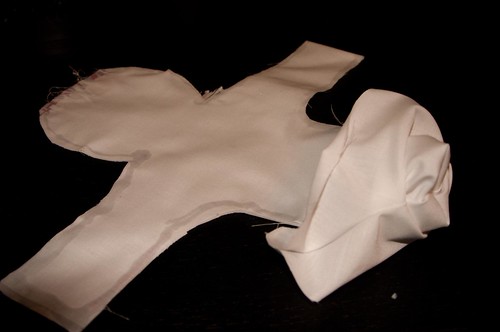
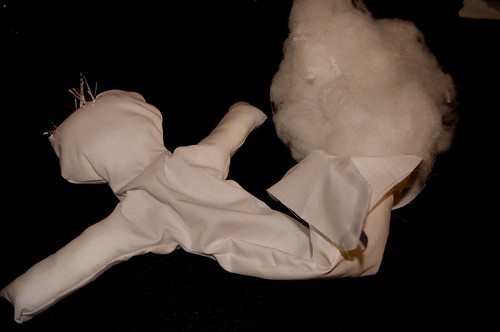
    Step 12: Let’s get stuffing! Carefully break up your stuffing and place it into the doll. I recommend filling the arms up first, then working from the head down. Use the pencil to push it into the arms and pack it tightly, being careful to not overfill and break the glue seam.

    IMGP0306-8

    Hint: As you fill your doll, you may discover that the arms curve, or that the head tilts. Personally, I think it gives them more personality.

    Step 13: Add or remove stuffing as needed, until you have filled it almost to the end, leaving space to turn in the base and glue closed.

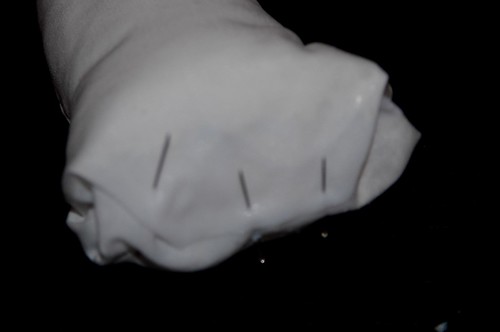
    Step 14: Fold in the ends, and apply fabric glue anywhere that the fabric will touch itself. Be generous, but try to be neat. Once applied, you may need to pin the end closed to hold it together while the glue dries.

    IMGP0308-10

    Step 15: Set aside and let the glue dry on the base. When dry, remove the pins.

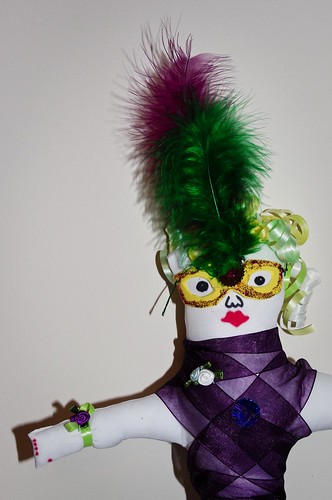
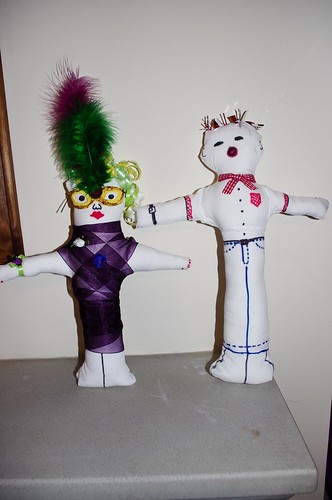
    Step 16: Let’s Decorate. I raided my craft odds and ends stash for all of the dolls that I made. I picked up fabric scraps for clothes, old buttons, broken bits of jewelry, old ribbons, old stuffed animal bits, some tiny paper dolls, feathers, etc etc and attached them by tying, glue, or few stitches. Don’t forget to draw on some faces.

    IMGP0302-4

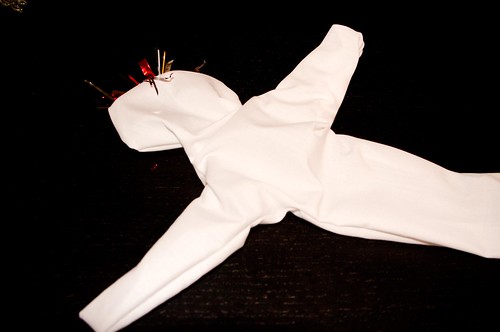
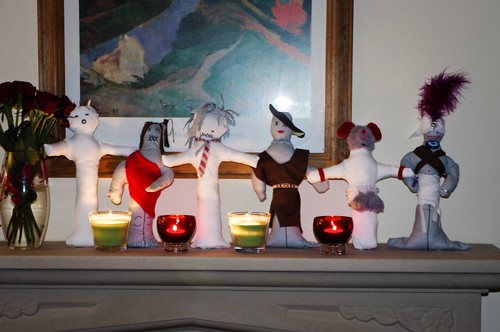
    Step 17: Your voodoo doll is complete. Light a few candles, stick them with pins or toothpicks, place on the mantle, and enjoy.

    IMGP0318-20

    A few thoughts – I was making several dolls at once, I turned it into a type of assembly line. I cut them all first, then glued 3 or 4 and set them aside. Then, I cooked dinner. After dinner, I turned them all inside out, glued the other 4 and set those 4 aside to dry. Returning to the first 4, I stuffed those and closed the ends off. By the time this was complete, The second “set of 4” was done, so I repeated the turn inside out, stuff, and glue ends. Setting those 4 aside, the first 4 were done, and I began to dress and decorate.

    IMGP0380-25


    Share