Halloween is one of my favorite times of the year. To me, it’s all about the children and just having fun in costume, being anything that you ever wanted to be. It’s the one night where we give “license” to kids and adults alike such that we can play a different role – be scared, and scare others for a laugh. It’s a night where it’s okay to “not be happy” all the time, and where it is encouraged to go up and talk to strangers and say “trick or treat”.
For me, I tend to go a bit “overboard” according to my neighbors. You see, rather than just opening the door and giving out candy, I dress up, plan weeks in advance, buy bulk candy, toys, pencils, erasers, and mini activity books and then buy a bunch of white paper “goodie” bags to give out to the little ghosts and ghouls. I find that the “goodie bag” concept lets me do a few important things:
a) Keep track of how many trick or treaters I’ve had (I know how many bags I made… and how much they cost).
b) Figure out what the cost is and how much I may need for the next year
c) Each bag is hand decorated – but also has my info on them. Parents have mentioned that they like this because it’s memorable and they feel more comfortable if their children want to have some candy while they’re out trick or treating.
d) The children are delighted because it’s a “surprise” in the package. Also, because it’s not just candy – it’s pencils, erasers, and so on, they have something they can take to school or enjoy far beyond the 2 minutes candy might take them to eat.
Most years, I opt for goodies Oriental Trading Company as they have great bulk options for candy, bulk pencils, halloween themed erasers and so on. I try to figure about 0.30- 0.50 per bag, and most years actually end up just under this because the bulk items really are cheaper.
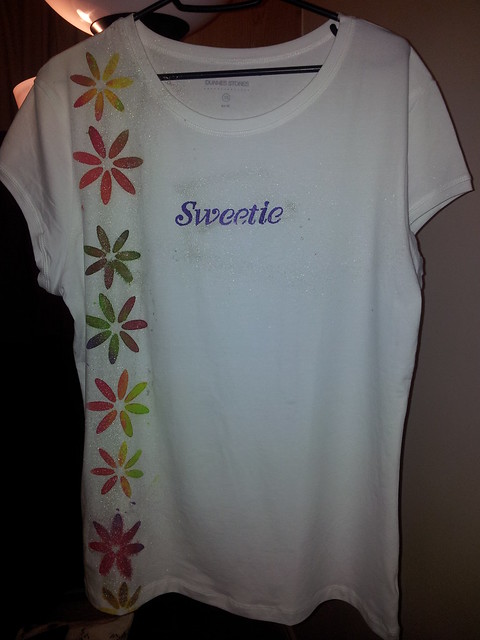
This year, as I’m in Ireland, I bought the candy at the local 1 euro store, and got the goodies off of both eBay and two Irish party stores. The paper goodie bags are bought 50 to a pack for about 2 euros. This year, I bought 2 packages of 100, and then spent 2 evenings after dinner (about 4 hours total) decorating them with my permanent markers.
This could be done by yourself or your children to get them into the spirit. Some ideas that were quick and simple to whip up:
Written words:
Happy Halloween
Boo
Trick or Treat
Spooky
Scary
Frightened Yet
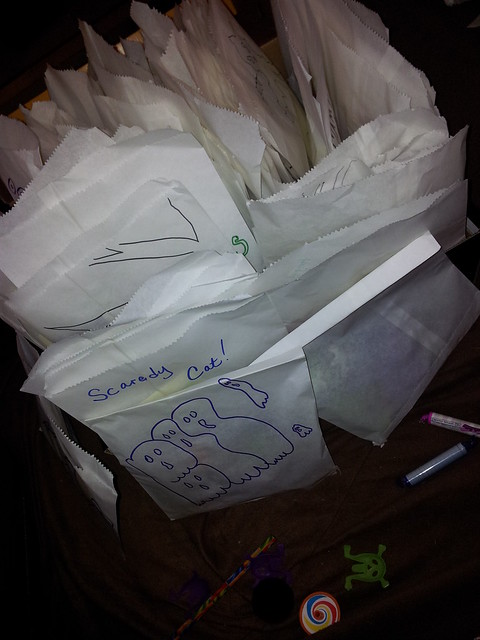
“scaredy cats”
Candy,Candy,Candy
Pirate’s Loot
Magic
Some drawing ideas:
Ghost
Cemetery
Black Cats
Bats
Wolf howling
Moon
Witches Hat
Wizard’s Hat
Witches Calderon
Broom
Pumpkins
Jack o Lanterns
Candy Bag
Voodoo Doll
Frankenstein’s Monster
Mad Scientist
Bride of Frankenstein
Pirate
Skull & Cross Bones
Treasure Chest
Zombies
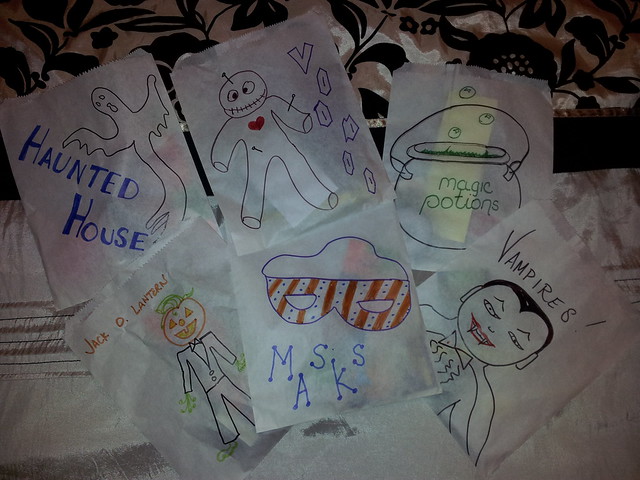
I ended up with about 2 designs of each, and some were better than others. The key here is that the kids don’t expect them to be perfect but if they can get the “idea” they’re happy. If you’re not drawing inclined, I’m sure there are templates online, and also you can see what I’ve done example wise from the pictures. Once all the bags are completed, have a “fill” party. I put in 2 pieces of candy, a pencil, an eraser and one of either sticker, fake tattoo, halloween game or halloween puzzle book. I then fold down the top of the bags and stand them up in a box near the door. This makes for easy handing out to trick or treaters when the time comes.