Pottery Experience

Back when I was in high school, I did a 9 week segment in clay, pottery building, and sculpture. As part of this, we learned the basics of slab and coil construction as well as using a potter’s wheel. Earlier this year, when there was a Groupon deal for a “pottery experience” at Artworks Cafe in Portmarnock including tea, cake, 1 painted item and a basic lesson in making a pot on the wheel for two people (45 Euro) I couldn’t resist. This past weekend, I used my voucher and here are the pre-fired results.

When I first arrived, we were seated at a bunch of tables and given a choice of a plate with rim, a plate with no rim, or a mug to paint and fire. I chose a plate. From there, they gave us the option to draw a design or use a bunch of books (or various internet sites) to search for our own design for the pottery. Halloween is near, and after flipping through several books, I found the inspiration for my design:

pottery experience

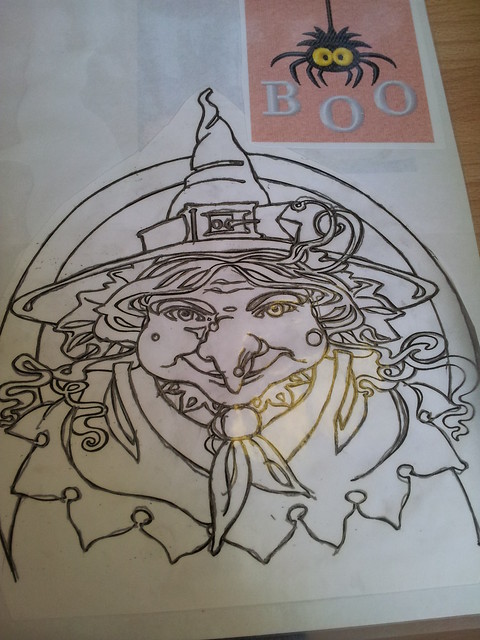
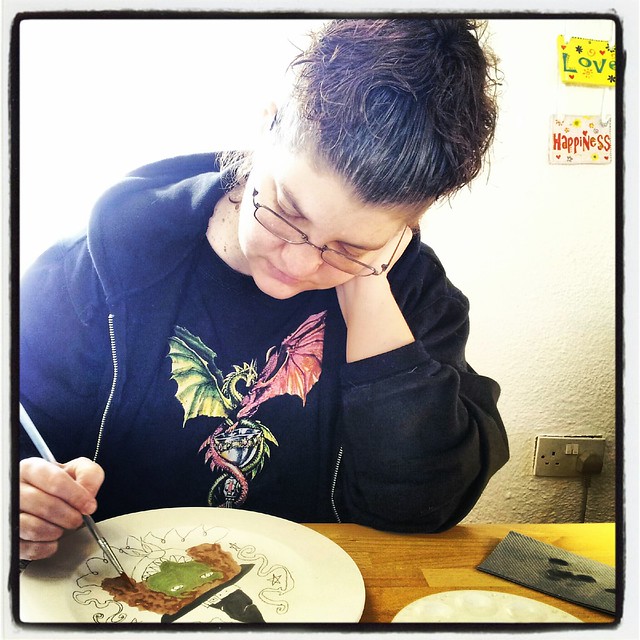
Because everyone else was busy with the tracing paper, I figured I could free hand draw it on the plate (the picture itself was way too big) and I added some of my own touches. Long before the others were started painting, I picked up the brush and started on with my design. First, I mixed up the green, and then I painted the black hat.

pottery experience

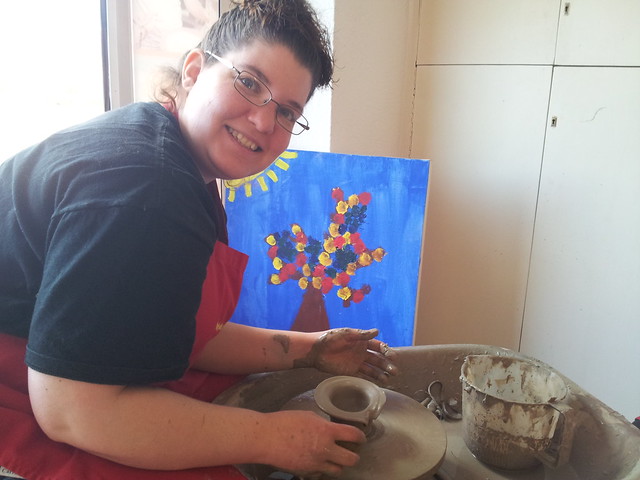
Meanwhile, A chose his mug and began drawing a simple design on his as well. Shortly afterward, we were invited over to the landing and shown the basics of potting on the wheel. I was the only person who had done it before – and went first after the teacher.
pottery experience

I managed to quickly center my little slab of clay and began shaping. I think I forgot how much strength this can take – and just how messy it is, but the basics from my art class still remained.
pottery experience

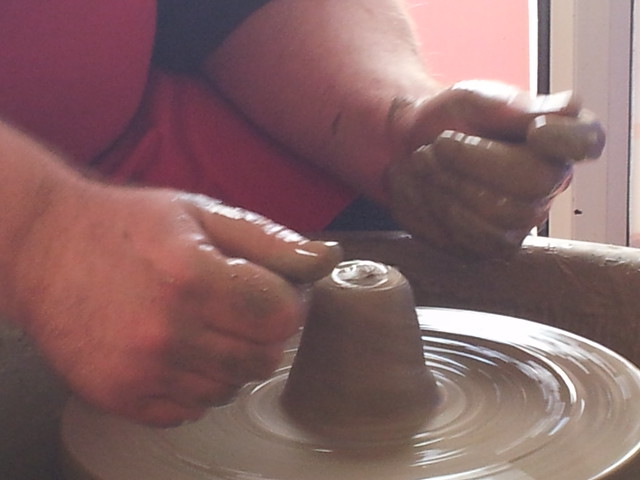
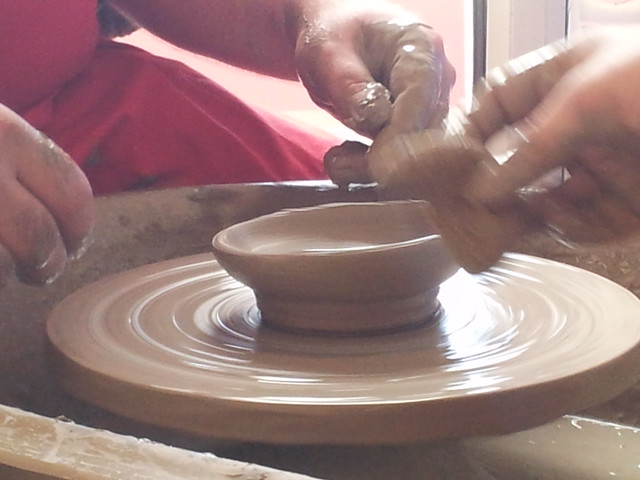
Adding water, I continued to work the clay into a rounded bowl shape.

pottery experience

Eventually, I worked it up into a bowl, and added a lip. Sadly, though, when I turned to have a picture made – I nicked it – thus, you see the dent in the corner –

pottery experience

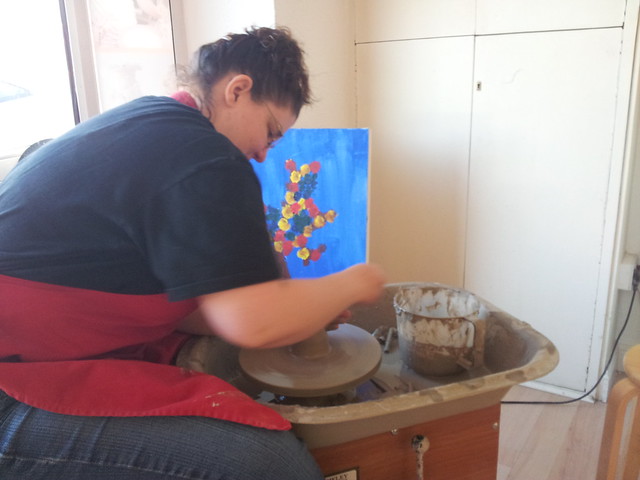
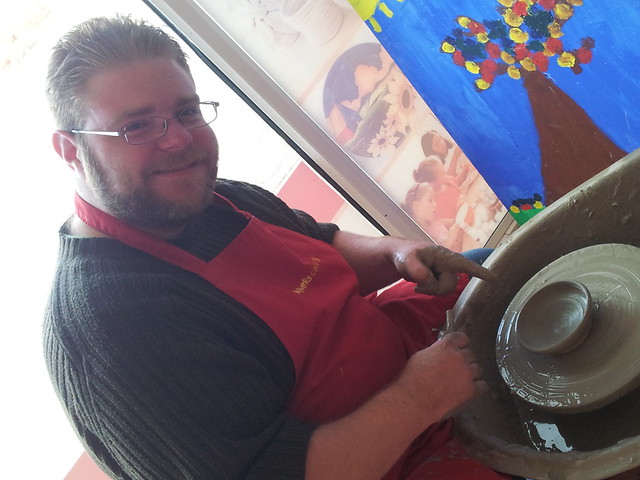
In the end, however, after a little more working, I decided to let the “nick” be a feature, added some stripes with one of the clay working tools and called it done. (It was easier than destroying the entire piece and starting over). It will take 3-4 days to dry, and then will be dipped into green before being fired and glazed.

Next up it was A’s turn. He’d never done this before, and it took him longer to get the clay centered. (I recall this took the longest time to learn for me as well). He did eventually get the piece centered and started out making the little bowl too.

pottery experience

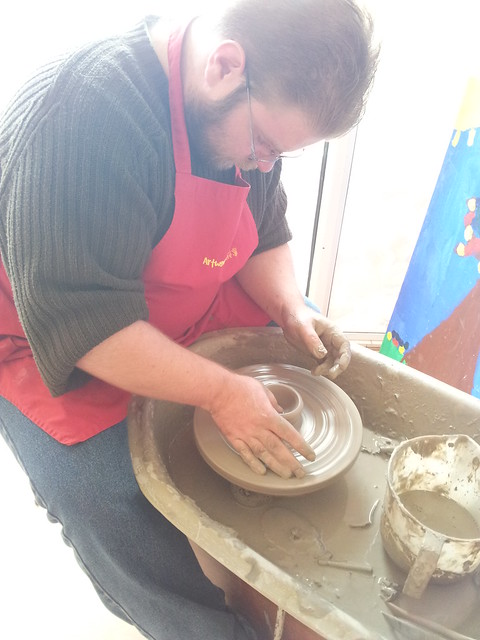
He raised the sides and, as is common when trying to make a pot on the wheel, found that the pressure has to be exactly even – or the pot goes wonky and off center.

pottery experience

He kept working at it though, and while still off kilter, it did become a small bowl shaped piece, and one which as a first time attempt is quite good.

pottery experience

When we were both done, we went back to painting.

pottery experience

About an hour later, my “magic” plate was finished being painted

pottery experience

as was A’s mug:

pottery experience

We both had such a nice time, that we’re for sure going to have to go back and paint / play on the wheel more. At this point, we’re just waiting for the projects to be fired – This happens every couple weeks – and then for them to text and let us know that they’re ready. I’ll post the pictures when they are done. Otherwise, I would recommend taking the chance to do some pottery painting (I think even the kids will like it as it’s quite hands on) and/or get messy with the wheel. Also, if you’re in the area, I would recommend the Artworks Cafe, for sure.

Share

Sewing Class

Well, I did it. I finally broke down and bought a voucher to learn to sew with a sewing machine. The funny thing is that I’m not quite sure how I managed to make it for 30 something years without actually learning to use a sewing machine – my mom, dad, grandma, and great grandma all make quilts, clothes and so on. Somehow, however, when it came right down to my learning how to do this, I quite simply didn’t.

Mom would say it wasn’t for lack of trying. I can remember her offering to teach me several times and me just saying no thanks. My grandma, I know she did get me seated at her machine when I was knee high to a rattle snake – we made a pillow – but I was more interested in trying to go outside and play when I was about 5 years old than I was in learning how to sew something together. Dad – when I mentioned about the class, he said I really thought you knew – didn’t you take that as a class in school?

Well, I did take a home economics class in middle school (6 weeks to cram everything in from sewing basics, to cooking basics, to how to balance a budget and a checkbook). As I recall we did learn a few basic stitches – eg. learn to sew on a button, a snap and repair a hole. We also “learned” to use a foot treadle powered sewing machine – there were 3 for 30 students – for about 20 minutes in the basic course. Let’s just say that it didn’t stick. I’m not sure if I just didn’t learn, or if I didn’t remember because I didn’t want to learn – but modern machines are quite different than this treadle powered beast of a machine which we used.

Anyhow, I decided, after seeing a pile of trousers that needed hemmed (and spending 15 Euros each to have them hemmed) that it would be a great idea to finally learn to sew. The voucher came just in time, and was a basic 3 hour course at When Poppy met Daisy to learn to use a sewing machine. Me, H, and J all decided to attend, as a “girls night out” type event. We had to each pick out our fabrics – H chose a pink print with little hearts, J chose a fabric with cats and funny social networking quotes. I chose an abstract big flower print from ikea.

Untitled

The class covered the basics – from threading the machine, to creating a bobbin and bobbin thread.

Untitled

Once we learned the basic parts of the machine, the instructor started us out sewing on a piece of lined notebook paper – both a straight stitch and a zigzag stitch. The paper, because of lines, let us learn to sew straight lines. It also helped us to judge if we were going too fast / too slow (the paper would tear) or if we needed to adjust the tension higher or lower. Brilliant idea – as it wasn’t actually messing up any fabrics.

Untitled

Once we had mastered the straight lines, we moved on to some scrap fabric – sewing a basic hem. Then we moved on to the French Hem.

Untitled

Finally, we started on our project, combining all that we had learned together. It was a makeup bag, closing with a smidge of velcro. We had 3 happy girls by the end of the class – and I think that I’ll eventually go back and learn some additional stitching – like shirt or skirt making.

Untitled

On a side note, despite the fact that it was supposed to be a makeup bag, J decided it made a better hat than a bag.

Untitled

Well, I guess that’s one way to do it!!

Share

Ceroc Dancing

Since late last year, I’ve been taking some dance classes in a style called Ceroc.  It’s been a great opportunity to meet a few people, learn to dance, and have a fun evening out that’s not sitting at home!

As can only be expected, the dance class is mostly women, but we have a good few men in the class who are learning as well.  I’m surprised at the ages of the different classes – I’ve seen people from about 20 all the way up to their 60’s learning to dance.  I have a sneaky suspicion that it’s because of shows like “Dancing with the Stars” and “Strictly Come Dancing” that some people are in the class – but I have to say whatever the reason, its been fun to dance with multiple partners – and even more so, to have partners that actually WANT to dance and are enjoying themselves too.

So, you ask me, what is Ceroc?

Well, it’s a male led dance that is a combination of modern swing, jive, salsa, and merengue.  It also has steps from the Tango and Rhumba, but not necessarily all the complex footwork.  It’s fairly easy to learn – and in a single class, you learn enough moves for most guys to actually “look” like you know what you’re doing on the dance floor. 🙂 Oh – and the best part? It can be danced to almost any type of music you want. There’s over 250 steps by the time you make it through the highest level advanced levels – with the beginners learning about 18 or so in the first 6 weeks. They’re done in any combination (as led by the man) and it’s always a treat to see the different styles of the people on the floor – in combination.

I don’t have any videos or pictures of myself dancing (I’ll see what I can do), but I can give you a few samples, thanks to youtube. The one at the top of the page is an intro to one of the mid-level classes, and the one below is as well. The bottom one is a guy teaching some modern jive – but he also teaches ceroc – and you get an idea of how the steps are introduced.

Now, anyone want to dance?

Share