Making Bibs

Bibs for Orliath

Over the weekend, I dug out the sewing machine. The funny thing is that I often get asked about ‘fixing’ things using my sewing machine, and the only time that I ever do get out the machine is if someone else asks me to do something for them. I’m not the world’s best at sewing, nor am I very fast at it. To be honest, it is my least favorite “crafty” thing to do, but if I have to I can do it. The result is that when the machine is out (about once every 6-8 months) I go through and “binge sew” on it – to repair everything that needs reparing, make what needs making, and then call it good. I then pack up the machine and it doesn’t see the light of day for another 6-8 months.
Bibs for Orliath

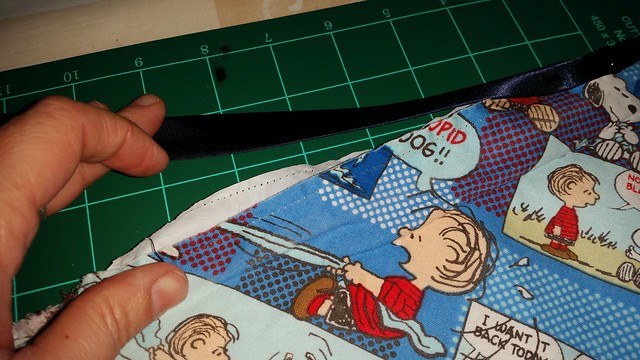
This time, I was asked to repair 4 bibs for Orliath, a gorgeous little girl who wears bibs daily. Sadly, she is confined to a wheelchair, and when I got the bibs, I ended up having to take them apart and remove the binding / ties and then re-sew and replace the binding. You see, the bibs that I was asked to repair are basically 2 pieces of poplin (cotton) fabric with a thin piece of plastic in between (they crinkle when they’re moved).
Bibs for Orliath

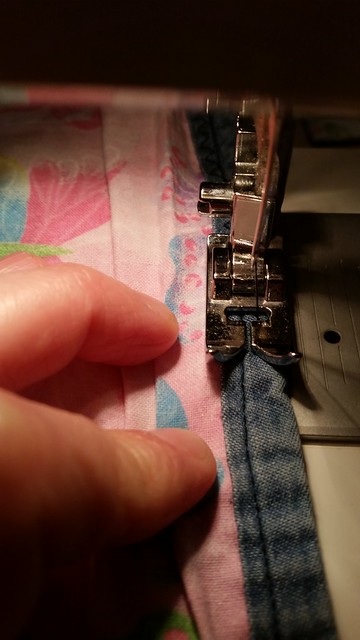
They were sewn with a single stitch on two fold binding tape around the outside edge. The end result was that they came apart after only a (relatively) few washings as the fabric shrank / stretched. It’s quite time consuming and challenging for me – with my limited patience and sewing experience.

Bibs for Orliath

After getting frustrated, I chatted to my mom, dad, and grandma (dad and grandma make quilts) and I posed the problem to them. They told me that it might be faster to make the bibs brand new – and sewn at least twice – once on the inside fabric pieces with a single stitch, and the other with zig zag stitch on the double sided bias tape to effectively give it 3 levels of stitching to “hold”. Once I had the concept – I decided that I could cut a bunch of fabric, and then properly put them together so that they’d need fewer repairs in the future. With the right fabric, I could also give something that’s waterproof and easy to clean – but also soft and not so noisy.
Bibs for Orliath

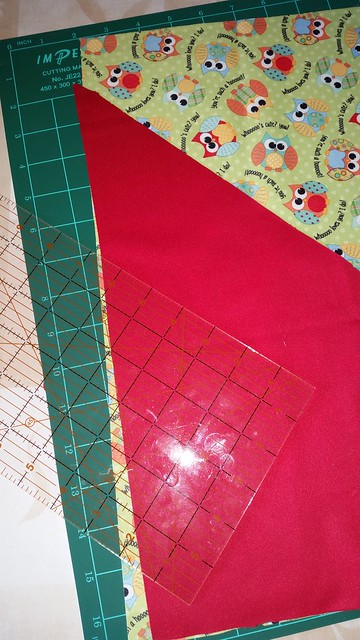
And so it began. I looked on eBay, and found something called PUL fabric – PUL stands for Polyurethane Laminate fabric – and the polyurethane is bound with soft t-shirt and microfiber (to eliminate the “crinkle noise) using an eco friendly adhesive. From here, I decided to try my hand at “creation” using the old bibs as an example. Using the old bibs as a “template” for size (you can see the red piece from one of the bibs I took apart), I started cutting out multiple triangles.
Bibs for Orliath

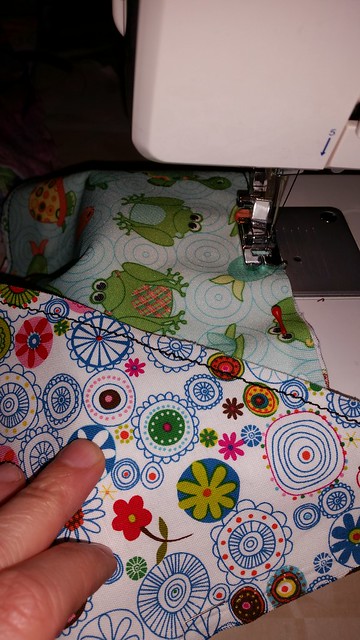
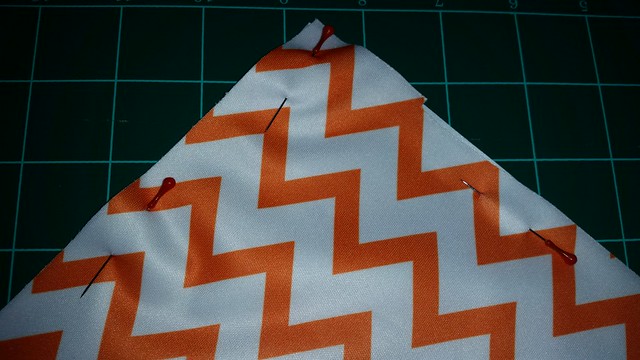
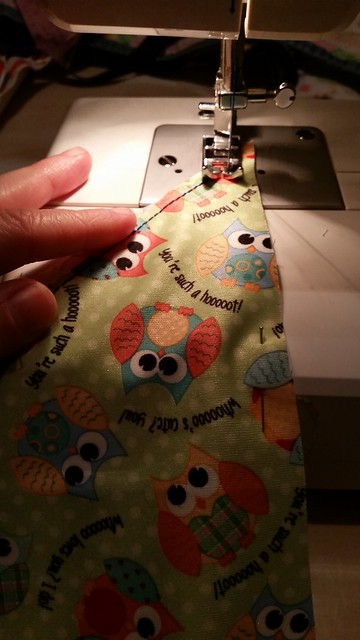
Then, I pinned and sewed the wrong sides together along the edges.
Bibs for Orliath

Bibs for Orliath

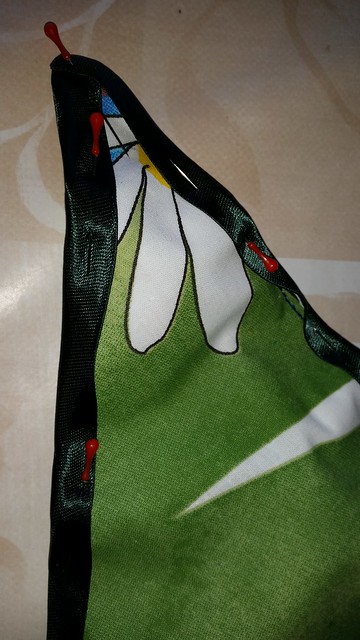
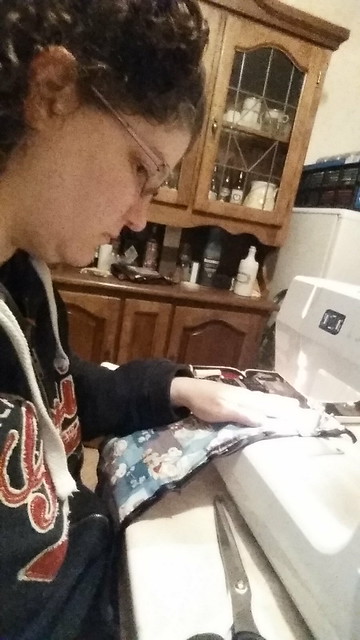
Trimming the excess fabric edges, I then pinned on the satin bias tape and made corners. Now, I went back and did the zig zag stitch over the edges.
Bibs for Orliath

Bibs for Orliath

The end result I think turned out pretty well in my opinion – Orliath ended out with 4 repaired bibs (top of the picture and 5 new bibs from scratch. They’re not perfect (I still have trouble sewing straight seams and keeping the bias tape even on both sides) but they will hold up to washing, chewing, and food – and that’s what counts.

Bibs for Orliath

Share

Winter Sun Crochet Beanie & Squiggle Scarf

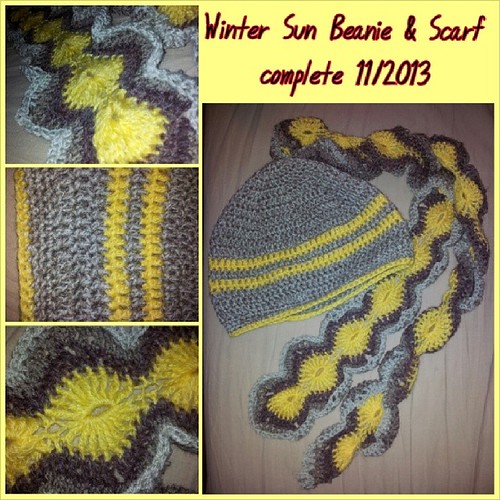
Winter Sun Beanie & Scarf set

Another day, and another beautiful hat and scarf set in my etsy store. This one is called the Winter Sun Beanie & Scarf.

Winter Sun Beanie & Scarf set

Here in Ireland most of the winter is spent in varying shades of gray. It’s a bit sad and depressing for most of us. However, the moment the sun comes out, everyone is happy, full of smiles, and ready to go outside. This scarf reminds me of just that feeling – the moment when the sun comes out.

Winter Sun Beanie & Scarf set

Winter Sun Beanie & Scarf set

Item is finished, so no waiting for it to be made. I take custom orders if you want this set in a different color too!

This can be shipped next business day after payment has cleared. I accept Paypal and etsy gift cards.

Visit my Etsy store to buy it or to see my other items!

Winter sun crochet beanie and scarf set. The beanie is worked double strand, standard hat pattern. The scarf is yellow yo-yo stitches with edging in shades of grey and was made so that it curls around on itself. Self designed crochet. #handmade #crochet #

Share

Making Halloween Bags

Untitled

Halloween is one of my favorite times of the year. To me, it’s all about the children and just having fun in costume, being anything that you ever wanted to be. It’s the one night where we give “license” to kids and adults alike such that we can play a different role – be scared, and scare others for a laugh. It’s a night where it’s okay to “not be happy” all the time, and where it is encouraged to go up and talk to strangers and say “trick or treat”.

For me, I tend to go a bit “overboard” according to my neighbors. You see, rather than just opening the door and giving out candy, I dress up, plan weeks in advance, buy bulk candy, toys, pencils, erasers, and mini activity books and then buy a bunch of white paper “goodie” bags to give out to the little ghosts and ghouls. I find that the “goodie bag” concept lets me do a few important things:

a) Keep track of how many trick or treaters I’ve had (I know how many bags I made… and how much they cost).
b) Figure out what the cost is and how much I may need for the next year
c) Each bag is hand decorated – but also has my info on them. Parents have mentioned that they like this because it’s memorable and they feel more comfortable if their children want to have some candy while they’re out trick or treating.
d) The children are delighted because it’s a “surprise” in the package. Also, because it’s not just candy – it’s pencils, erasers, and so on, they have something they can take to school or enjoy far beyond the 2 minutes candy might take them to eat.

Most years, I opt for goodies Oriental Trading Company as they have great bulk options for candy, bulk pencils, halloween themed erasers and so on. I try to figure about 0.30- 0.50 per bag, and most years actually end up just under this because the bulk items really are cheaper.

This year, as I’m in Ireland, I bought the candy at the local 1 euro store, and got the goodies off of both eBay and two Irish party stores. The paper goodie bags are bought 50 to a pack for about 2 euros. This year, I bought 2 packages of 100, and then spent 2 evenings after dinner (about 4 hours total) decorating them with my permanent markers.

This could be done by yourself or your children to get them into the spirit. Some ideas that were quick and simple to whip up:

Written words:

Happy Halloween
Boo
Trick or Treat
Spooky
Scary
Frightened Yet
“scaredy cats”
Candy,Candy,Candy
Pirate’s Loot
Magic

Some drawing ideas:
Ghost
Cemetery
Black Cats
Bats
Wolf howling
Moon
Witches Hat
Wizard’s Hat
Witches Calderon
Broom
Pumpkins
Jack o Lanterns
Candy Bag
Voodoo Doll
Frankenstein’s Monster
Mad Scientist
Bride of Frankenstein
Pirate
Skull & Cross Bones
Treasure Chest
Zombies

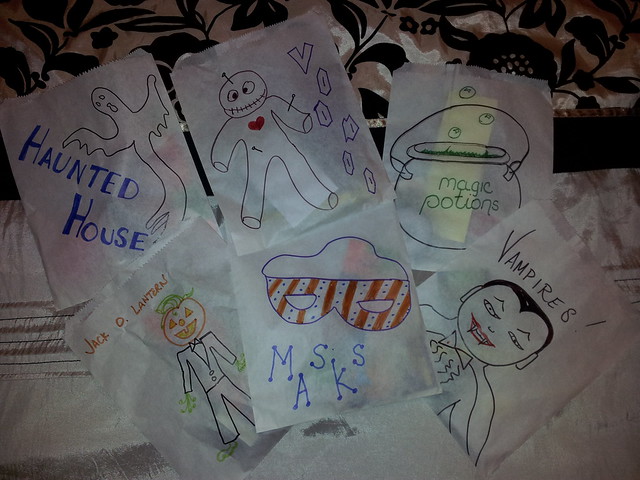
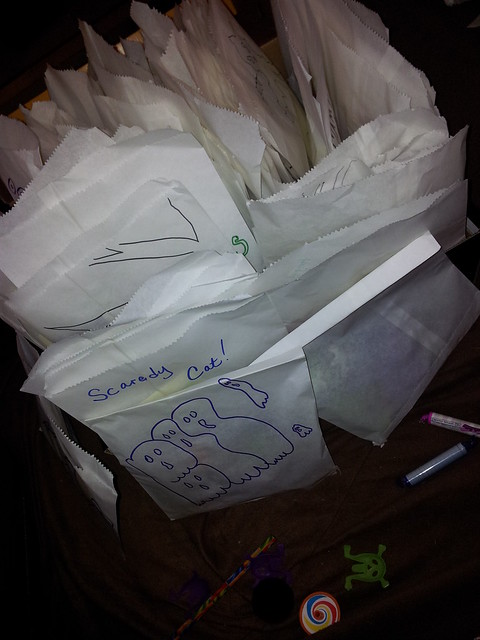
I ended up with about 2 designs of each, and some were better than others. The key here is that the kids don’t expect them to be perfect but if they can get the “idea” they’re happy. If you’re not drawing inclined, I’m sure there are templates online, and also you can see what I’ve done example wise from the pictures. Once all the bags are completed, have a “fill” party. I put in 2 pieces of candy, a pencil, an eraser and one of either sticker, fake tattoo, halloween game or halloween puzzle book. I then fold down the top of the bags and stand them up in a box near the door. This makes for easy handing out to trick or treaters when the time comes.

Untitled

Share