Foggy Foggy Day

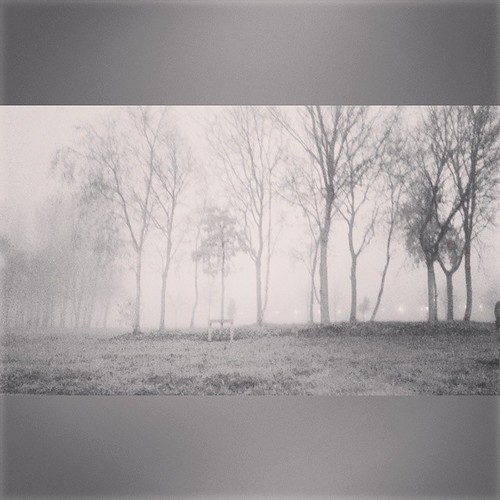
Foggy this morning in Castleknock looking toward the train station. #fog #ireland #blackwhite #mystery #ghost #autumn #autumnevenings #clouds #magic #photography #ilobsterit

A bit of retro blogging as I haven’t been sharing some of the random pictures that I’ve taken over the last few months.

20141126_074233

20141126_074534

One thing that’s cool about Ireland is that in Autumn and early spring, we get lots of foggy days. One particularly bad day of fog was November 26, 2014. In the morning, the fog was pretty bad, but as the day went on, it got worse and worse.

20141126_164631

Arriving to work, you could really see the intensity – because you couldn’t see the steps to the bottom of the hill, nor could you see much beyond the parking lot.

20141126_164705

By the dark of evening – the fog was so intense that I couldn’t even see past the end of the driveway – and it blurred the houses across the street. That means that visibility was down to about 50 feet or so. I decided to stay in and light a fire, and work on crocheting – after all – who wants to be out in the “fog” that horror stories are written about?

20141126_180254

20141126_170614

Share

Tooth fairy Pillows

Over the weekend, I dug out the sewing machine. The funny thing is that I often get asked about ‘fixing’ things using my sewing machine, and the only time that I ever do get out the machine is if someone else asks me to do something for them. I’m not the world’s best at sewing, nor am I very fast at it. To be honest, it is my least favorite “crafty” thing to do, but if I have to I can do it. The result is that when the machine is out (about once every 6-8 months) I go through and “binge sew” on it – to repair everything that needs reparing, make what needs making, and then call it good. I then pack up the machine and it doesn’t see the light of day for another 6-8 months.

Bibs for Orliath

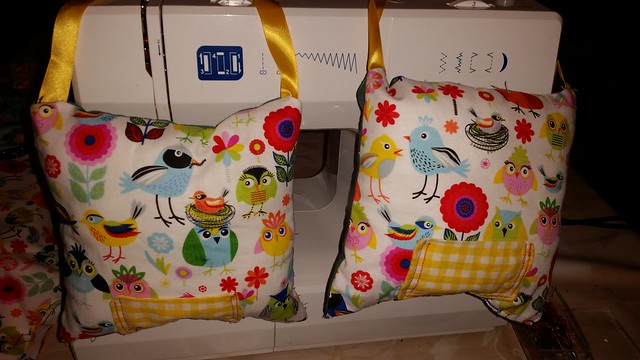
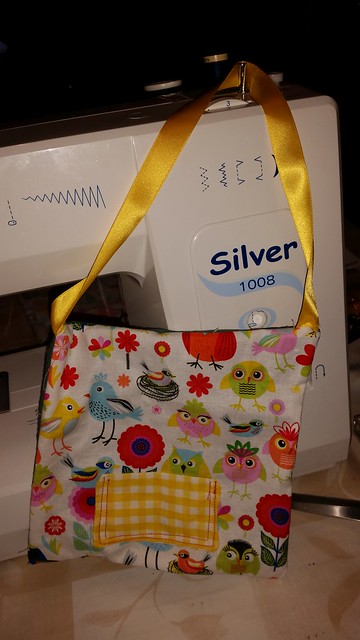
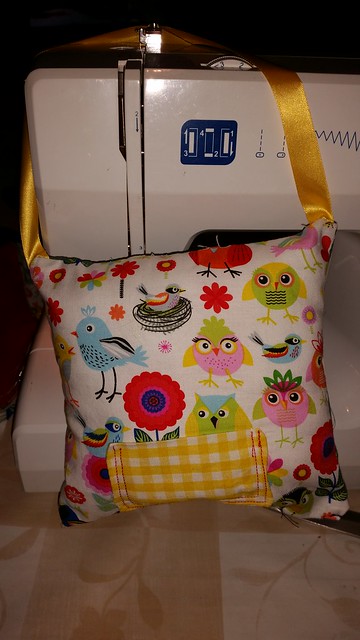
Yesterday, I told you what got me started on my “sewing” binge – the need to repair four bibs. The thing is that while I was at it, I remembered that I had promised my niece and my cousin’s daughter that I would make them tooth fairy pillows. A tooth fairy pillow is a little tiny pillow with a pocket. As a child begins losing their baby teeth, they put them into the pillow where the tooth fairy can easily take them (without getting squished by the sleeping child) and leave a little gift in return.

Bibs for Orliath

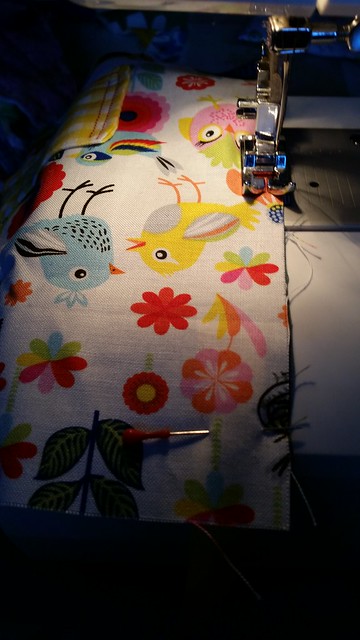
After making the bibs, I had some leftover cotton fabric, and thought this would be fun to use for the kids. I cut some small 4 x 4 inch squares and on one piece of fabric, sewed a little pocket. From there, I pinned the right sides of the pillow together, along with the ribbon to use to hang from the door.

Bibs for Orliath

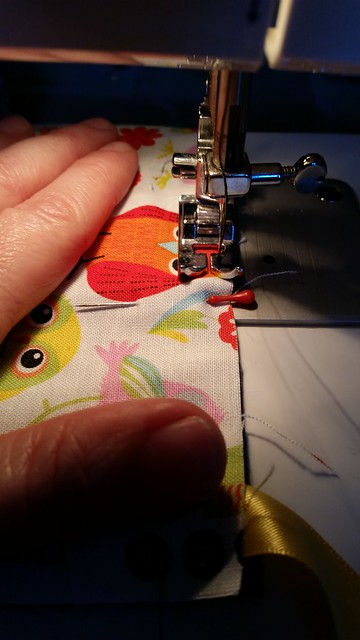
I sewed the right sides together, trimmed the excess fabric,

Bibs for Orliath

and then turned the pillows inside out.

Bibs for Orliath

Making a french seam, I now sewed around the pillow again – making sure to hide the previous stitch and avoid catching the “door loop” in the stitches.

Bibs for Orliath

Having left a small opening for the “stuffing”, I turned the now stitched pillow right side out and then filled it with stuffing from old bed pillows – just enough to make it poofy. Now, I stitched up the hole in the bottom.

Bibs for Orliath

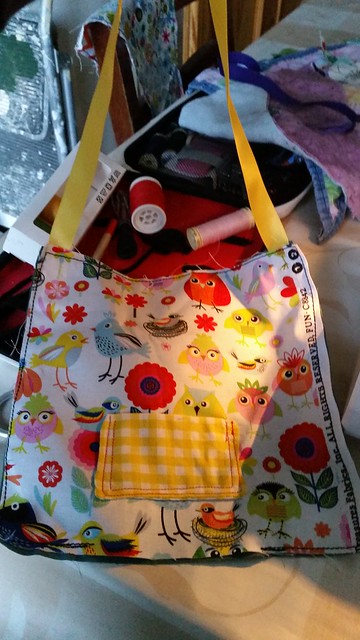
Viola! A little Tooth fairy pillow is complete!

Bibs for Orliath

Share

Making Bibs

Bibs for Orliath

Over the weekend, I dug out the sewing machine. The funny thing is that I often get asked about ‘fixing’ things using my sewing machine, and the only time that I ever do get out the machine is if someone else asks me to do something for them. I’m not the world’s best at sewing, nor am I very fast at it. To be honest, it is my least favorite “crafty” thing to do, but if I have to I can do it. The result is that when the machine is out (about once every 6-8 months) I go through and “binge sew” on it – to repair everything that needs reparing, make what needs making, and then call it good. I then pack up the machine and it doesn’t see the light of day for another 6-8 months.

Bibs for Orliath

This time, I was asked to repair 4 bibs for Orliath, a gorgeous little girl who wears bibs daily. Sadly, she is confined to a wheelchair, and when I got the bibs, I ended up having to take them apart and remove the binding / ties and then re-sew and replace the binding. You see, the bibs that I was asked to repair are basically 2 pieces of poplin (cotton) fabric with a thin piece of plastic in between (they crinkle when they’re moved).

Bibs for Orliath

They were sewn with a single stitch on two fold binding tape around the outside edge. The end result was that they came apart after only a (relatively) few washings as the fabric shrank / stretched. It’s quite time consuming and challenging for me – with my limited patience and sewing experience.

Bibs for Orliath

After getting frustrated, I chatted to my mom, dad, and grandma (dad and grandma make quilts) and I posed the problem to them. They told me that it might be faster to make the bibs brand new – and sewn at least twice – once on the inside fabric pieces with a single stitch, and the other with zig zag stitch on the double sided bias tape to effectively give it 3 levels of stitching to “hold”. Once I had the concept – I decided that I could cut a bunch of fabric, and then properly put them together so that they’d need fewer repairs in the future. With the right fabric, I could also give something that’s waterproof and easy to clean – but also soft and not so noisy.

Bibs for Orliath

And so it began. I looked on eBay, and found something called PUL fabric – PUL stands for Polyurethane Laminate fabric – and the polyurethane is bound with soft t-shirt and microfiber (to eliminate the “crinkle noise) using an eco friendly adhesive. From here, I decided to try my hand at “creation” using the old bibs as an example. Using the old bibs as a “template” for size (you can see the red piece from one of the bibs I took apart), I started cutting out multiple triangles.

Bibs for Orliath

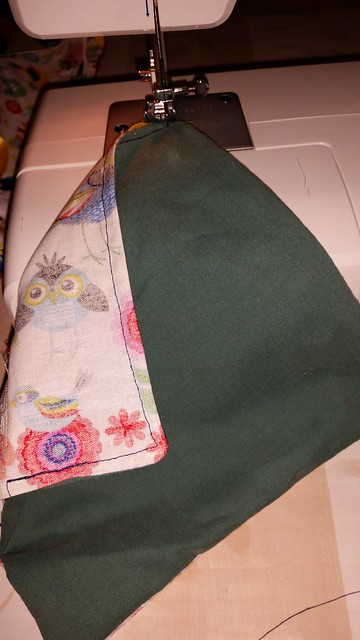
Then, I pinned and sewed the wrong sides together along the edges.

Bibs for Orliath

Bibs for Orliath

Trimming the excess fabric edges, I then pinned on the satin bias tape and made corners. Now, I went back and did the zig zag stitch over the edges.

Bibs for Orliath

Bibs for Orliath

The end result I think turned out pretty well in my opinion – Orliath ended out with 4 repaired bibs (top of the picture and 5 new bibs from scratch. They’re not perfect (I still have trouble sewing straight seams and keeping the bias tape even on both sides) but they will hold up to washing, chewing, and food – and that’s what counts.

Bibs for Orliath

Share