Earlier in May, I moved from my old apartment in Blanchardstown to a new (to me) rental home in Castleknock – about 10 minutes away from where I was. The home is about 25 years old, and made of cinder blocks. The inside is pretty standard for a 3 bedroom 2 level home, though it needs some work for modernisation and updating. The yard/ garden is a good size – but you can tell it hasn’t had much work recently. (The last renters left the place in quite a poor state).
When I went to move in, I explained to the renting agency that myself and my roommate are two professional ladies, and that my father has owned a grounds maintenance / landscaping business for 20+ years. I grew up with grandparents that farmed and then my father who constantly was putting me to work with flowers, planting, mowing, and taking care of a yard / garden. I could see the “potential” of the property – and couldn’t wait to make it beautiful again. Well, I think that was the clincher.
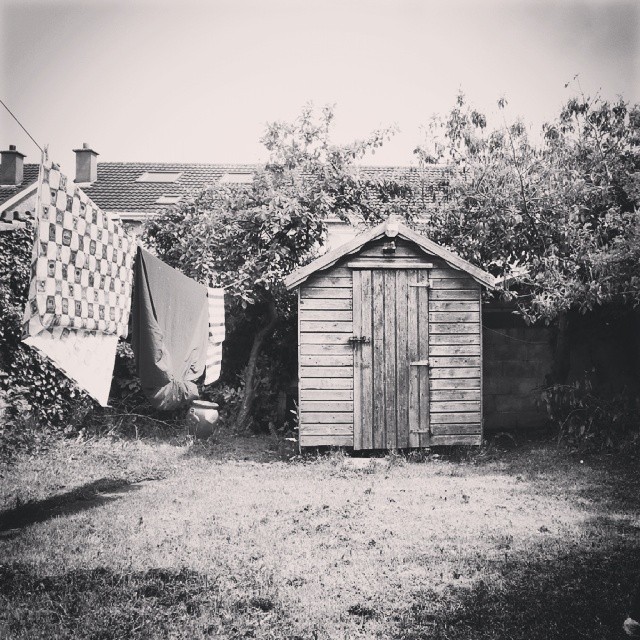
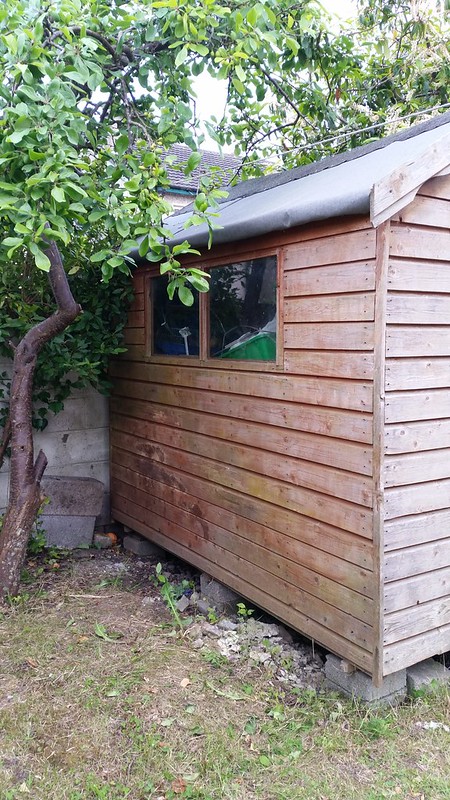
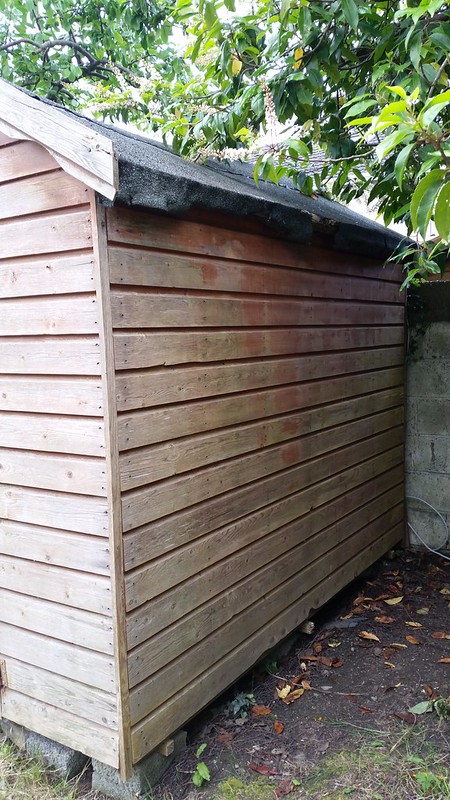
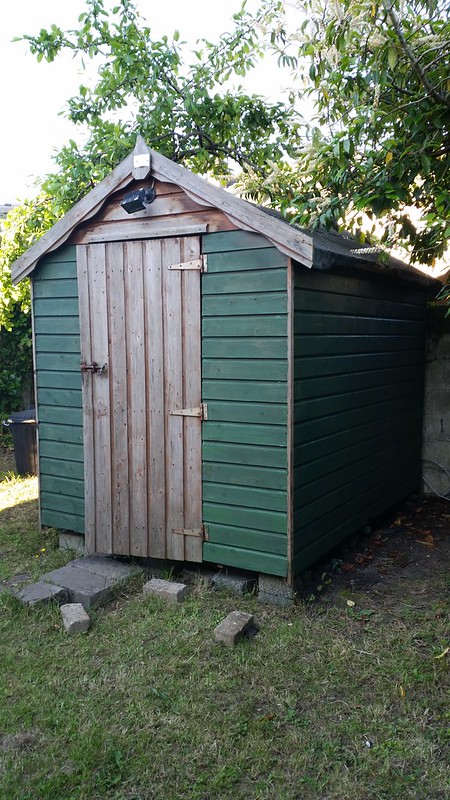
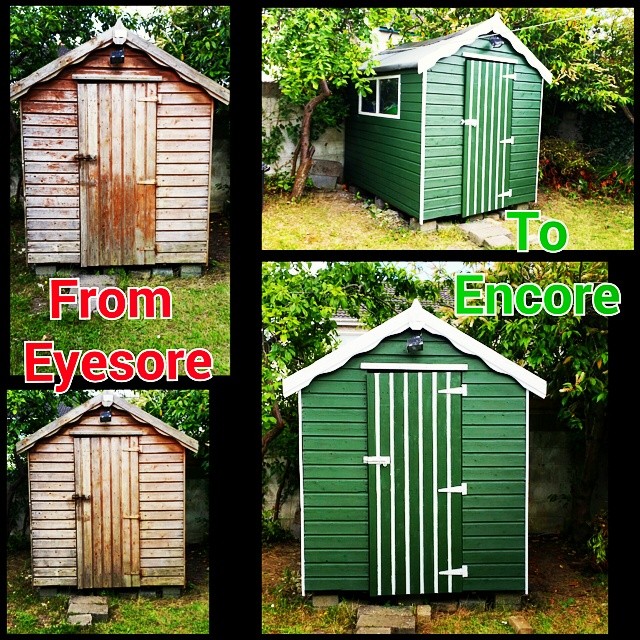
After a slow start to getting moved into the house and some challenges with getting some of the basics in (Internet, phone, gas, and an electric cable taken out of the trees), I decided to set to work. The old shed in the back garden was an absolute eyesore. Paint peeling, weather beaten, and bug infested it made a pretty “rustic” and “rural” picture (see the top) when it was in black and white. However, when I put a couple chairs out there, I just couldn’t bring myself to look a it – it looked like a ruin.
BEFORE:
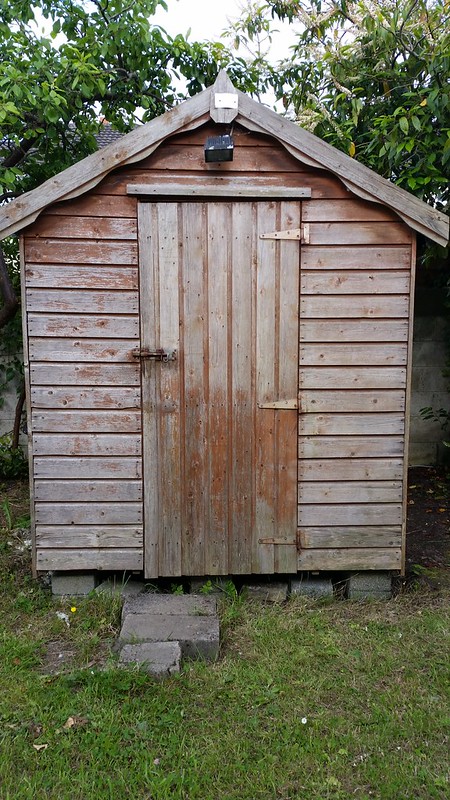
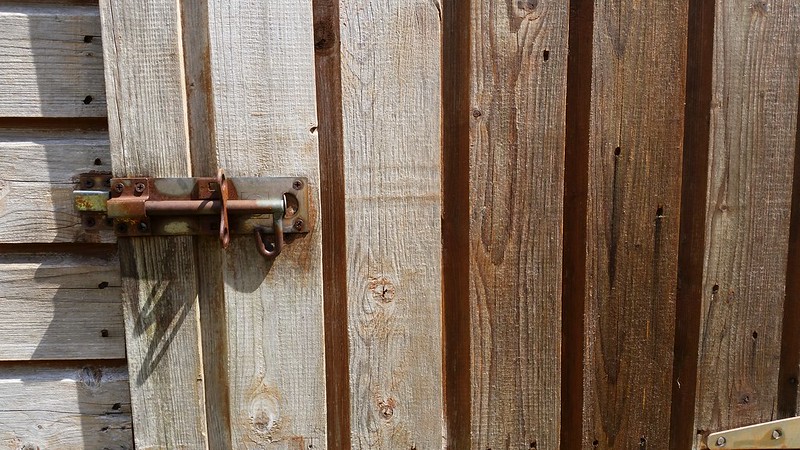
closeup of the door & panels (peeling paint, weather beaten, and bug infested:

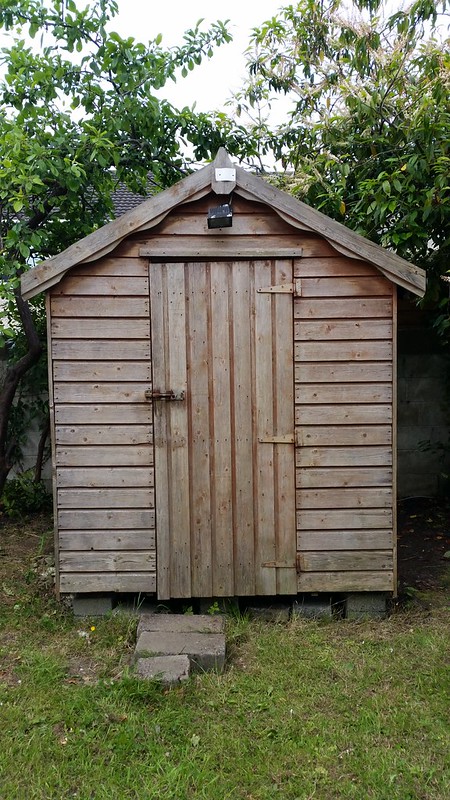
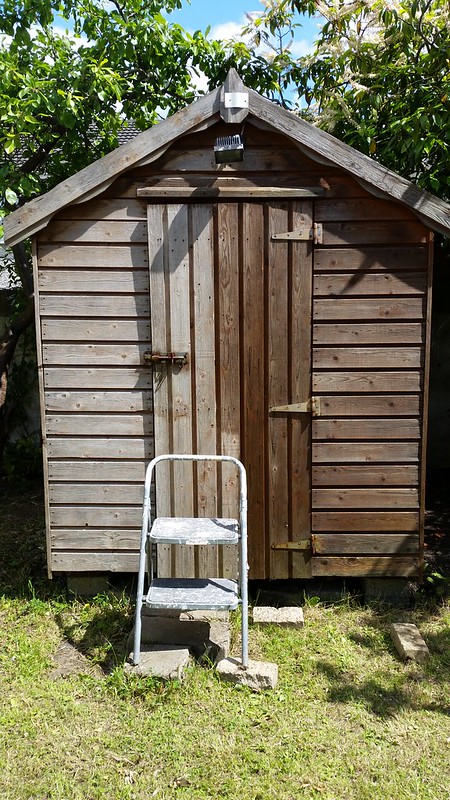
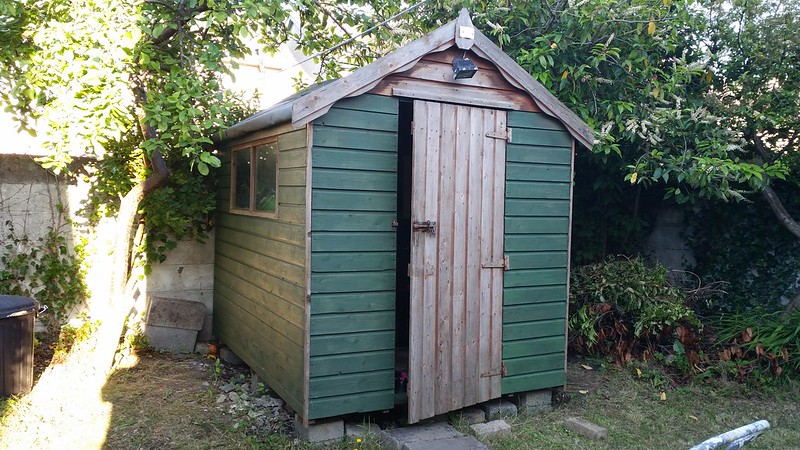
The first day, I set to scraping, sanding, and scrubbing it down with sugar soap. Even that made a difference on the poor old shed – and showed off the green algae that had taken hold on the bottom of the door.
All Sanded, Scraped, and Sugar Soaped:
After about 4 hours doing the above, the evening was over. The next day, I started coating the shed – 3 coats of a bug killer, wood protector and a wood sealer. You can see that it’s half done here, and even that it started looking a bit more “loved”:
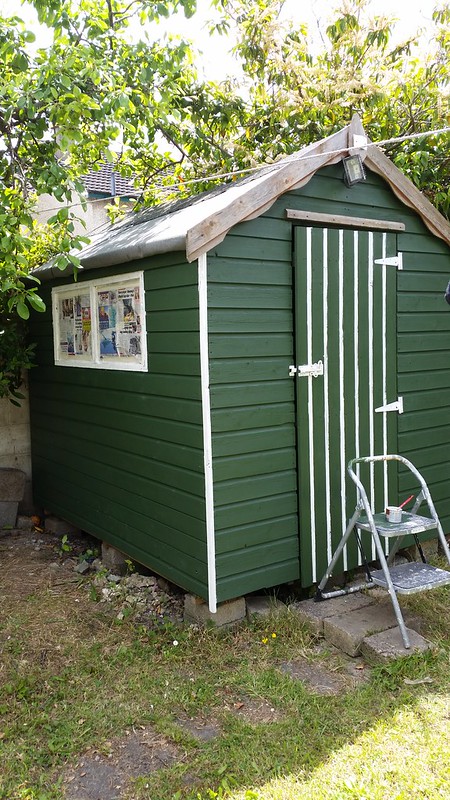
Next up was the painting. 3 coats of the green heavy duty 5 year waterproof paint with wax to help keep it looking good for a long time.
First coat:
Second & third green coat & the start of the primer for the white:
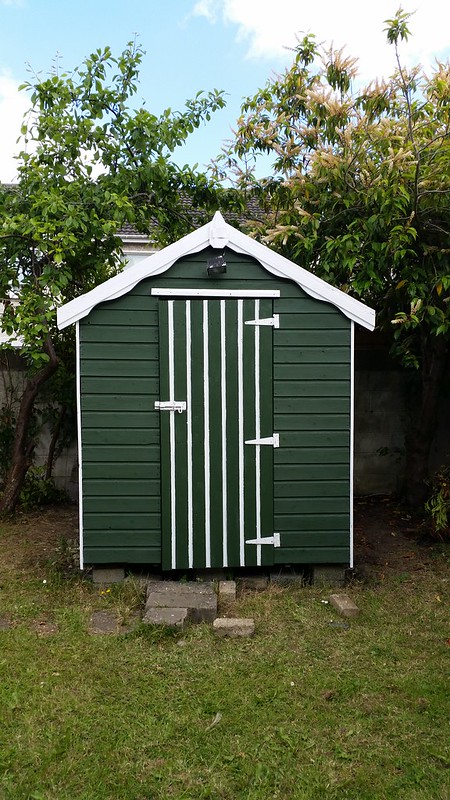
Finally, the high gloss white paint to contrast the flat dark forest green:
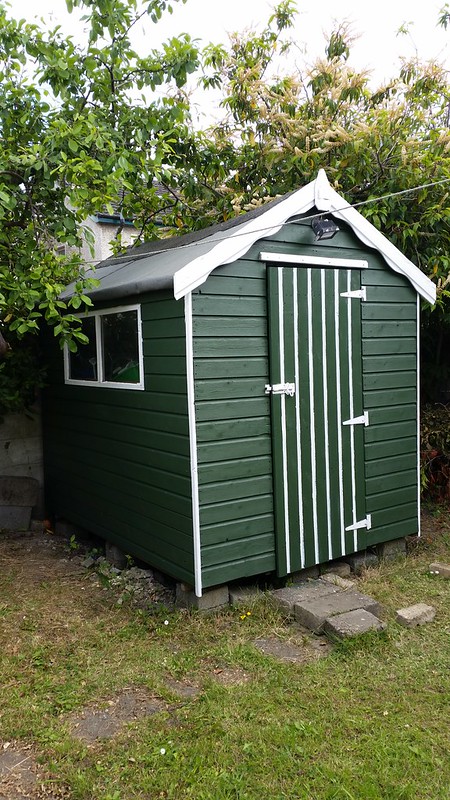
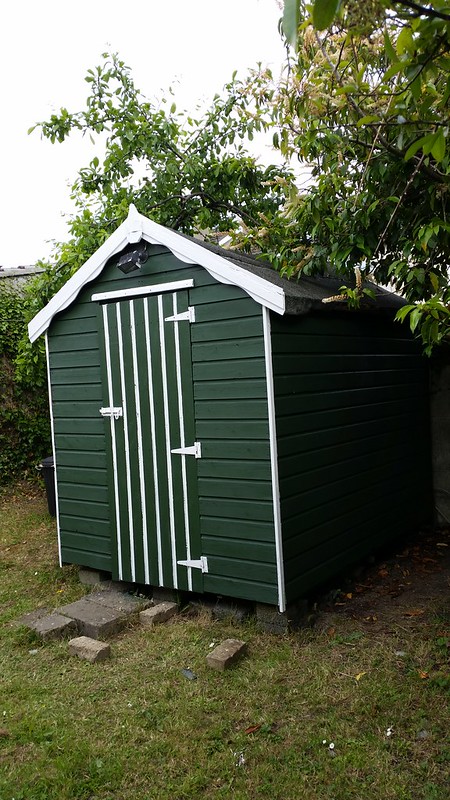
And it’s all completed. My shed has gone from “Oh Shed” to “Oh Chic”, from an ‘eyesore’ to “needs an encore”. I’m pleased it’s become a garden feature, and looking forward to getting in some flowers and plants to really make the place look more appealing in the coming months.
Total spent – 100 Euro, 24 hours (after work & the weekend)
And the shed? Well, it’s looking so much more loved.