Tea Towel Aprons

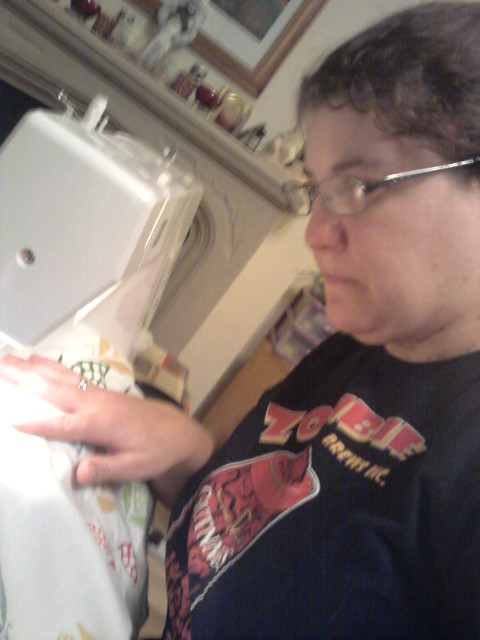
Not so long ago, I took a class for sewing. I did enjoy the class, and after checking a few of the local advertising websites, I found someone who no longer needed their machine and I bought one for 50 Euros. Since then, I have been working hard to make “friends” with it.

I’ve hemmed up a couple pairs of trousers, and then I started looking online for some simple ideas for beginning users of sewing machines. One of these was to make tea towel aprons. The great thing about the idea is that I already had a few adorable “corn” themed tea towels (a set of 3) which I had gotten from Ikea earlier and had been saving as my “good” towels. Well, I thought, I hadn’t used them because I adored the fabric pattern – and I didn’t want to get them dirty or stained. This was the perfect chance to convert them into something that I would actually use, practice my sewing, and which would also end up in the corner of my kitchen – instead of hidden in the drawer.

For this project, you need 3 tea towels to make 2 aprons, some binding or ribbon for straps (I used 1 meter & 1/2 per apron or 3 meters total). (Since doing this, I have discovered there is an easier way – but this is how I made mine).

Step 1: Ironing the aprons. I had to iron the aprons to get them nice and neat. Once ironed, I folded them in half (short end to short end) and ironed a crease in the middle.
Step 2: Choose two aprons for the bottom “skirt”, and one that will be cut in half for the top. You’re going to make these into a “T shape, where the long part of the T intersects the short “half” of the other piece.
Step 3: Cut the tea towel in half. Hem cut end.
tea towel aprons

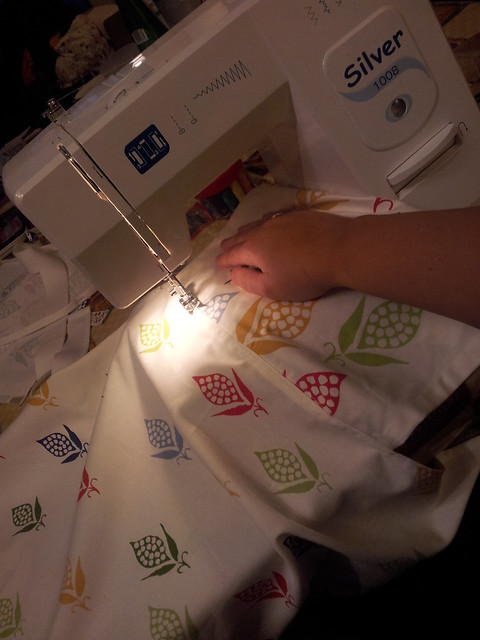
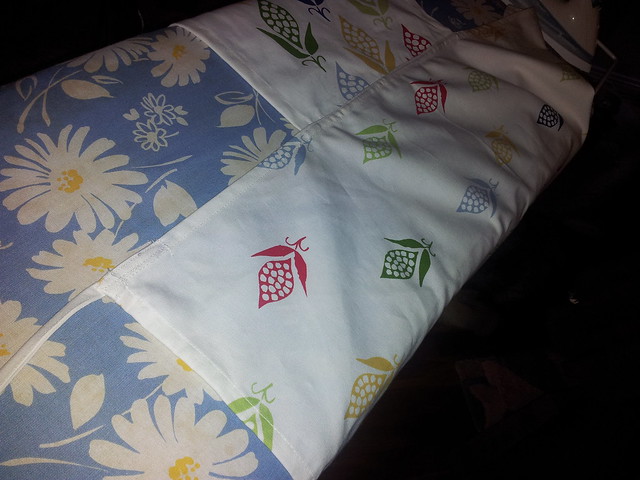
Step 4: Pin the 1/2 tea towel now hemmed to the full towel in the middle to form a T type shape. This will form the basic shape of the apron.
Step 5: Sew together
tea towel aprons

Step 6: Now that you have the “T” shape you have the basic apron. Cut 3 – 1/2 meter lengths of the binding or ribbon. Attach one piece to either of the ends of the apron skirt to tie around your waist.
Step 7: Cut the remaining 1/2 meter ribbon or binding in half (1/4 meter) and sew onto the corners of the top of the apron to tie around your neck. (You could also measure and make it a loop if you didn’t want to “tie” it together)
Step 8: Press.
tea towel aprons

Step 9: repeat with the other full towel / remaining piece of apron.

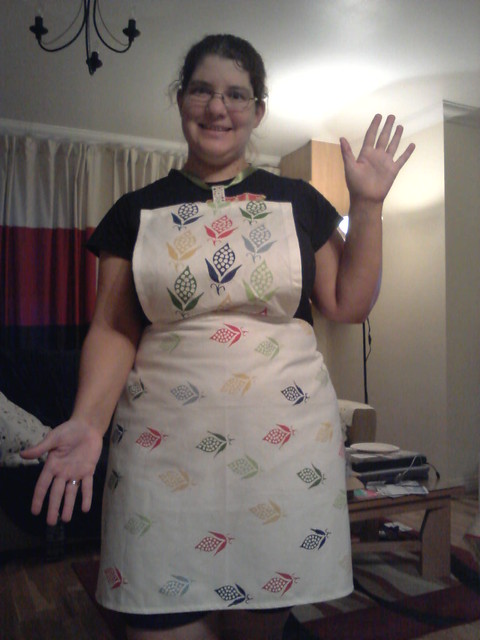
Step 10: model your creations!
tea towel aprons

tea towel aprons

Notes: Notice that I did the necklines two different ways. This is because the one apron had the “drawer” hang on it. I thought that rather than sewing the ribbon on, it might be easier to use that and loop the ribbon through. The second one, I decided that I prefer it – because of how the ribbon was sewn into the corners of the top. It just felt more secure. I may eventually go back and re-do the one (and not bother with the hang loop) but we’ll see.

I think I’m going to be making a few of these as Christmas Gifts, as part of my homemade holiday goals.

Share

Ambitious Project (complete)

Transitions - completion

In the beginning of January, I learned that my friend Jules was pregnant with triplets – and due in March. I started crocheting in a hurry – trying to make 3 baby sweaters, 3 hats, and 3 pairs of booties, calling it my “Ambitious Project. The end of January, I was done with all the sweaters – and had started on the hats – as her due date neared.

Spring Garden - completed

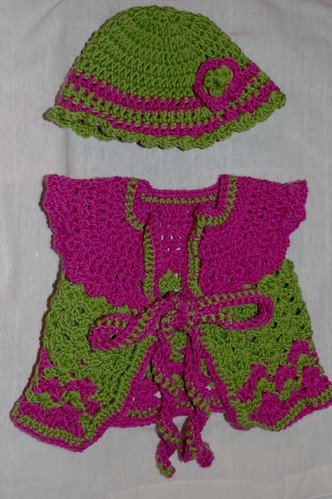
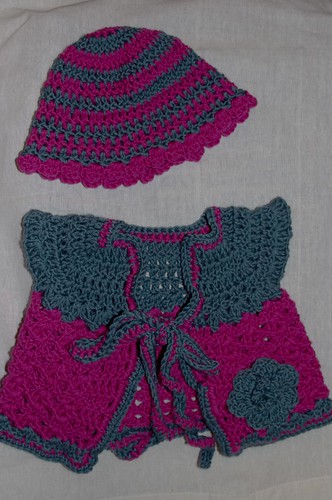
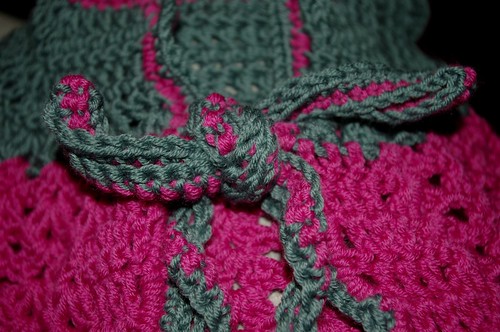
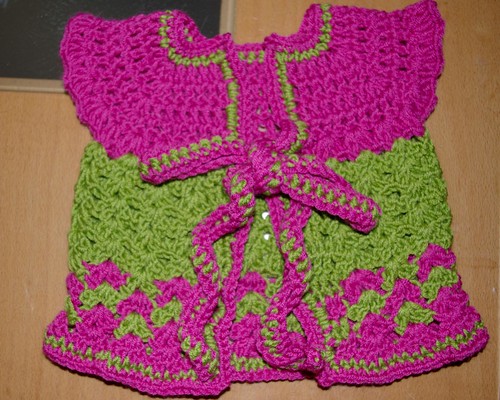
Well, today, the hats are complete, complete with little embellishments and because Jules did have the babies early – they were born about 10 days ago (beautiful healthy little girls – despite being 6 weeks early) – I decided to pass up on doing the baby booties in favor of getting these in the mail last Thursday (I didn’t want to spoil the surprise). This way, my thinking is that the girls will have some new outfits – just in time to arrive home. They are nicknamed, in order of the photos in this post, Transitions, Spring Garden, and Petrol & Pink.

So, here’s my “completed” project – despite the fact that I haven’t done the baby booties – Jules (you beautiful baby momma, you!)- I Owe You 3 more of something for the girls – you just let me know what you’d like/need.

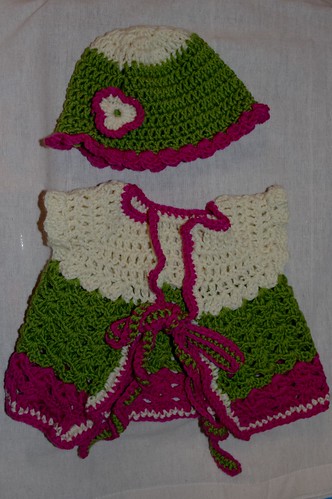
The Petrol and Pink completed

** Side note ** The time between the “update” and today’s post – I worked two 6 day weeks, and another 7 hours of OT at work, as well as saw the Rocky Horror Anti-Valentine’s day show, hit the Wax Museum, visited the Temple Bar Trad Fest Music festival, and started planning on a Charity night Mardi-Gras Party for the benefit of the local children’s hospital. I was told that I don’t ever “just sit still” – and looking back on the last two months – I think it’s true!

Share

Update – My Ambitious Project

Woolen Baby yarn

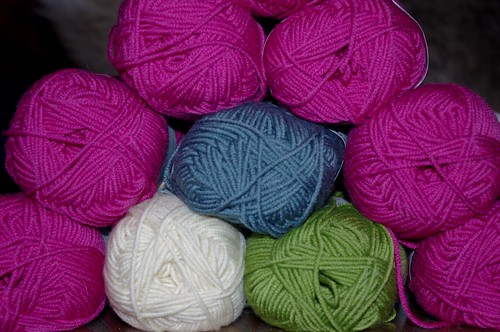
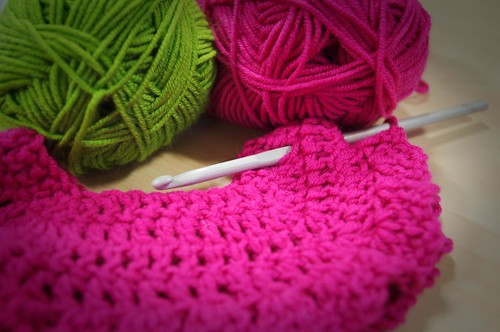
A few weeks ago, I started to crochet for my friend, Jules, who is having triplets. You can read a bit more about the project Here. I ended up purchasing about 15 skeins of yarn, mostly this beautiful bright pink color, along with a petrol, a creme, and a green (I decided I didn’t like the violet once I got going – it clashed too much) and have been going at this project ever since. When I sit down in front of the TV, when I am at lunch, when I am in the bus, the hairdresser’s, or at the pub, I’m crocheting like a mad woman trying to get these done before Jules babies arrive.

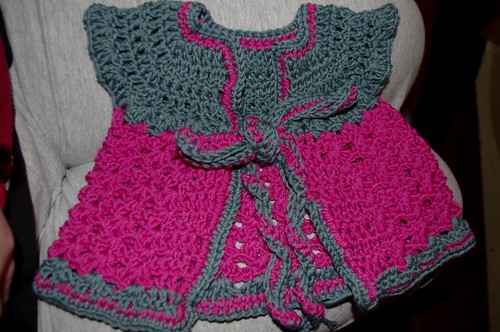
The first few days were the best – because I was off work for 3 days, I made lots of progress – whipping through the first sweater (modifying the pattern as I went) – to make The Petrol and Pink –

Baby sweater 1 - Petrol & pink

even with the going back and adding little ties because I didn’t like the look of the buttons.

Baby sweater #1 Petrol & pink

Then, I started on the second sweater – What I nicknamed the Spring Garden:

Baby sweater 2 - upper

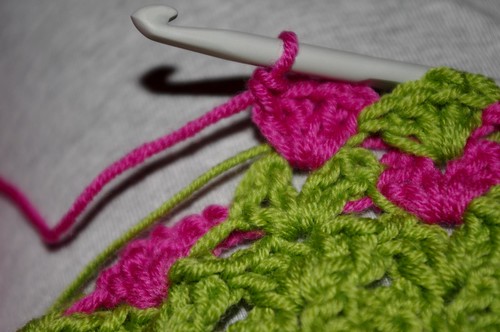
and was able to keep going – even adding a new type of stitch – a Tunesian style stitch – to my abilities. This type of stitch involves carrying the bottom thread along one level and then switching as needed – so I’m running off of two balls of yarn at the same time – to make the “pink” blooms:

Baby sweater 2 - Flower garden stitches

As I continued, the sweater took shape into a nice spring looking outfit.

Baby sweater #2 - flower garden

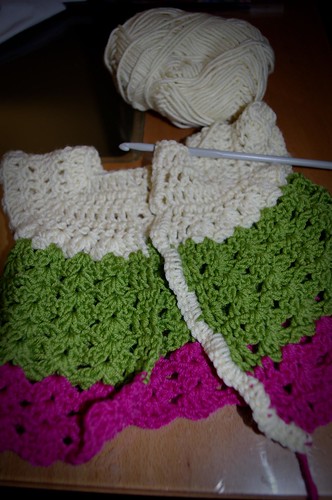
From there, I promptly moved on to the Third sweater – most of which was done sitting at the pub, gossiping with friends, after eating Saturday’s Cutlery Dinner. this one I call “transitions” because it looks like it goes from winter to spring to summer.

Baby sweater #3 - edging

Baby sweater #3 almost done

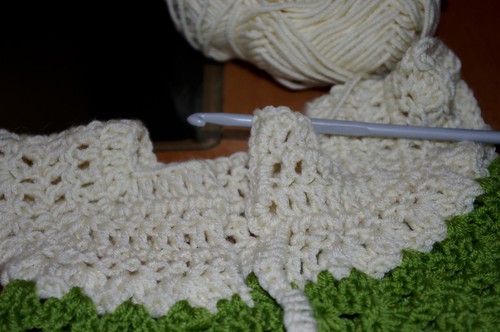
I’m currently working on the white edging, and am trying to decide on what colors to make the ties.

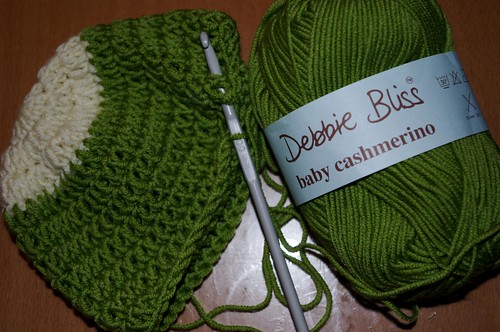
So that’s pretty much where the project is at – at the moment. 20 days and about 3 sweaters completed. Also, as a side note – I have started one of the hats – because I was at the hair salon and didn’t have the pink yarn with me. It’s nearly done too:

Partly done cap 1

So, Jules – about those babies.. you think you can wait another couple weeks so I can finish!?! 😛

Share