Recycled Jar Lantern Crochet

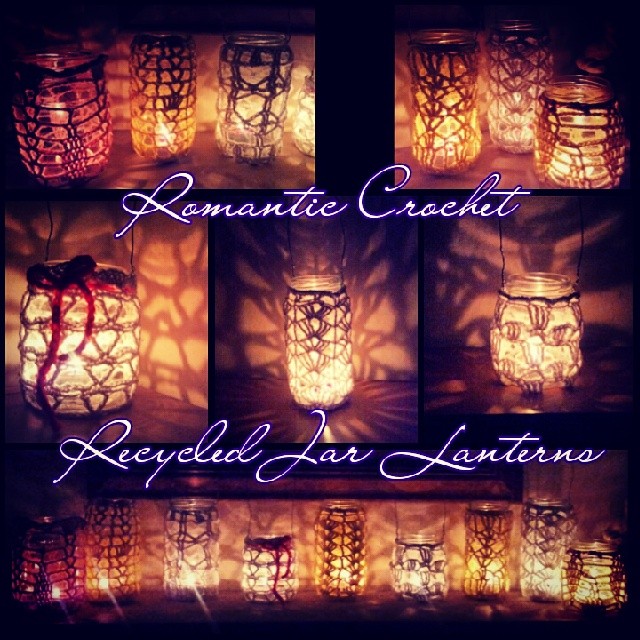
Romantic Recycled jar lanterns. Add a citronella candle and hang from trees, summer umbrellas, or place on a table for a simple elegant barbeque or wedding centerpiece. Check my etsy store! https://www.etsy.com/shop/PhoenixRoseDesign   #PhoenixRoseDesign

Welcome to Summer! Recently, I saw a great picture of a bunch of lanterns hanging in the trees around the back garden, with intricate Moroccan style beadwork and crochet. I decided to emulate this with my own patterns and designs – using recycled jars of all shapes and sizes.

Jar lanterns

Starting with cotton crochet thread that had tiny little silver sparkles in it, I made my first jar. I think it turned out adorable – especially after adding the wire loop to hang it from the tree.
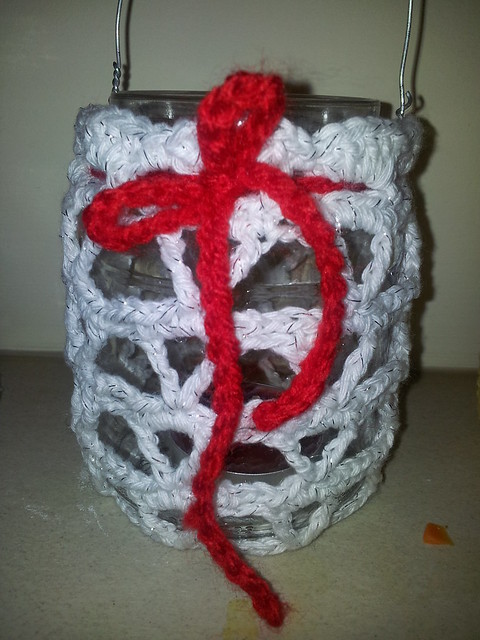
Jar lanterns

Once I hung it, I realized that the patterns I made in crochet were cast on the wall almost in a kaleidoscope type pattern. It’s pure awesomeness, and I had to make some for my etsy store!

Not only are they good for the environment, they are great for sprucing up your backyard barbecue parties, weddings, and even for adding an awesome touch to your glamping! Add a citronella candle and hang from trees, summer umbrellas, or place on a table for a simple elegant barbecue or wedding centrepiece which will be talked about for years.

Recycled jars crochet lanterns

These come in 3 sizes – with the jar included.

If you don’t wish for the jar included, I can sell the crochet cover separately -just message me.

Small – about 4 inches in height

Medium – about 6 inches in height

Large – about 7-8 inches in height
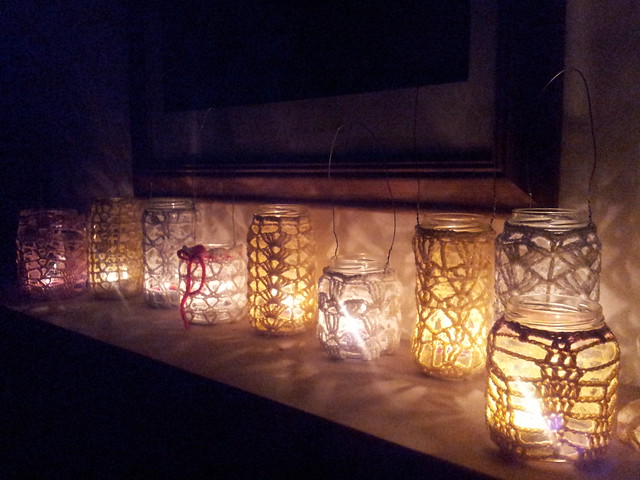
Recycled jars crochet lanterns

For more pictures of what I have available, or if you’d like to buy some for yourself, check my etsy store at: https://www.etsy.com/shop/PhoenixRoseDesign

Share

Hen Party Shirt crafts

As some of you know, my friend J. is getting married soon. We recently held a little hen party here for her in Dublin – nothing very big, but dinner and a bit of dancing. Then, we had the proper “big” party in York (more about that later).

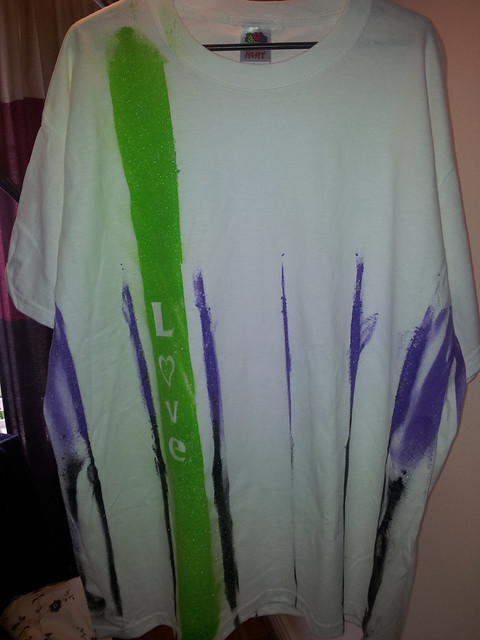
In preparation for the batchelorette party weekend, I thought it would be fun to have t-shirts. After pricing several places on line for “standardized” hen party t shirts, I was shocked to see that they were all either black & pink or white & pink – and quite expensive at about 10 – 12 Euros each (about 150 euro). Thus, I decided to make my own for the 15 girls with some plain t-shirts (5 euros each) and some spray fabric paints in the 3 colors that Jacqui loves best – lime green, violet, and silver.

I got the fabric spray paints from a site called as a set of 6 colors for 34.00. I also got a couple of stencils. Add in my time over the course of two evenings – and I had a mini sweatshop going in my living room.

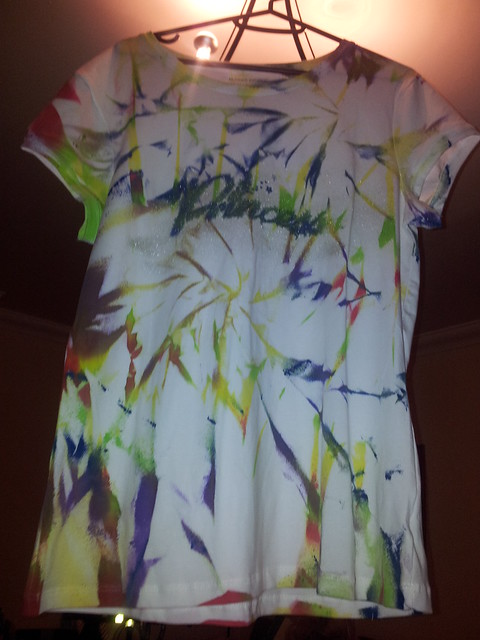
First, I read the instructions, and tried a few tie dye style shirts – with no stencils. This involved scrunching up a few of the shirts in various ways – and spraying colors across them. The results turned out quite cute:

t shirts for Jacqui's hen night


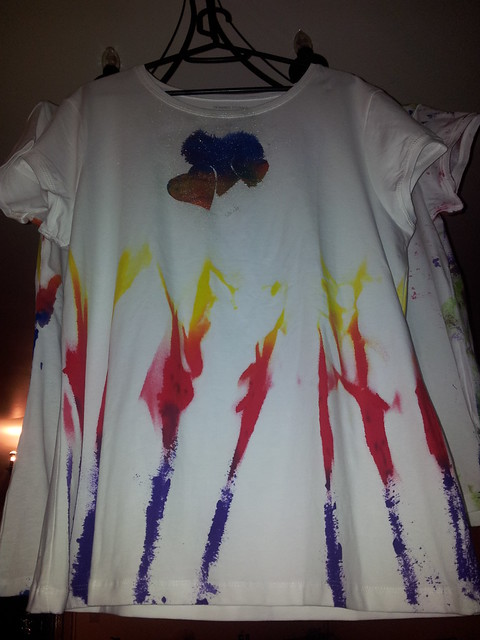
Then, I decided to try the tie dye look with a few sample stencils – like “princess”, “hearts”, and “angel”. This worked ok for some, but I found that if I was impatient removing the stencils, the paint ran. If I waited too long, the stencils stuck. The key was being spot on with removing them at just the right time – when the paint was tacky, but before it was too dry.

t shirts for Jacqui's hen night

t shirts for Jacqui's hen night

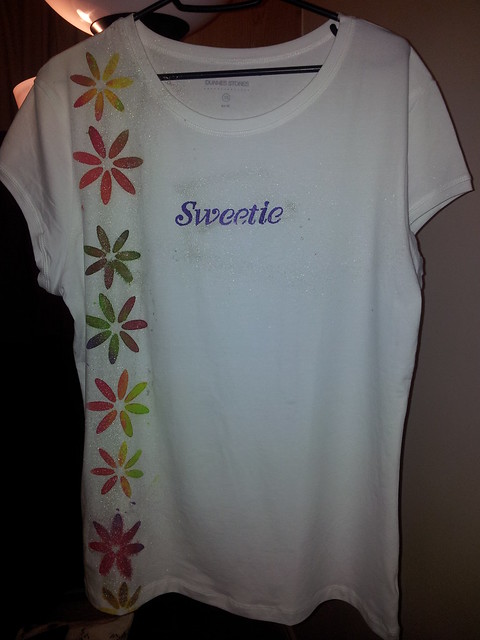
As time went on, I got the timing better – and figured out how to get the stencils to work even better – realizing that you had to put on the light colors and gradually add the dark ones so that they worked best.

t shirts for Jacqui's hen night

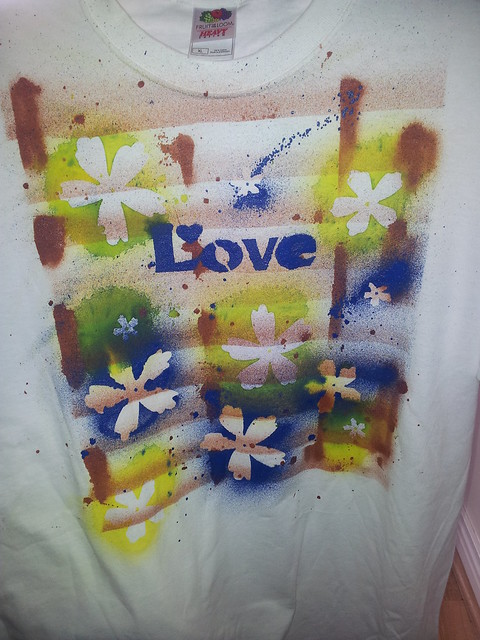
Finally, I felt comfortable enough that I could actually use some airbrush/spray paint techniques – and actually did a “brick” style layout using some old cardboard to make “stripes” and short lines. Then, waited for it to get to mostly dry. Next, I laid out a stencil for the lettering – and popped on a few flower shapes to spray around. This resulted in a couple interesting looks:

t shirts for Jacqui's hen night

t shirts for Jacqui's hen night

In the end, we didn’t use the shirts while site seeing before the main evening party as I had thought (we didn’t all arrive at the same time, and not all of us site-saw together) but I did give them to the girls as a momento of the weekend. They went over well – as the girls could choose which ones they wanted according to size. The best part was that they were all in similar colors, but they were all slightly different – which meant each person’s personality was reflected a little bit in each shirt.

A few notes – the total ended up being 120 for the shirts had I purchased them pre-made. For these, I spent 110 and my time. I do however have the stencils and spray paints left – only 2 cans having run out after having made a total of 18 shirts. I’m planning on using the fabric spray and stencils on some pillowcases, a couple pairs of jeans, and have some other ideas as well. I think for the cost the project was quite worth it – especially because of the leftover paints.

I actually think this could / would be quite a fun thing for an older child’s birthday party. They can make their own “spray paint” tie dye t shirts quickly and easily out in the back garden – and let them dry for 30 minutes while you sit down to have cake and gifts / play some party games. It’d be a fun addition to the goodie bags and a really neat keepsake if you have kids who love crafts.

Share

DeVreeze Wedding

IMGP2166-90

Earlier this year, some very wonderful friends of mine finally decided to tie the knot. Knowing that I enjoy photography, I talked things over with H & J and offered that instead of actually buying them a gift, I’d save them some money and do both their wedding portraits and the wedding event photography. I wanted to document the day from beginning to end – and make sure that their memories were saved – and also not based on a time limit. (Here in Dublin, for 5 hours of wedding event photography it costs about 600 Euros – and that doesn’t even include prints nor a cd/dvd of the images taken!)

IMGP2054-60

It’s not the first wedding that I’ve photographed – but it was the most intense and wonderfully gratifying experience that I’ve had in a long time. I got there at about 10 am, and left around midnight. Over the course of the day, there were some 1500 pictures taken – which were later parsed down to about 350 that were kept as good enough to put in the photo book of the event. I think they were delighted – because I managed to cover everything from the moments of the family getting ready together, through the bus to the registrar’s office, to the first kiss.

IMGP1921-112

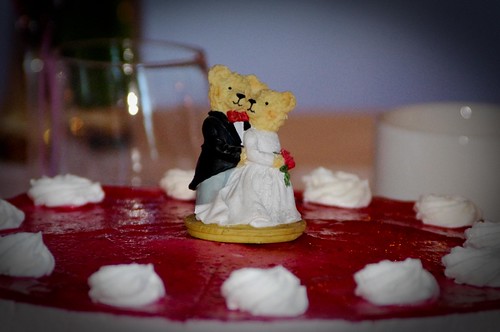
I also remembered to get the decorations, the cake (which was decorated by a baker in the family), and then both the wedding brunch at the Crowne Plaza and the Barbeque in the backyard where the first dance, flower toss, and cake cutting ceremony was performed.

IMGP6089-1-2

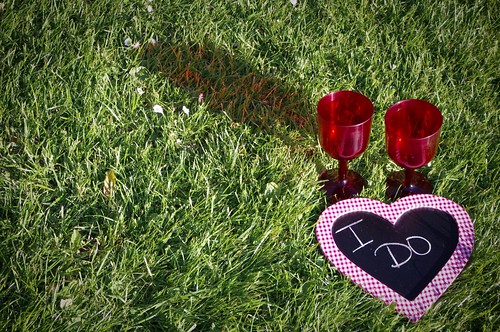
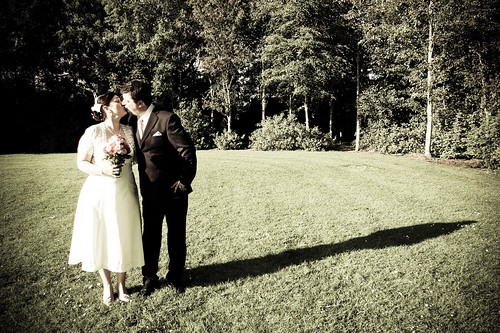
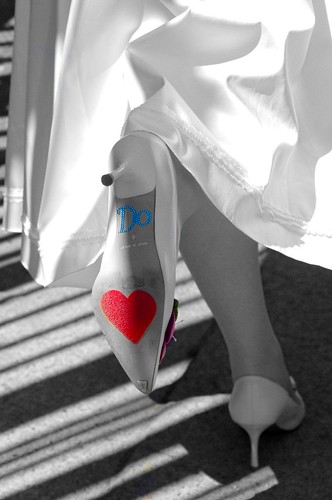
I also found the opportunity to get the quirky things that perhaps another person would have missed, but that I really was able to pick up on because I know them as individuals and as a couple. Things like the two of them kissing – and their shadow merging into one, The bottom of H’s shoes as she went into the registrar’s office (she’d pasted stickers of hearts and the words I DO),

IMGP1988-134

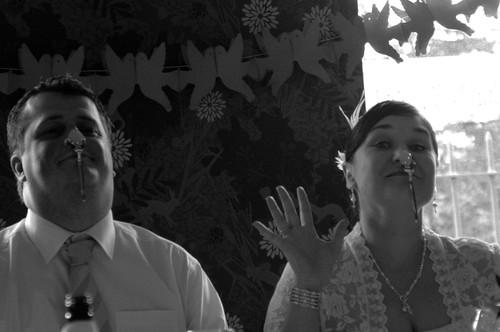
The teasing that happened at the wedding brunch (balancing spoons on their noses)

IMGP2051-1

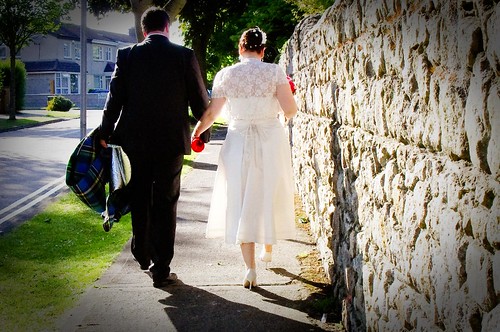
And the naturalness of them walking down the street, holding hands – J carrying the picnic blanket and H carrying the beautiful red cups – as if they were walking into the rest of their lives.

IMGP2114-56

Sure, I was exhausted when it was all over, but after 2 days of photo processing and then turning over the photos to them- I feel not only blessed to have been there, but also blessed to have been allowed to take the photographs of such an amazing event in their lives.

Congratulations, H & J.

Share