From Shed to Chic

The old shed...

Earlier in May, I moved from my old apartment in Blanchardstown to a new (to me) rental home in Castleknock – about 10 minutes away from where I was. The home is about 25 years old, and made of cinder blocks. The inside is pretty standard for a 3 bedroom 2 level home, though it needs some work for modernisation and updating. The yard/ garden is a good size – but you can tell it hasn’t had much work recently. (The last renters left the place in quite a poor state).

When I went to move in, I explained to the renting agency that myself and my roommate are two professional ladies, and that my father has owned a grounds maintenance / landscaping business for 20+ years. I grew up with grandparents that farmed and then my father who constantly was putting me to work with flowers, planting, mowing, and taking care of a yard / garden. I could see the “potential” of the property – and couldn’t wait to make it beautiful again. Well, I think that was the clincher.

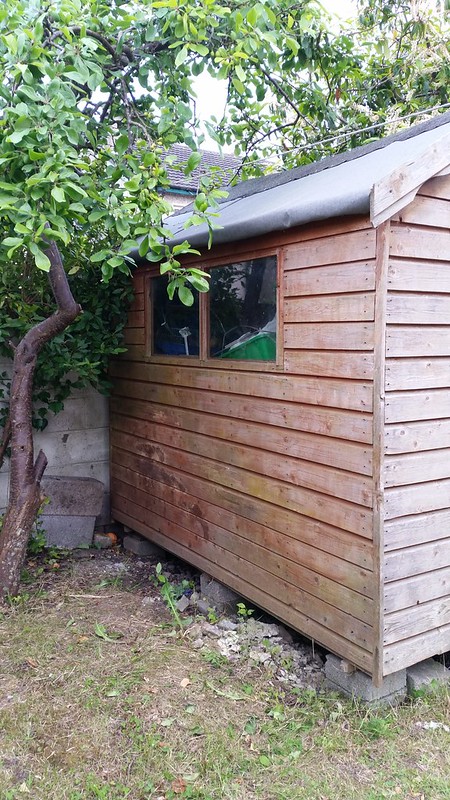
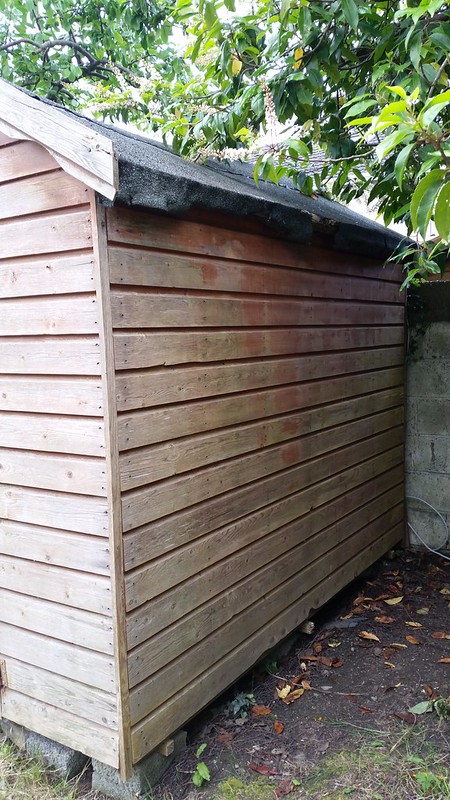
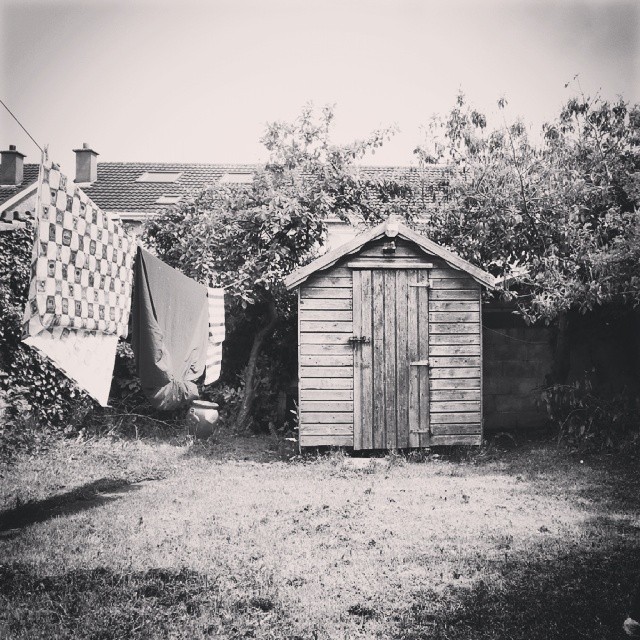
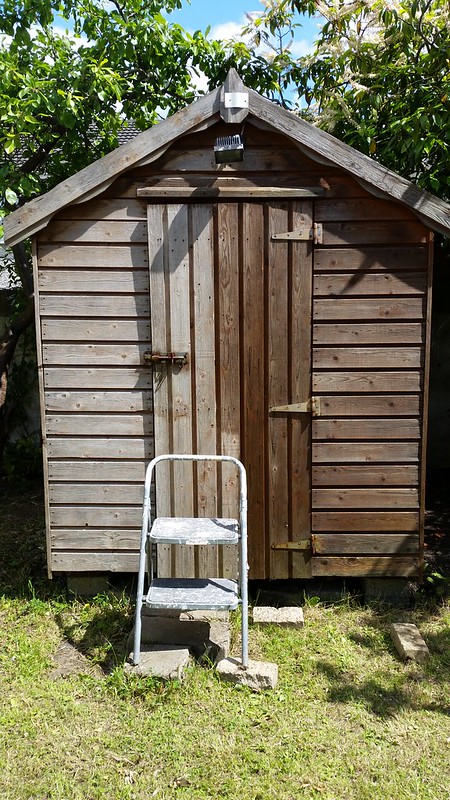
After a slow start to getting moved into the house and some challenges with getting some of the basics in (Internet, phone, gas, and an electric cable taken out of the trees), I decided to set to work. The old shed in the back garden was an absolute eyesore. Paint peeling, weather beaten, and bug infested it made a pretty “rustic” and “rural” picture (see the top) when it was in black and white. However, when I put a couple chairs out there, I just couldn’t bring myself to look a it – it looked like a ruin.

BEFORE:
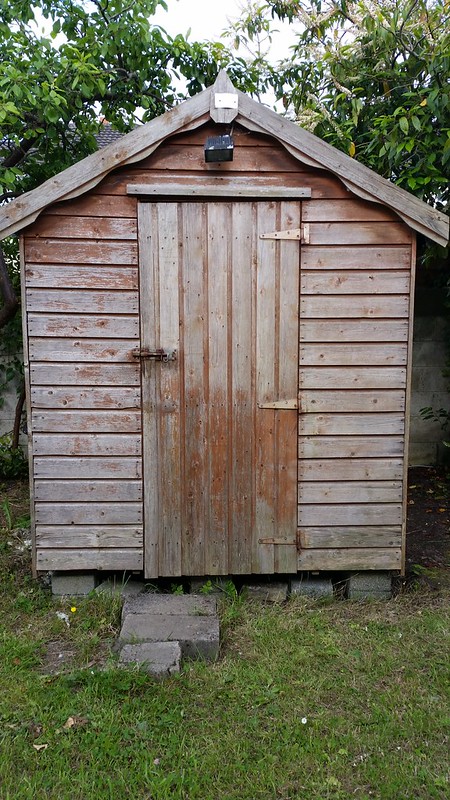
Repainting the shed... diy...The Before

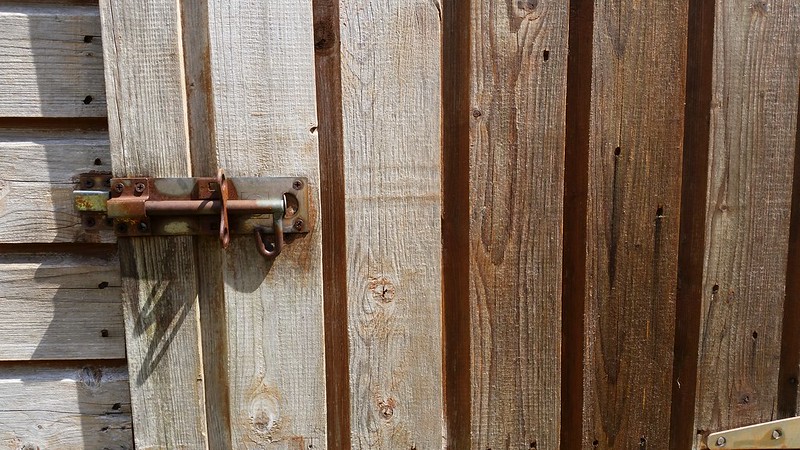
closeup of the door & panels (peeling paint, weather beaten, and bug infested:
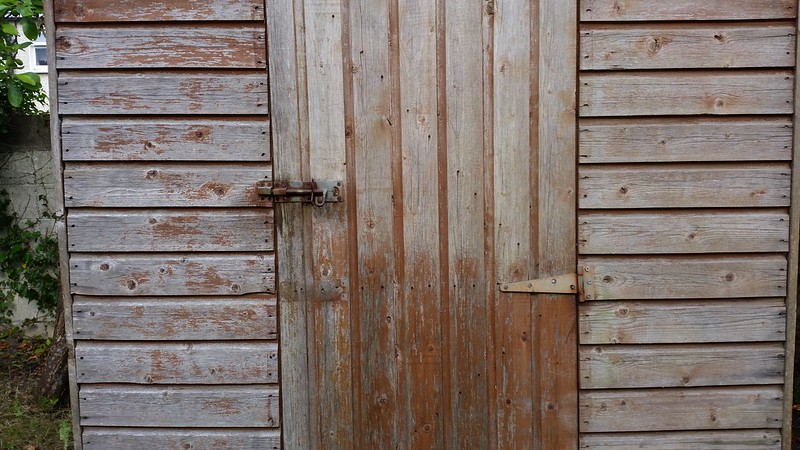
Repainting the shed... diy... before (closeup)

The first day, I set to scraping, sanding, and scrubbing it down with sugar soap. Even that made a difference on the poor old shed – and showed off the green algae that had taken hold on the bottom of the door.

All Sanded, Scraped, and Sugar Soaped:
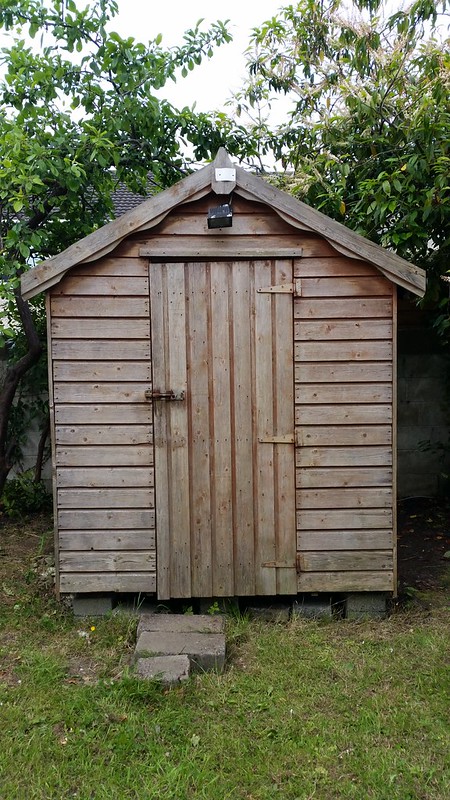
Repainting the shed... diy...Sanded down

Repainting the shed... diy...Sanded down

Repainting the shed... diy...Scraped & sanded

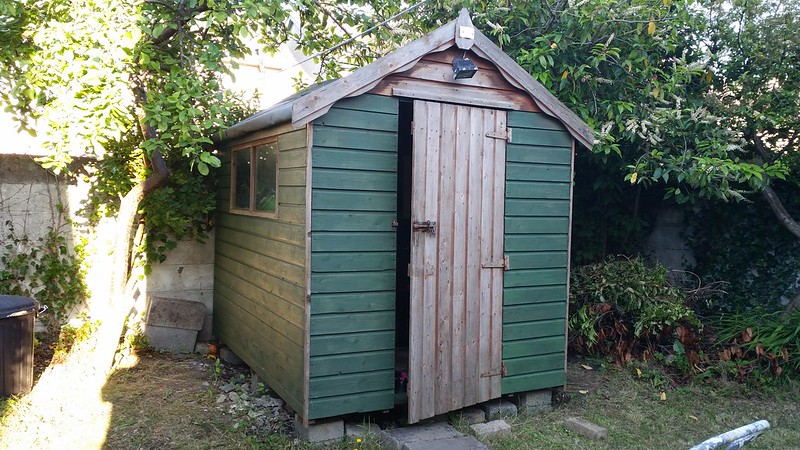
After about 4 hours doing the above, the evening was over. The next day, I started coating the shed – 3 coats of a bug killer, wood protector and a wood sealer. You can see that it’s half done here, and even that it started looking a bit more “loved”:
Repainting the shed... diy...Sealing - first coat

Repainting the shed... diy...bug coat / sealing

Next up was the painting. 3 coats of the green heavy duty 5 year waterproof paint with wax to help keep it looking good for a long time.

First coat:
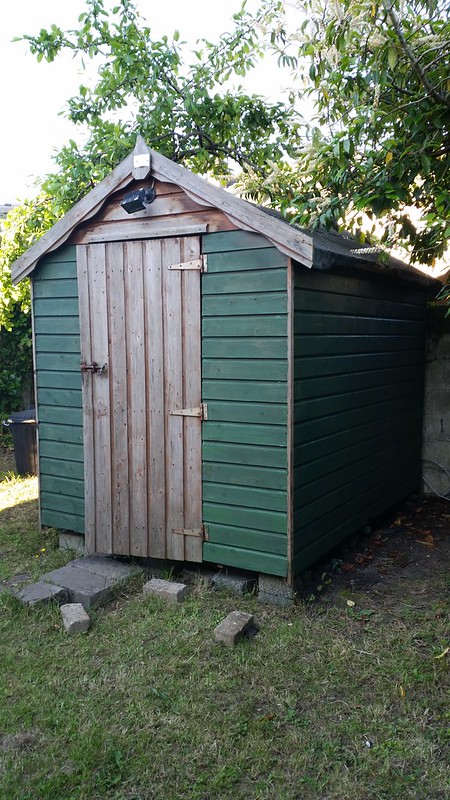
Repainting the shed... diy...

Repainting the shed... diy...

Second & third green coat & the start of the primer for the white:
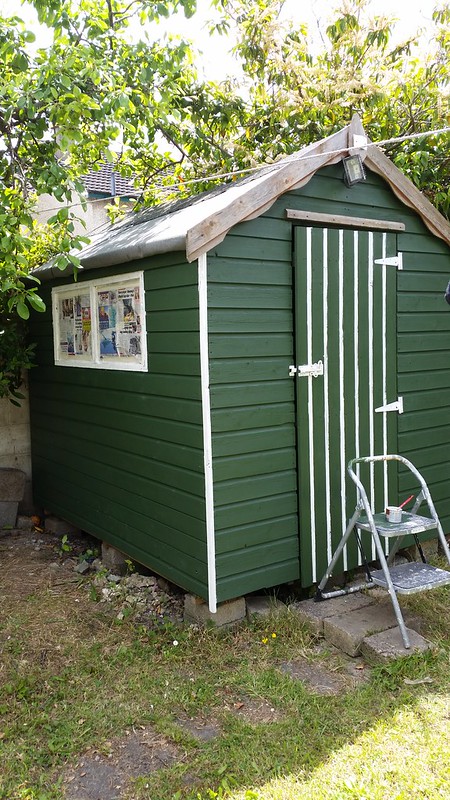
Chic Shed - adding the white trim

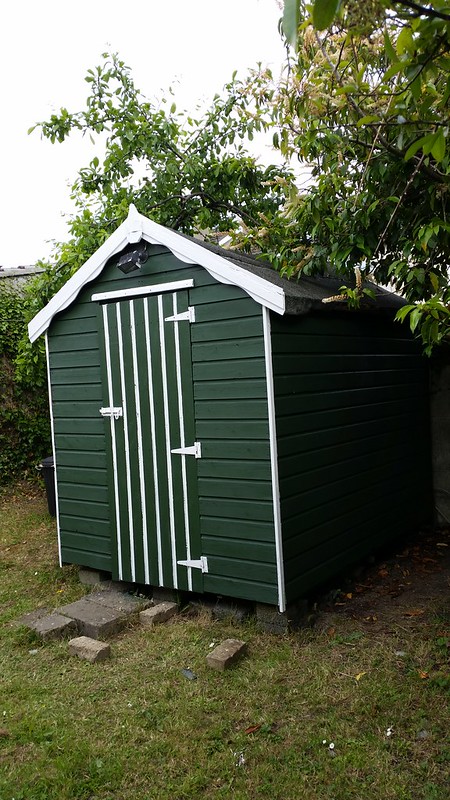
Finally, the high gloss white paint to contrast the flat dark forest green:
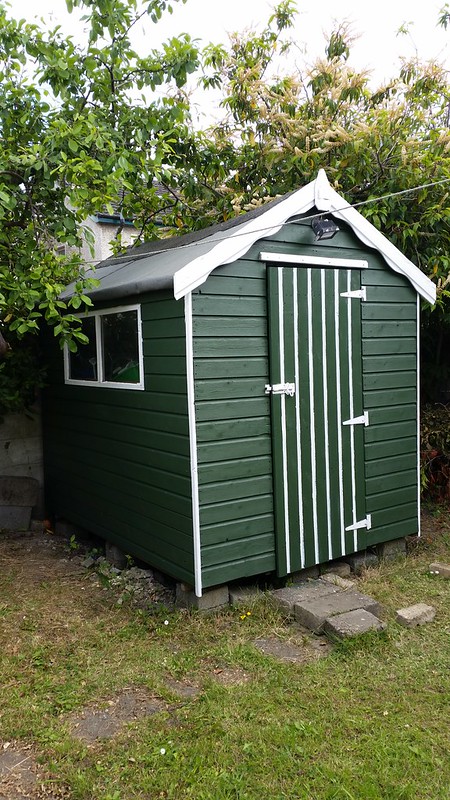
Chic Shed - Encore!! (Time for a beer!)

Chic Shed - completed

And it’s all completed. My shed has gone from “Oh Shed” to “Oh Chic”, from an ‘eyesore’ to “needs an encore”. I’m pleased it’s become a garden feature, and looking forward to getting in some flowers and plants to really make the place look more appealing in the coming months.
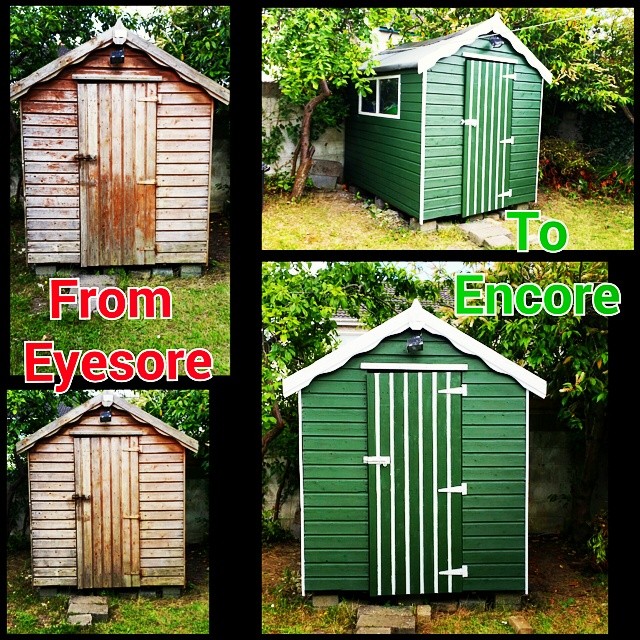
Starting last weekend with scraping, sanding, and scrubbing; and then 3 coats of sealer and bug killer. Add in 3 hours after work for 3 days and 3 coats of heavy duty 5 year outdoor paint; and  this morning for the white primer and trim x2 coats. It won't

Total spent – 100 Euro, 24 hours (after work & the weekend)

And the shed? Well, it’s looking so much more loved.
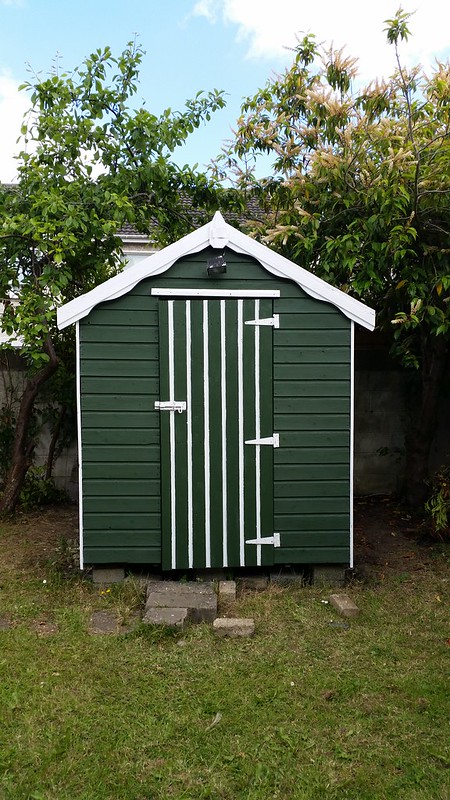
My Chic little shed (all complete)

Share

Hen Party Shirt crafts

As some of you know, my friend J. is getting married soon. We recently held a little hen party here for her in Dublin – nothing very big, but dinner and a bit of dancing. Then, we had the proper “big” party in York (more about that later).

In preparation for the batchelorette party weekend, I thought it would be fun to have t-shirts. After pricing several places on line for “standardized” hen party t shirts, I was shocked to see that they were all either black & pink or white & pink – and quite expensive at about 10 – 12 Euros each (about 150 euro). Thus, I decided to make my own for the 15 girls with some plain t-shirts (5 euros each) and some spray fabric paints in the 3 colors that Jacqui loves best – lime green, violet, and silver.

I got the fabric spray paints from a site called as a set of 6 colors for 34.00. I also got a couple of stencils. Add in my time over the course of two evenings – and I had a mini sweatshop going in my living room.

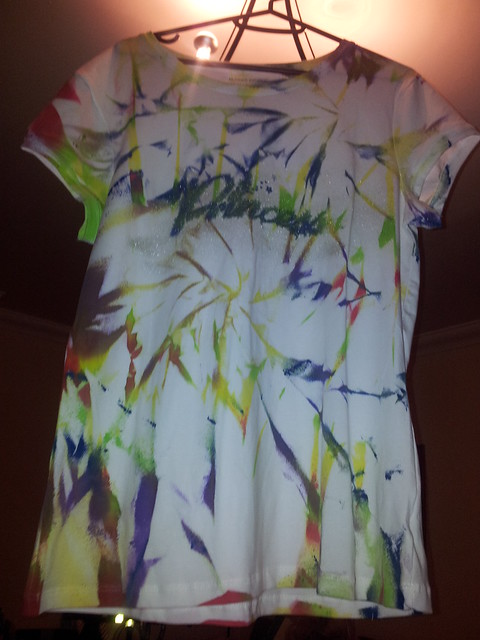
First, I read the instructions, and tried a few tie dye style shirts – with no stencils. This involved scrunching up a few of the shirts in various ways – and spraying colors across them. The results turned out quite cute:

t shirts for Jacqui's hen night


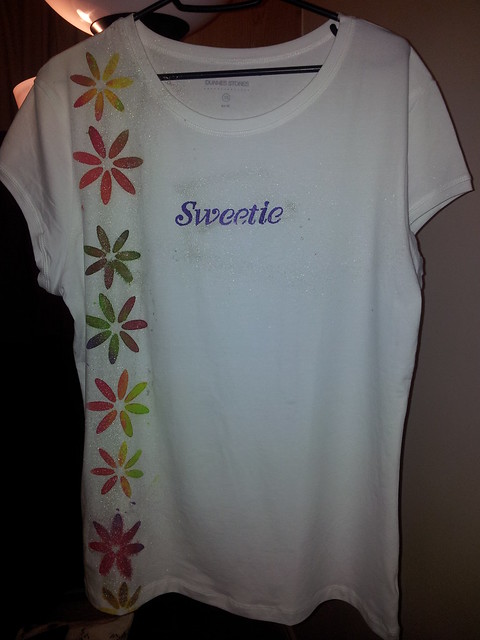
Then, I decided to try the tie dye look with a few sample stencils – like “princess”, “hearts”, and “angel”. This worked ok for some, but I found that if I was impatient removing the stencils, the paint ran. If I waited too long, the stencils stuck. The key was being spot on with removing them at just the right time – when the paint was tacky, but before it was too dry.

t shirts for Jacqui's hen night

t shirts for Jacqui's hen night

As time went on, I got the timing better – and figured out how to get the stencils to work even better – realizing that you had to put on the light colors and gradually add the dark ones so that they worked best.

t shirts for Jacqui's hen night

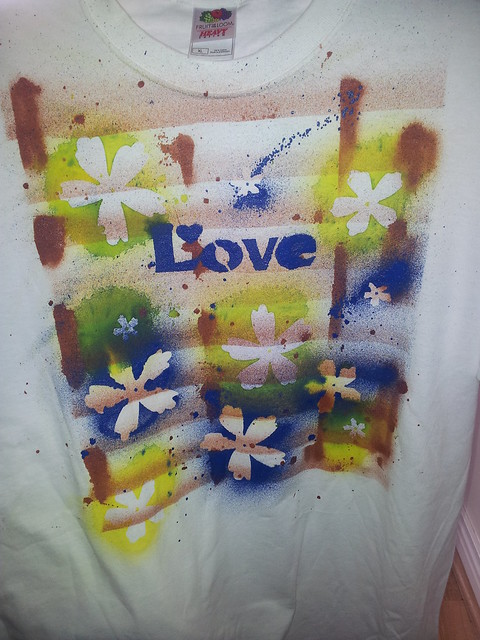
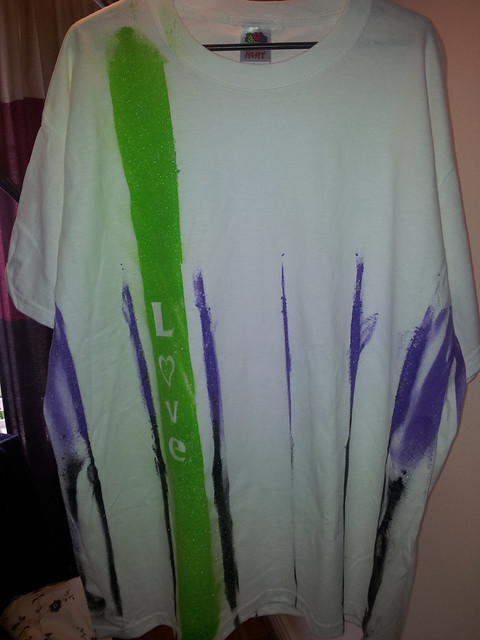
Finally, I felt comfortable enough that I could actually use some airbrush/spray paint techniques – and actually did a “brick” style layout using some old cardboard to make “stripes” and short lines. Then, waited for it to get to mostly dry. Next, I laid out a stencil for the lettering – and popped on a few flower shapes to spray around. This resulted in a couple interesting looks:

t shirts for Jacqui's hen night

t shirts for Jacqui's hen night

In the end, we didn’t use the shirts while site seeing before the main evening party as I had thought (we didn’t all arrive at the same time, and not all of us site-saw together) but I did give them to the girls as a momento of the weekend. They went over well – as the girls could choose which ones they wanted according to size. The best part was that they were all in similar colors, but they were all slightly different – which meant each person’s personality was reflected a little bit in each shirt.

A few notes – the total ended up being 120 for the shirts had I purchased them pre-made. For these, I spent 110 and my time. I do however have the stencils and spray paints left – only 2 cans having run out after having made a total of 18 shirts. I’m planning on using the fabric spray and stencils on some pillowcases, a couple pairs of jeans, and have some other ideas as well. I think for the cost the project was quite worth it – especially because of the leftover paints.

I actually think this could / would be quite a fun thing for an older child’s birthday party. They can make their own “spray paint” tie dye t shirts quickly and easily out in the back garden – and let them dry for 30 minutes while you sit down to have cake and gifts / play some party games. It’d be a fun addition to the goodie bags and a really neat keepsake if you have kids who love crafts.

Share