Making Halloween Bags

Untitled

Halloween is one of my favorite times of the year. To me, it’s all about the children and just having fun in costume, being anything that you ever wanted to be. It’s the one night where we give “license” to kids and adults alike such that we can play a different role – be scared, and scare others for a laugh. It’s a night where it’s okay to “not be happy” all the time, and where it is encouraged to go up and talk to strangers and say “trick or treat”.

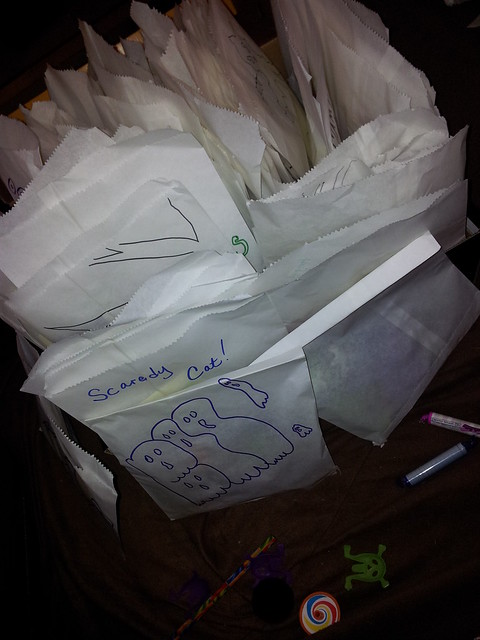
For me, I tend to go a bit “overboard” according to my neighbors. You see, rather than just opening the door and giving out candy, I dress up, plan weeks in advance, buy bulk candy, toys, pencils, erasers, and mini activity books and then buy a bunch of white paper “goodie” bags to give out to the little ghosts and ghouls. I find that the “goodie bag” concept lets me do a few important things:

a) Keep track of how many trick or treaters I’ve had (I know how many bags I made… and how much they cost).
b) Figure out what the cost is and how much I may need for the next year
c) Each bag is hand decorated – but also has my info on them. Parents have mentioned that they like this because it’s memorable and they feel more comfortable if their children want to have some candy while they’re out trick or treating.
d) The children are delighted because it’s a “surprise” in the package. Also, because it’s not just candy – it’s pencils, erasers, and so on, they have something they can take to school or enjoy far beyond the 2 minutes candy might take them to eat.

Most years, I opt for goodies Oriental Trading Company as they have great bulk options for candy, bulk pencils, halloween themed erasers and so on. I try to figure about 0.30- 0.50 per bag, and most years actually end up just under this because the bulk items really are cheaper.

This year, as I’m in Ireland, I bought the candy at the local 1 euro store, and got the goodies off of both eBay and two Irish party stores. The paper goodie bags are bought 50 to a pack for about 2 euros. This year, I bought 2 packages of 100, and then spent 2 evenings after dinner (about 4 hours total) decorating them with my permanent markers.

This could be done by yourself or your children to get them into the spirit. Some ideas that were quick and simple to whip up:

Written words:

Happy Halloween
Boo
Trick or Treat
Spooky
Scary
Frightened Yet
“scaredy cats”
Candy,Candy,Candy
Pirate’s Loot
Magic

Some drawing ideas:
Ghost
Cemetery
Black Cats
Bats
Wolf howling
Moon
Witches Hat
Wizard’s Hat
Witches Calderon
Broom
Pumpkins
Jack o Lanterns
Candy Bag
Voodoo Doll
Frankenstein’s Monster
Mad Scientist
Bride of Frankenstein
Pirate
Skull & Cross Bones
Treasure Chest
Zombies

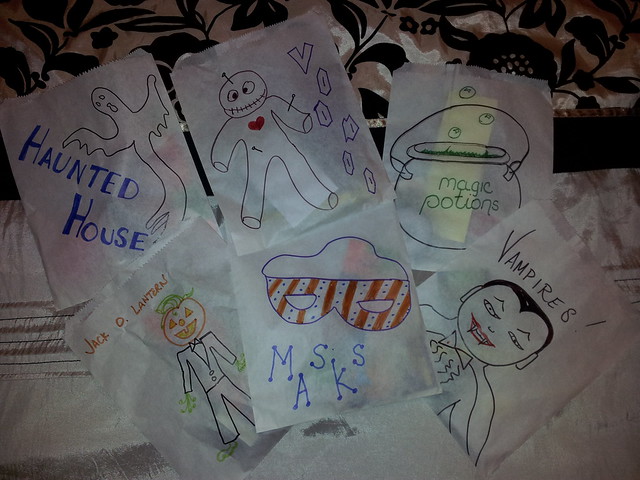
I ended up with about 2 designs of each, and some were better than others. The key here is that the kids don’t expect them to be perfect but if they can get the “idea” they’re happy. If you’re not drawing inclined, I’m sure there are templates online, and also you can see what I’ve done example wise from the pictures. Once all the bags are completed, have a “fill” party. I put in 2 pieces of candy, a pencil, an eraser and one of either sticker, fake tattoo, halloween game or halloween puzzle book. I then fold down the top of the bags and stand them up in a box near the door. This makes for easy handing out to trick or treaters when the time comes.
Untitled

Share

Pottery Experience

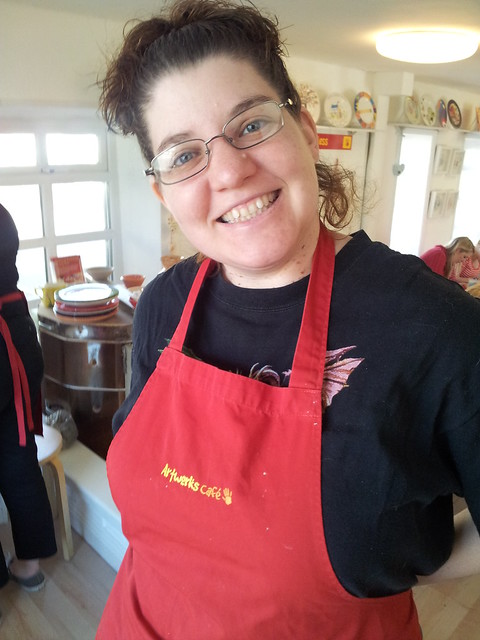
Back when I was in high school, I did a 9 week segment in clay, pottery building, and sculpture. As part of this, we learned the basics of slab and coil construction as well as using a potter’s wheel. Earlier this year, when there was a Groupon deal for a “pottery experience” at Artworks Cafe in Portmarnock including tea, cake, 1 painted item and a basic lesson in making a pot on the wheel for two people (45 Euro) I couldn’t resist. This past weekend, I used my voucher and here are the pre-fired results.

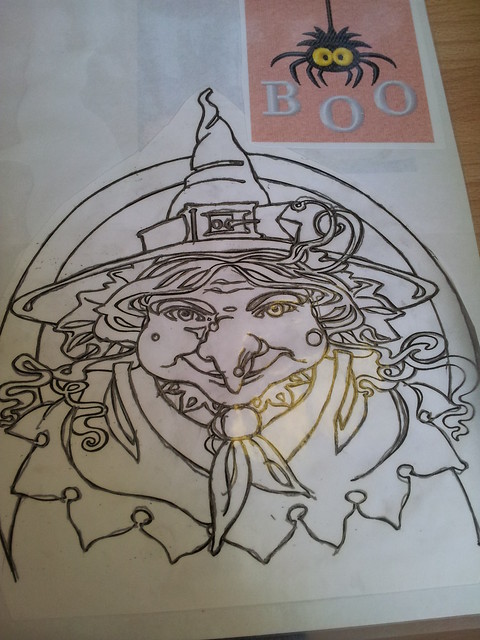
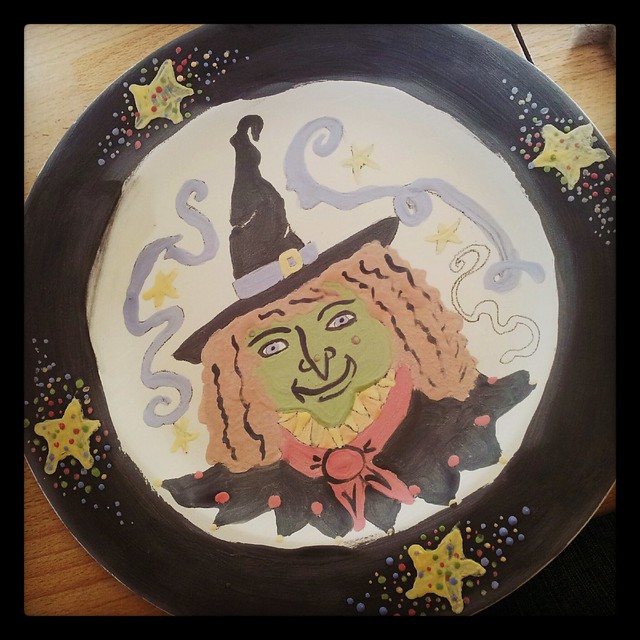
When I first arrived, we were seated at a bunch of tables and given a choice of a plate with rim, a plate with no rim, or a mug to paint and fire. I chose a plate. From there, they gave us the option to draw a design or use a bunch of books (or various internet sites) to search for our own design for the pottery. Halloween is near, and after flipping through several books, I found the inspiration for my design:

pottery experience

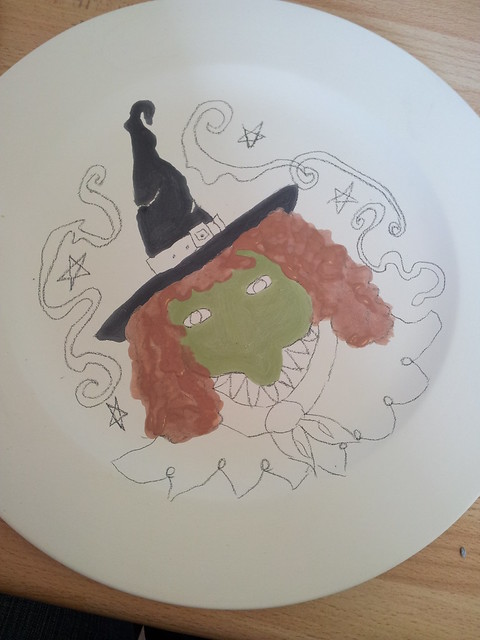
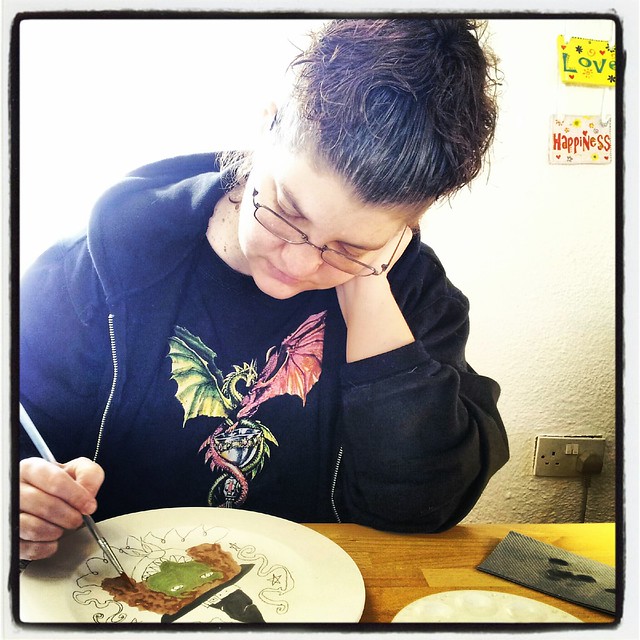
Because everyone else was busy with the tracing paper, I figured I could free hand draw it on the plate (the picture itself was way too big) and I added some of my own touches. Long before the others were started painting, I picked up the brush and started on with my design. First, I mixed up the green, and then I painted the black hat.

pottery experience

Meanwhile, A chose his mug and began drawing a simple design on his as well. Shortly afterward, we were invited over to the landing and shown the basics of potting on the wheel. I was the only person who had done it before – and went first after the teacher.
pottery experience

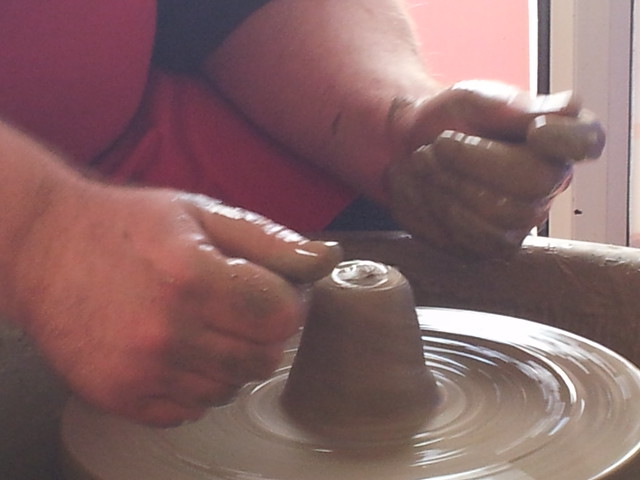
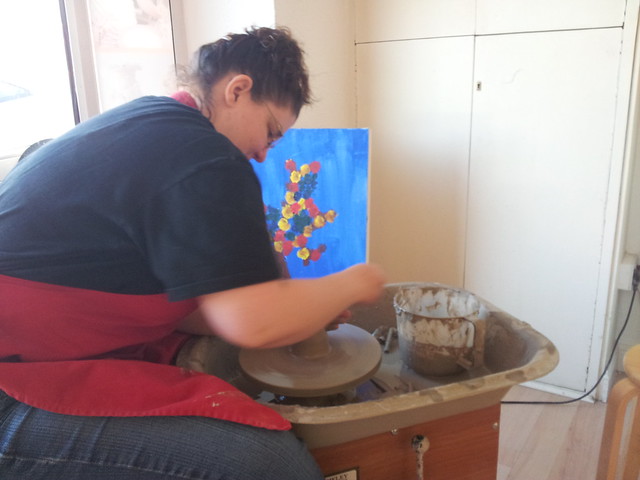
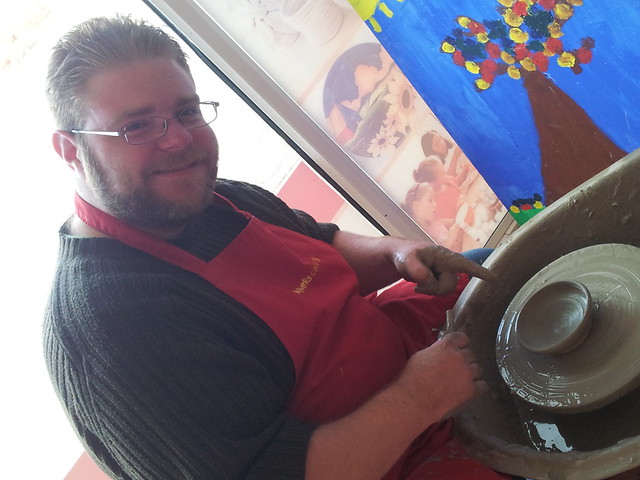
I managed to quickly center my little slab of clay and began shaping. I think I forgot how much strength this can take – and just how messy it is, but the basics from my art class still remained.
pottery experience

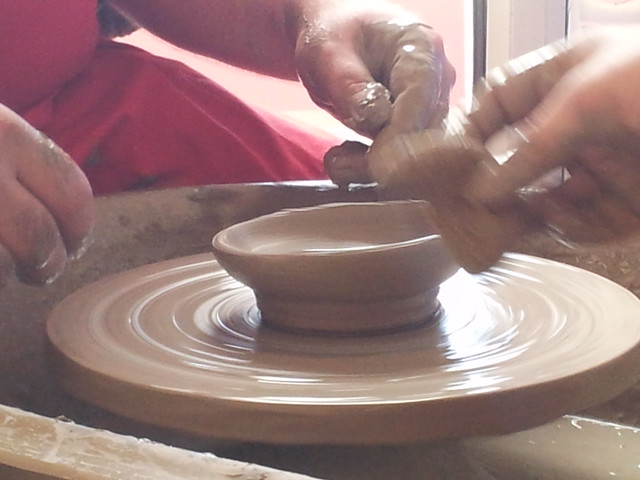
Adding water, I continued to work the clay into a rounded bowl shape.

pottery experience

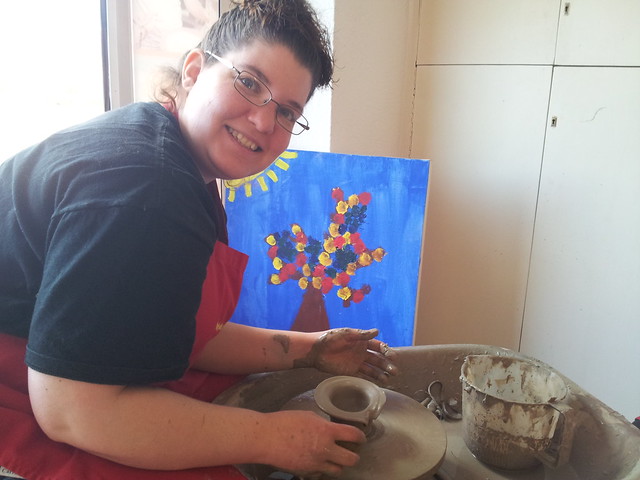
Eventually, I worked it up into a bowl, and added a lip. Sadly, though, when I turned to have a picture made – I nicked it – thus, you see the dent in the corner –

pottery experience

In the end, however, after a little more working, I decided to let the “nick” be a feature, added some stripes with one of the clay working tools and called it done. (It was easier than destroying the entire piece and starting over). It will take 3-4 days to dry, and then will be dipped into green before being fired and glazed.

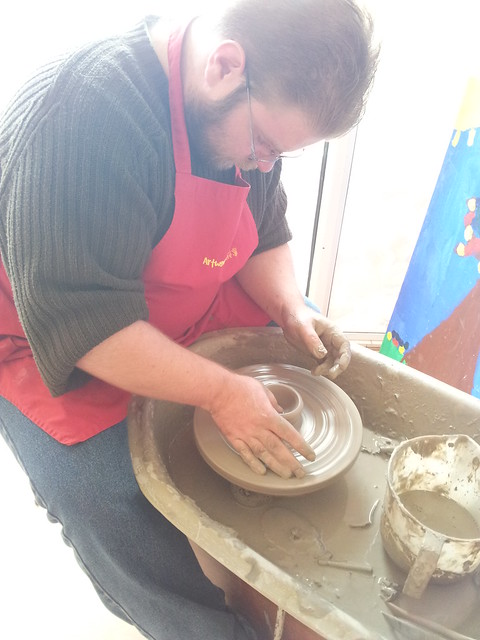
Next up it was A’s turn. He’d never done this before, and it took him longer to get the clay centered. (I recall this took the longest time to learn for me as well). He did eventually get the piece centered and started out making the little bowl too.

pottery experience

He raised the sides and, as is common when trying to make a pot on the wheel, found that the pressure has to be exactly even – or the pot goes wonky and off center.

pottery experience

He kept working at it though, and while still off kilter, it did become a small bowl shaped piece, and one which as a first time attempt is quite good.

pottery experience

When we were both done, we went back to painting.

pottery experience

About an hour later, my “magic” plate was finished being painted

pottery experience

as was A’s mug:

pottery experience

We both had such a nice time, that we’re for sure going to have to go back and paint / play on the wheel more. At this point, we’re just waiting for the projects to be fired – This happens every couple weeks – and then for them to text and let us know that they’re ready. I’ll post the pictures when they are done. Otherwise, I would recommend taking the chance to do some pottery painting (I think even the kids will like it as it’s quite hands on) and/or get messy with the wheel. Also, if you’re in the area, I would recommend the Artworks Cafe, for sure.

Share

Halloween Party

Evil Witch 2

For Halloween, I had an american manager, from work ,who invited me to the annual Halloween Fest. He’s American / Swedish, and has two 10 year old daughters who he really goes all out to encourage the tradition of Halloween. I love the fact that he’s so creative. Bonus points to MM who not only invited all of us to the official “costume Manditory” Halloween Fete and carved “extreme pumpkins”, but also provided a great “altar” complete with Virgin Sacrifice for dinner.

Photos at: Halloween 2009 Set on Flickr

Extreme Pumpkin 1  - the Suicide
Suicide Pumpkin

Extreme Pumpkin 2 - the Barbie Killer
The Barbie Killer

Extreme Pumpkin #3 - The Baby Killer
The Baby Killer

The Sacrificial Altar

Bowing at the Altar
Bowing at the Alter, before the Virgin Sacrifice

The Virgin Sacrifice
The Virgin’s dead, Dig in Folks! She’s made of mexican food and girls clothing. As you dug in, you found plastic bones and pieces of random clothing. LOL!!

As far as costumes go, I’d like to give kudos to “Dick Cheney” who dropped by on the way to a Haliburton Dinner Party; “George Bush Jr” who popped in with a beer and his copy of the shreadded constitution; and “Sarah Palin” who brought her binoculars to make sure she never lost sight of Russia. They were by far the scariest Halloween Costumes Ever!

Dick Cheney Dropped by

George Bush JR & the US constitution

Bat Girl, Corpse Bride, Sarah Palin
(Mrs. Palin is here posing with the Corpse Bride and Bat girl)

So, here I am, on Sunday – after dressing as Zandramas (David Eddings Character) for Halloween –

Zandramas (or the dark witch)


A bit tired, but glad to have not wound up like this lady – being the “life” of the Party!

The Virgin Sacrifice

Share